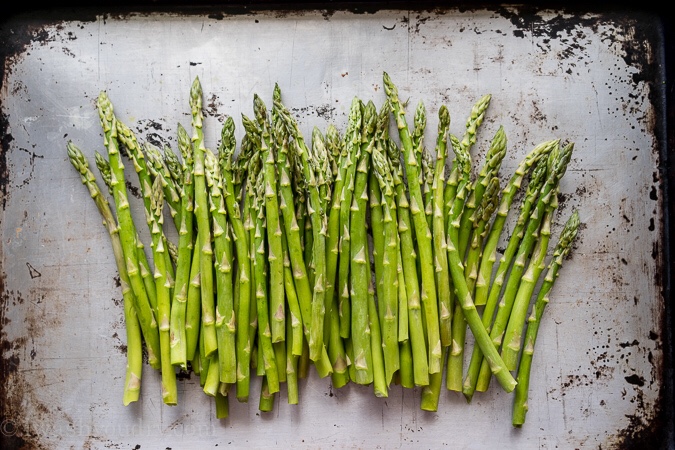
Asparagus season in Europe is very short, going from only May until June. So we have to profit from this delicious vegetable.
There are three main types of asparagus which all come from the same plant: there are the common all-green tender spears that have very good flavour, and then there is white asparagus, made by ‘forcing’ the spears to grow in the absence of light by earthing up around and over tips. These are not typically grown in Britain, though you do spot them from time to time, though they have usually come from Holland or Belgium, where white asparagus is popular. Lastly, there is lavender-tipped asparagus which is simply white asparagus that has been allowed the see the sun again and just colour slightly. White and lavender-tipped are much more fibrous than the green but have a much more delicate flavour.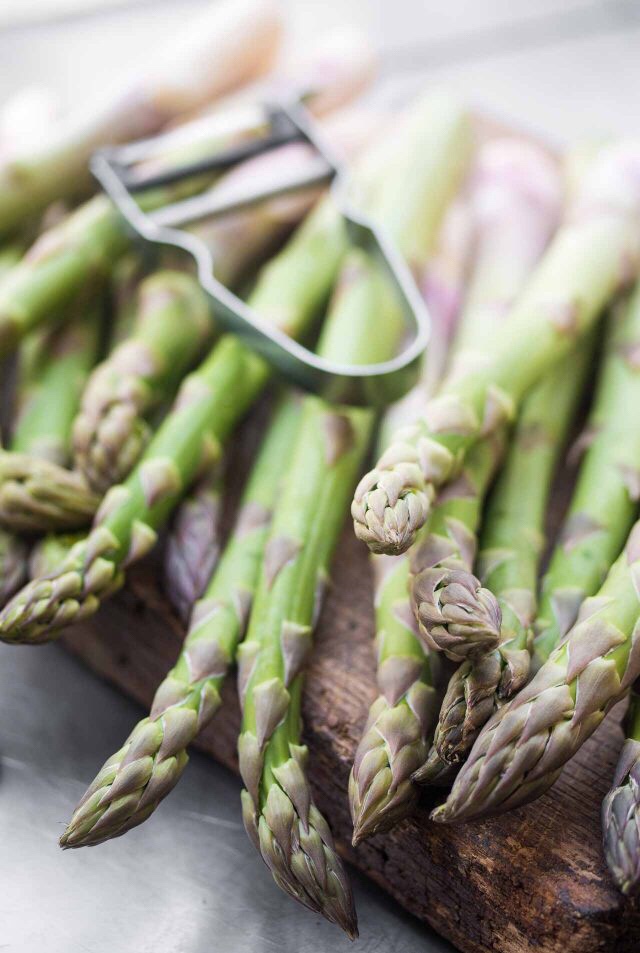
Asparagus facts;
Asparagus can help to cure hangovers and protect the liver against toxins.
Asparagus can improve your libido..
Dubbed the Usain Bolt of the vegetable world, British asparagus can grow up to 10 cm in one day.
Eating asparagus promotes healthy bacteria in the large intestine and can help reduce bloating.
Asparagus contains vitamin K, essential for healthy blood clotting.
It is a rich source of vitamin C, which boosts your immune system.
Asparagus is a mild diuretic and is believed to help detoxify the body.
Its very straight-forward to prepare asparagus. You first need to remove the woody part at the base of the stem. You can do this with a knife, but this involves guess-work, so it is easier to break the spears one at a time because they have a natural snap point where the woodiness lessens. You can trim the ends of course if you want to be fancy. If you have very thin young spears, you may not have to snap them at all. Along the stem of the plant there are strange little leaves that lie flat against the stem; you can remove these if you like, but I tend not to unless the spears are particularly thick.
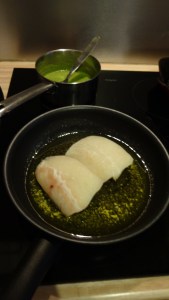
Asparagus needs little cooking: just a few minutes steaming is required. Traditionally it is cooked in a tall asparagus pan so that the spears can be boiled upright, I prefer to pan fry in a little butter as I love the crunch, or grilling in the BBQ .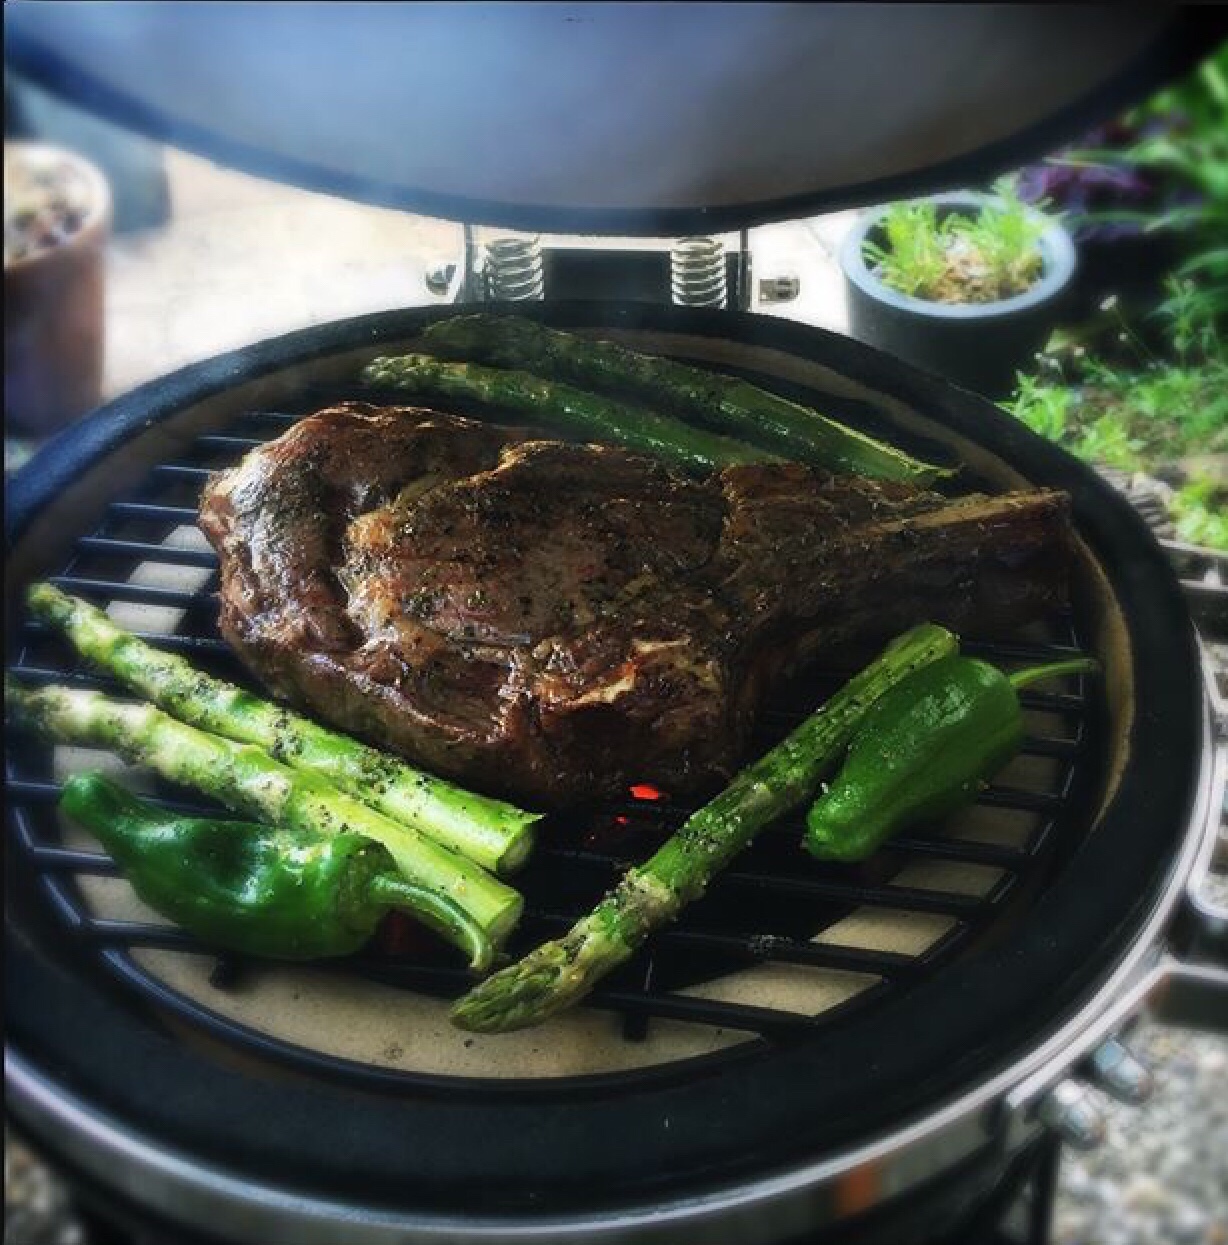
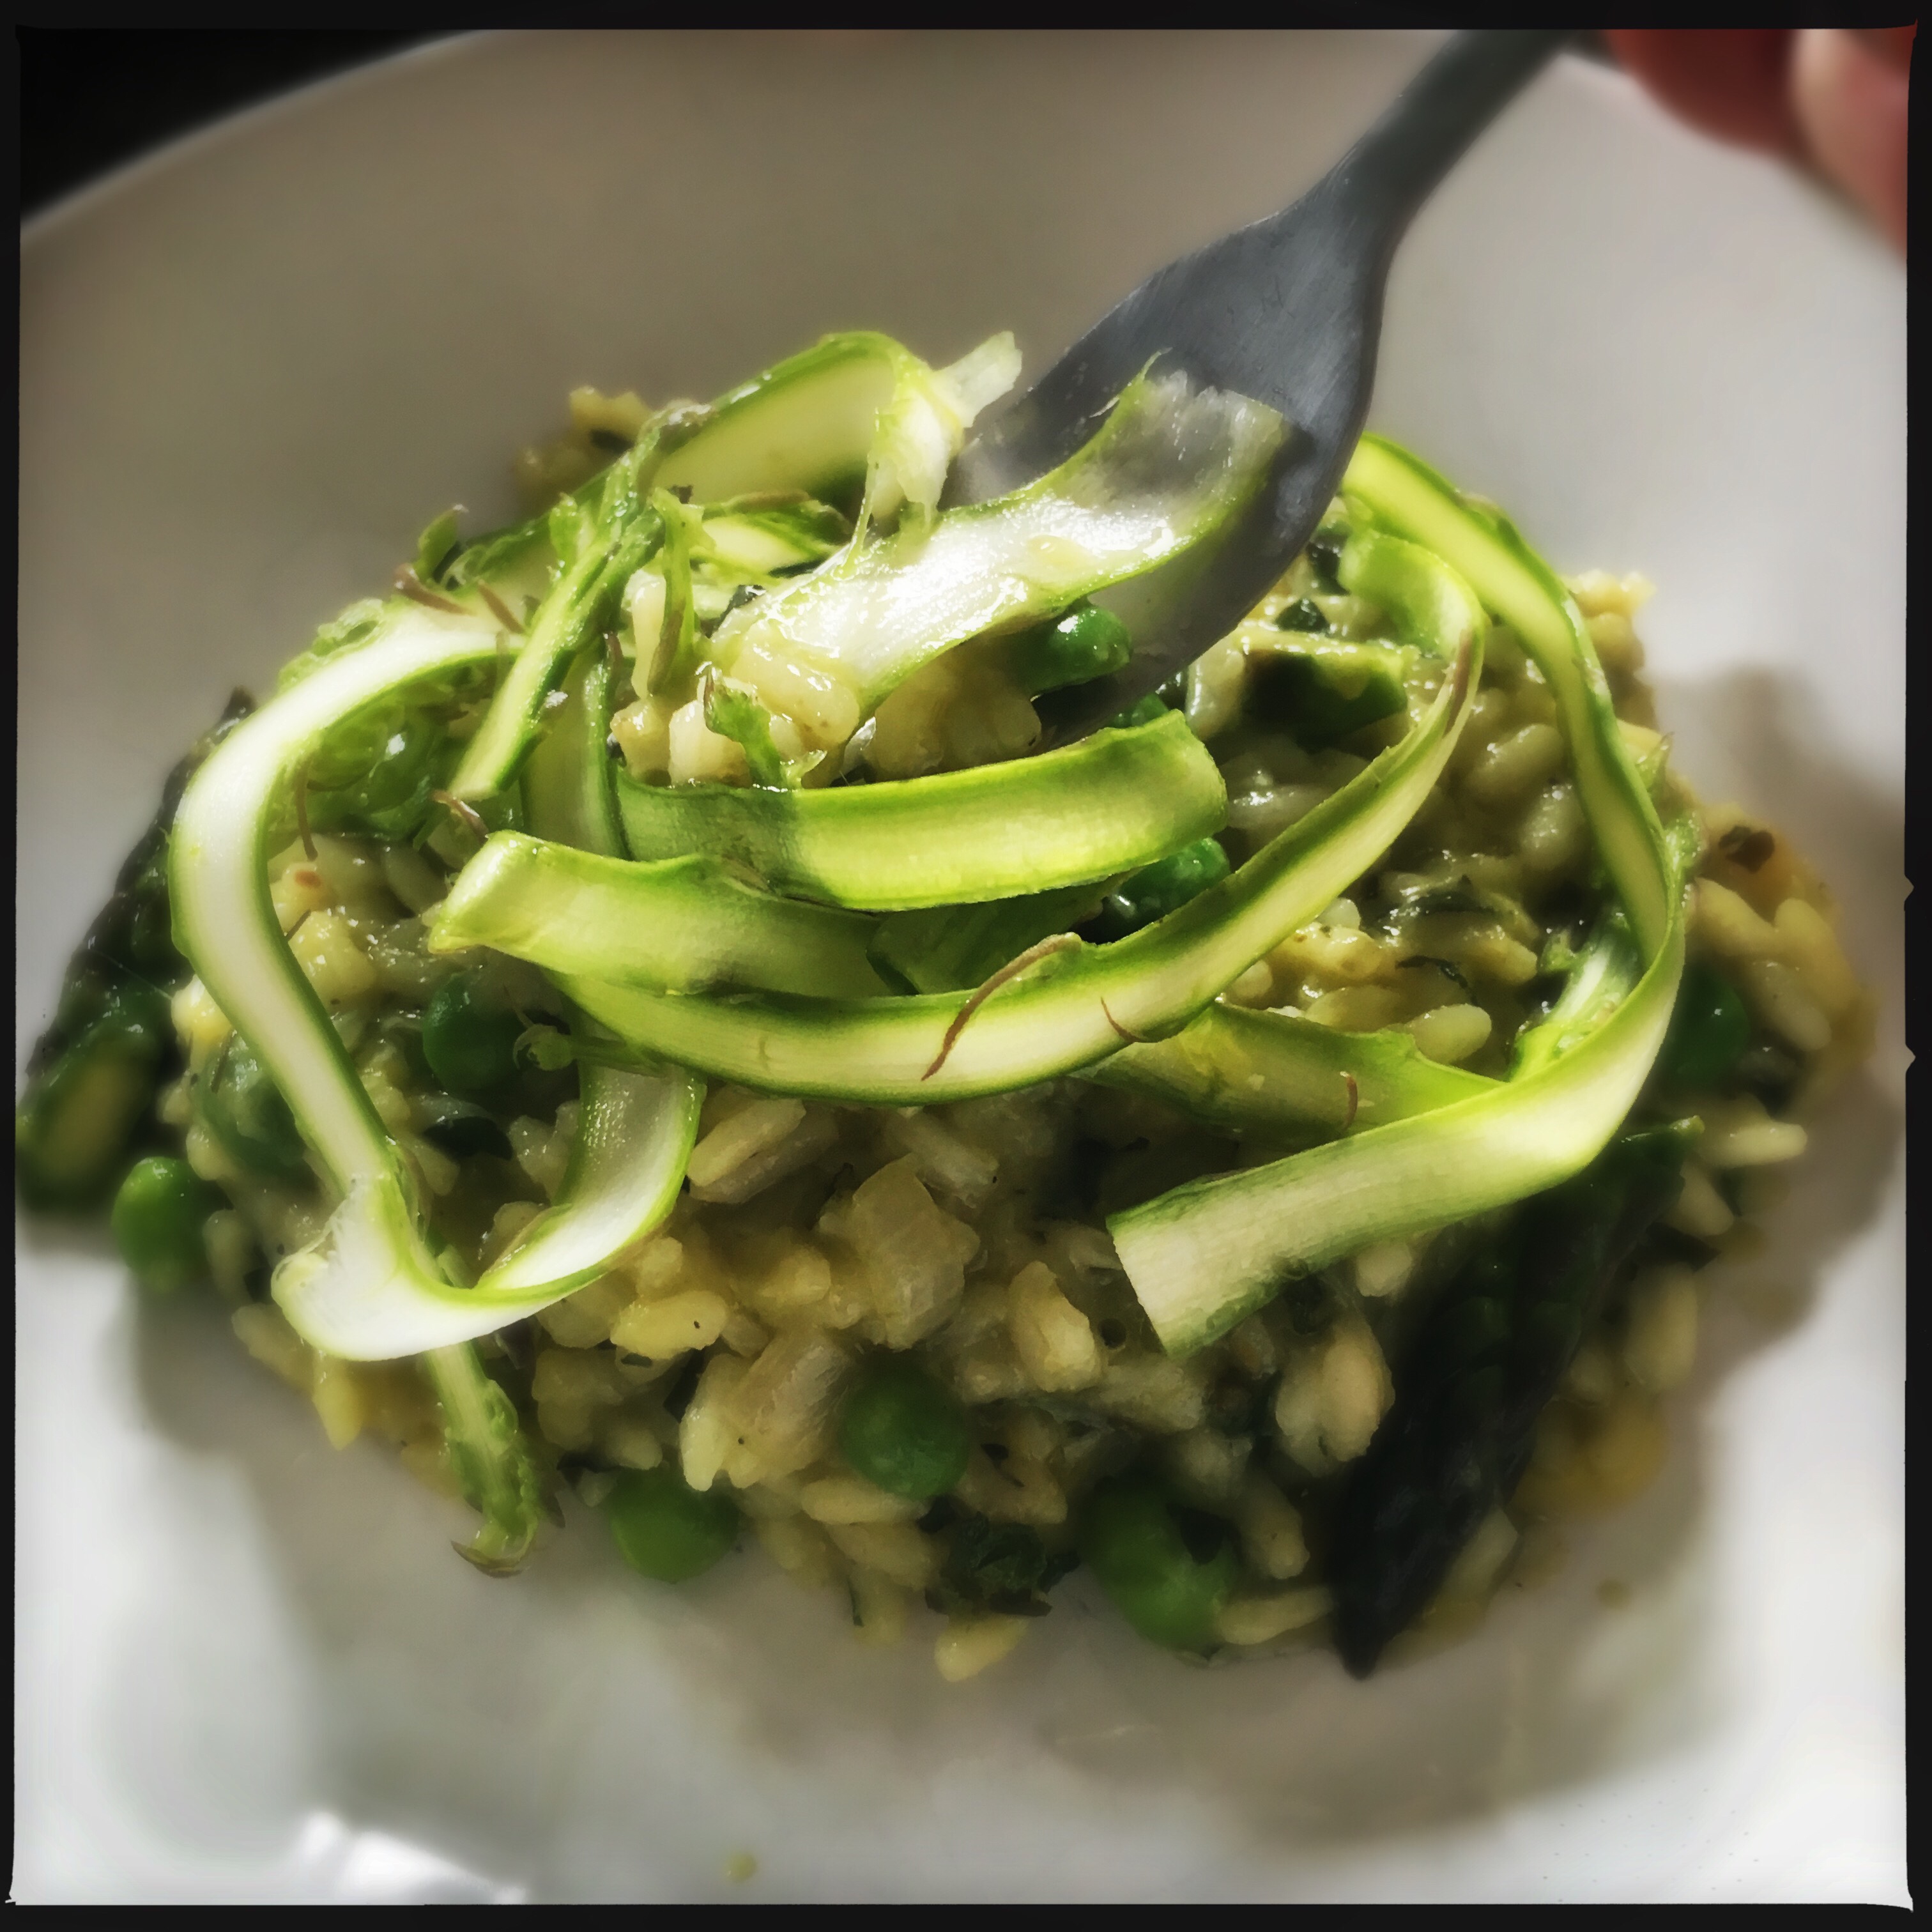
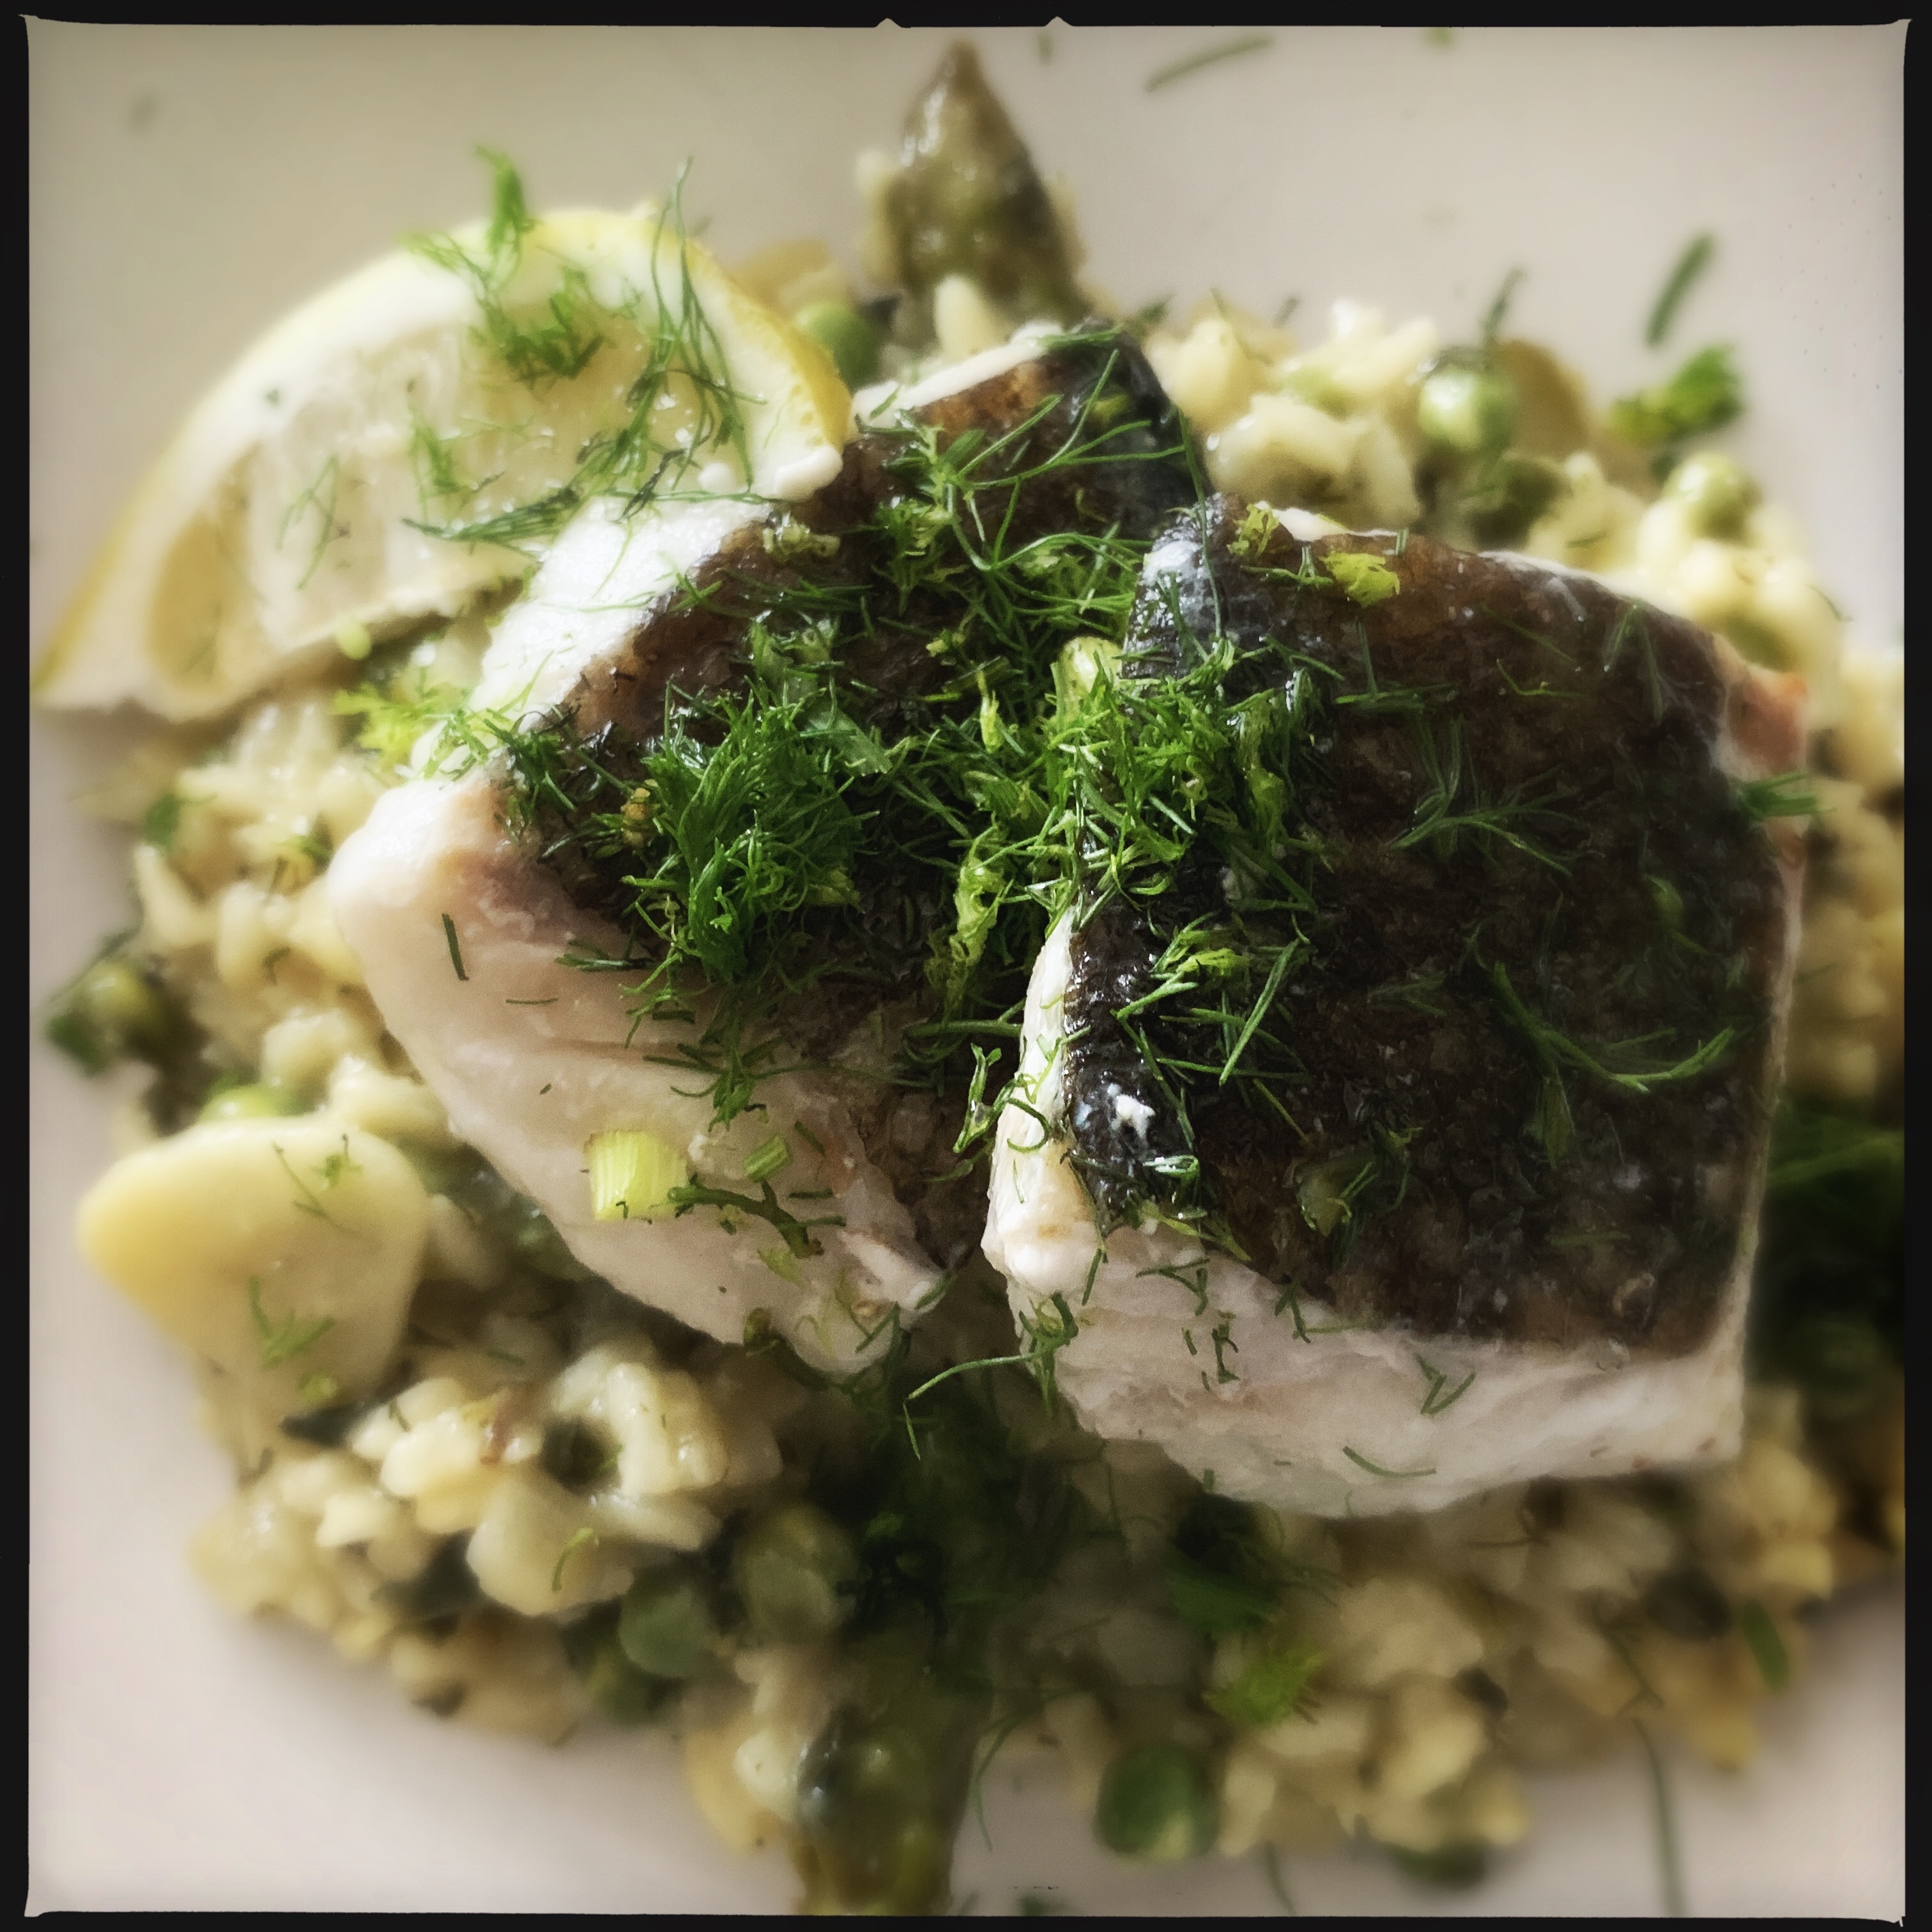
Pea and asparagus risotto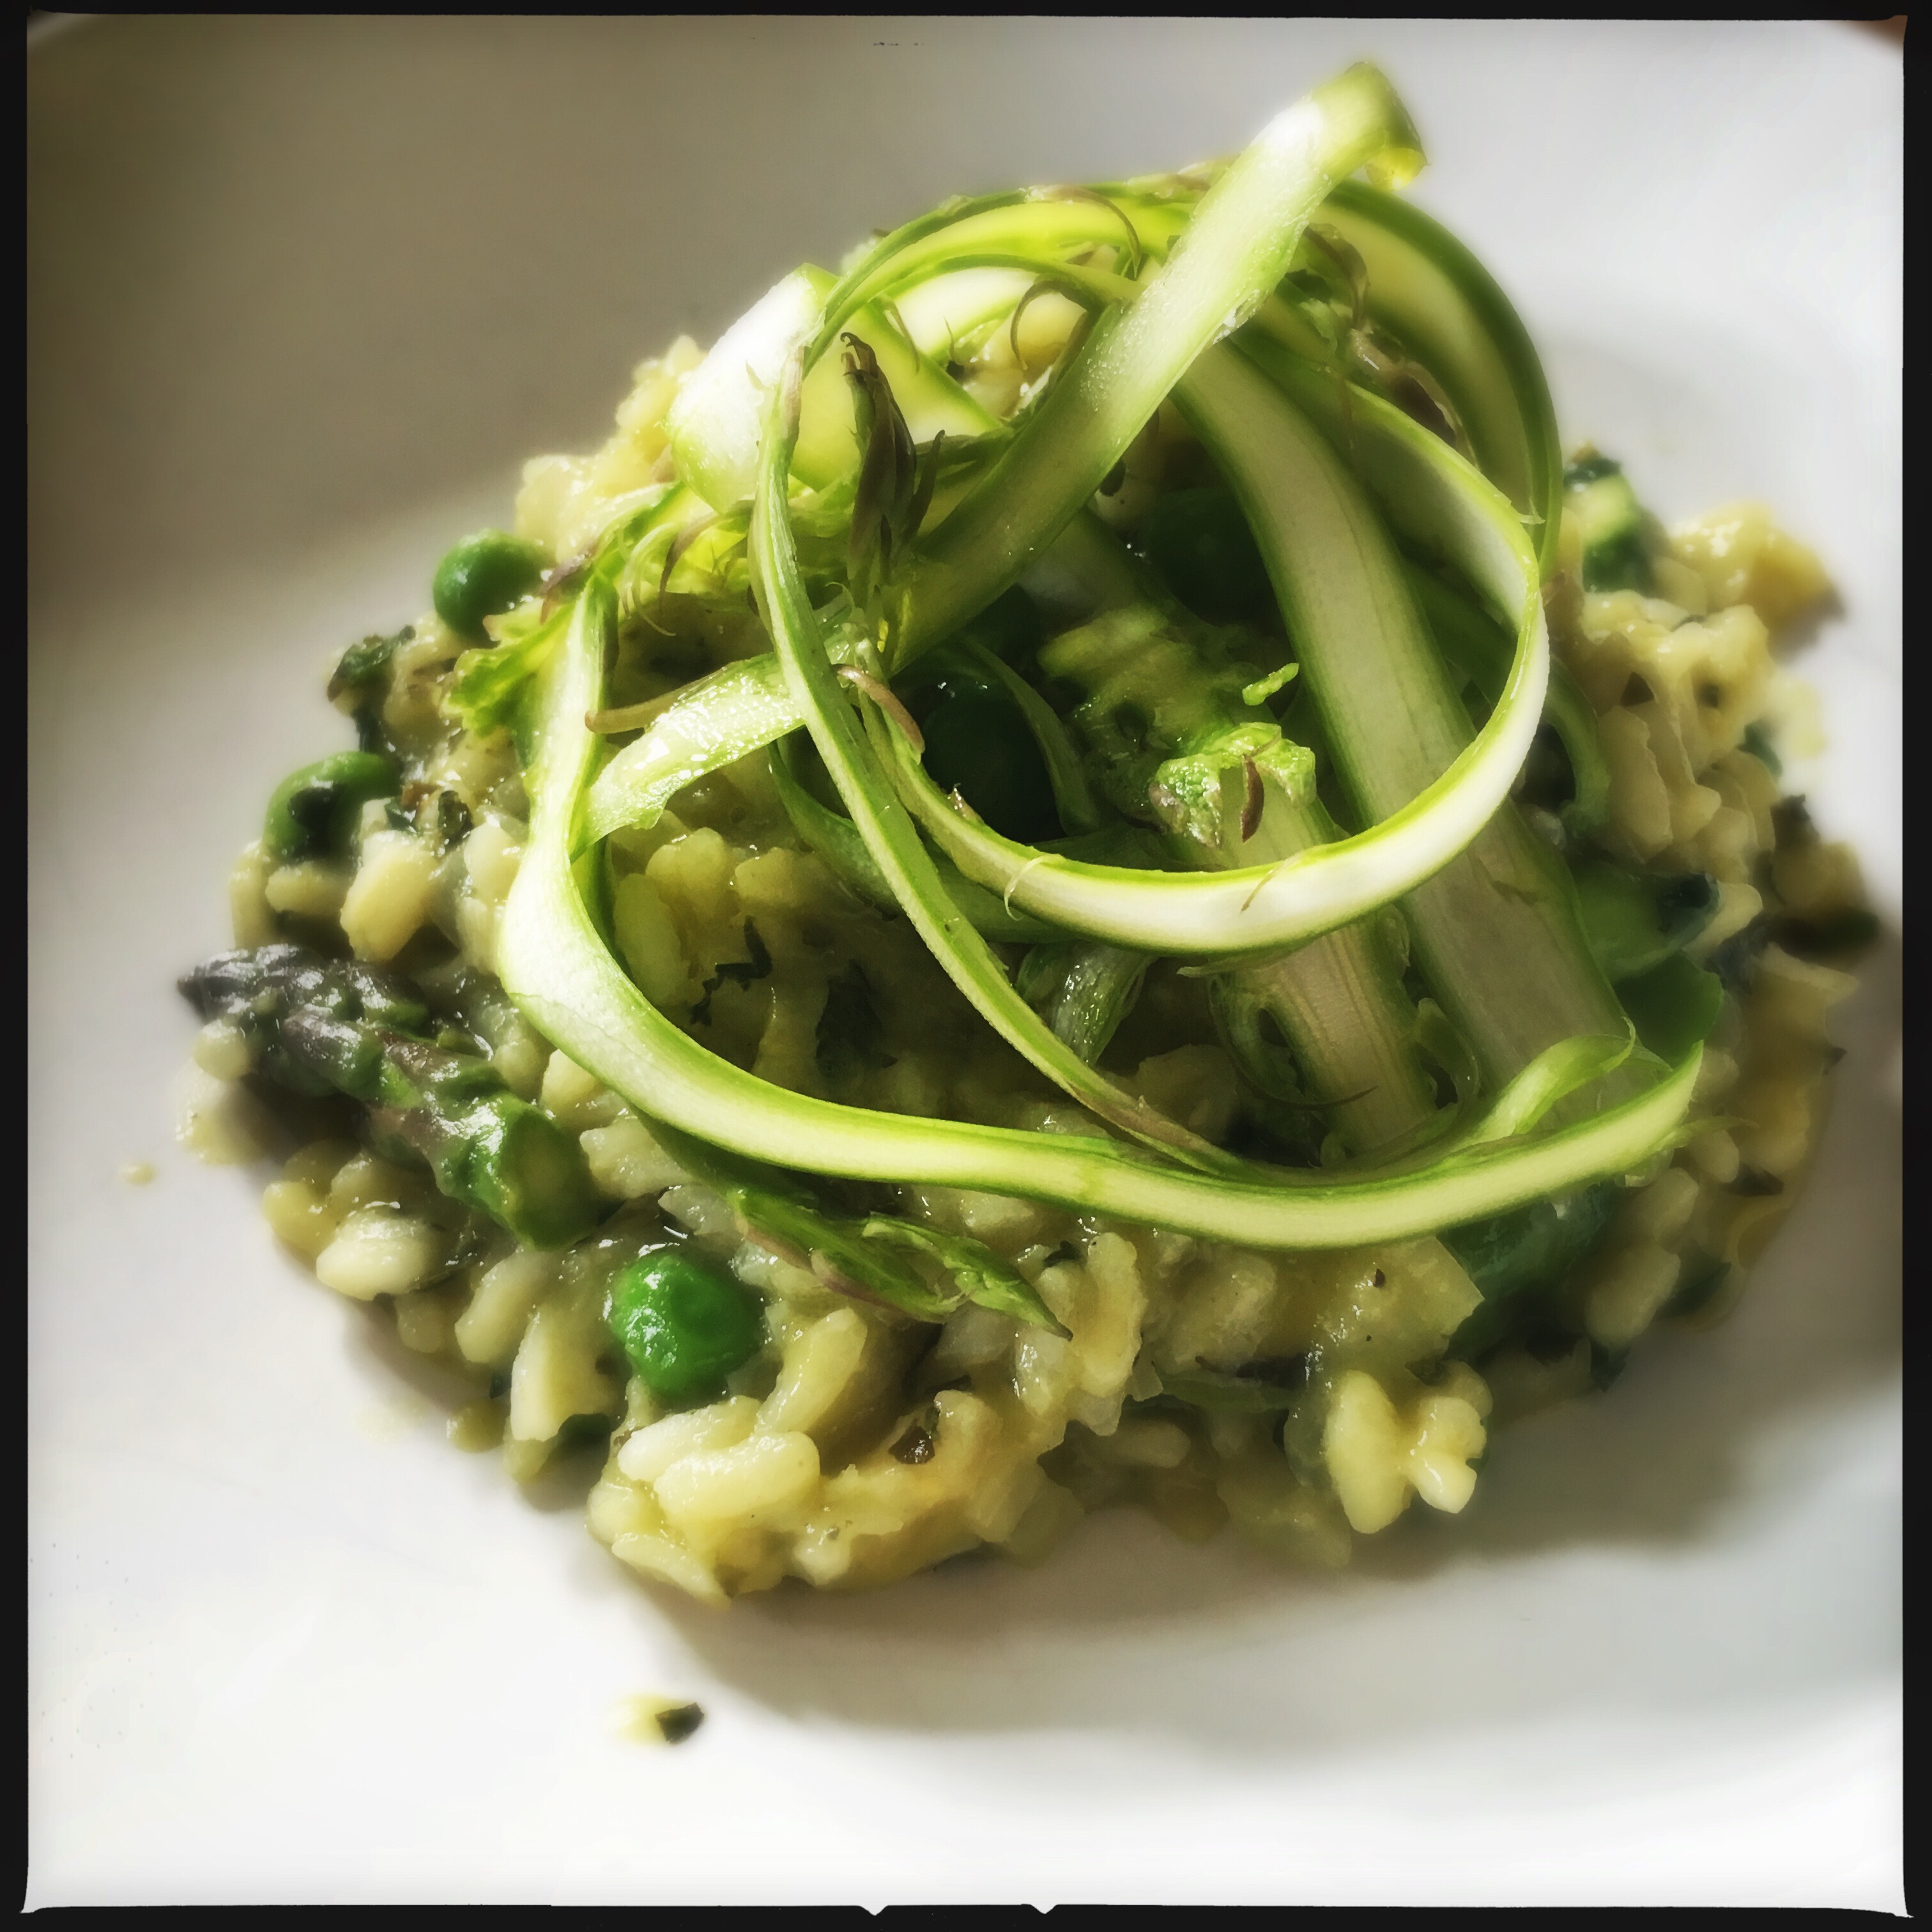
Preparation time: 15 mins
Cooking time: 20 -25 mins
Serves: 4
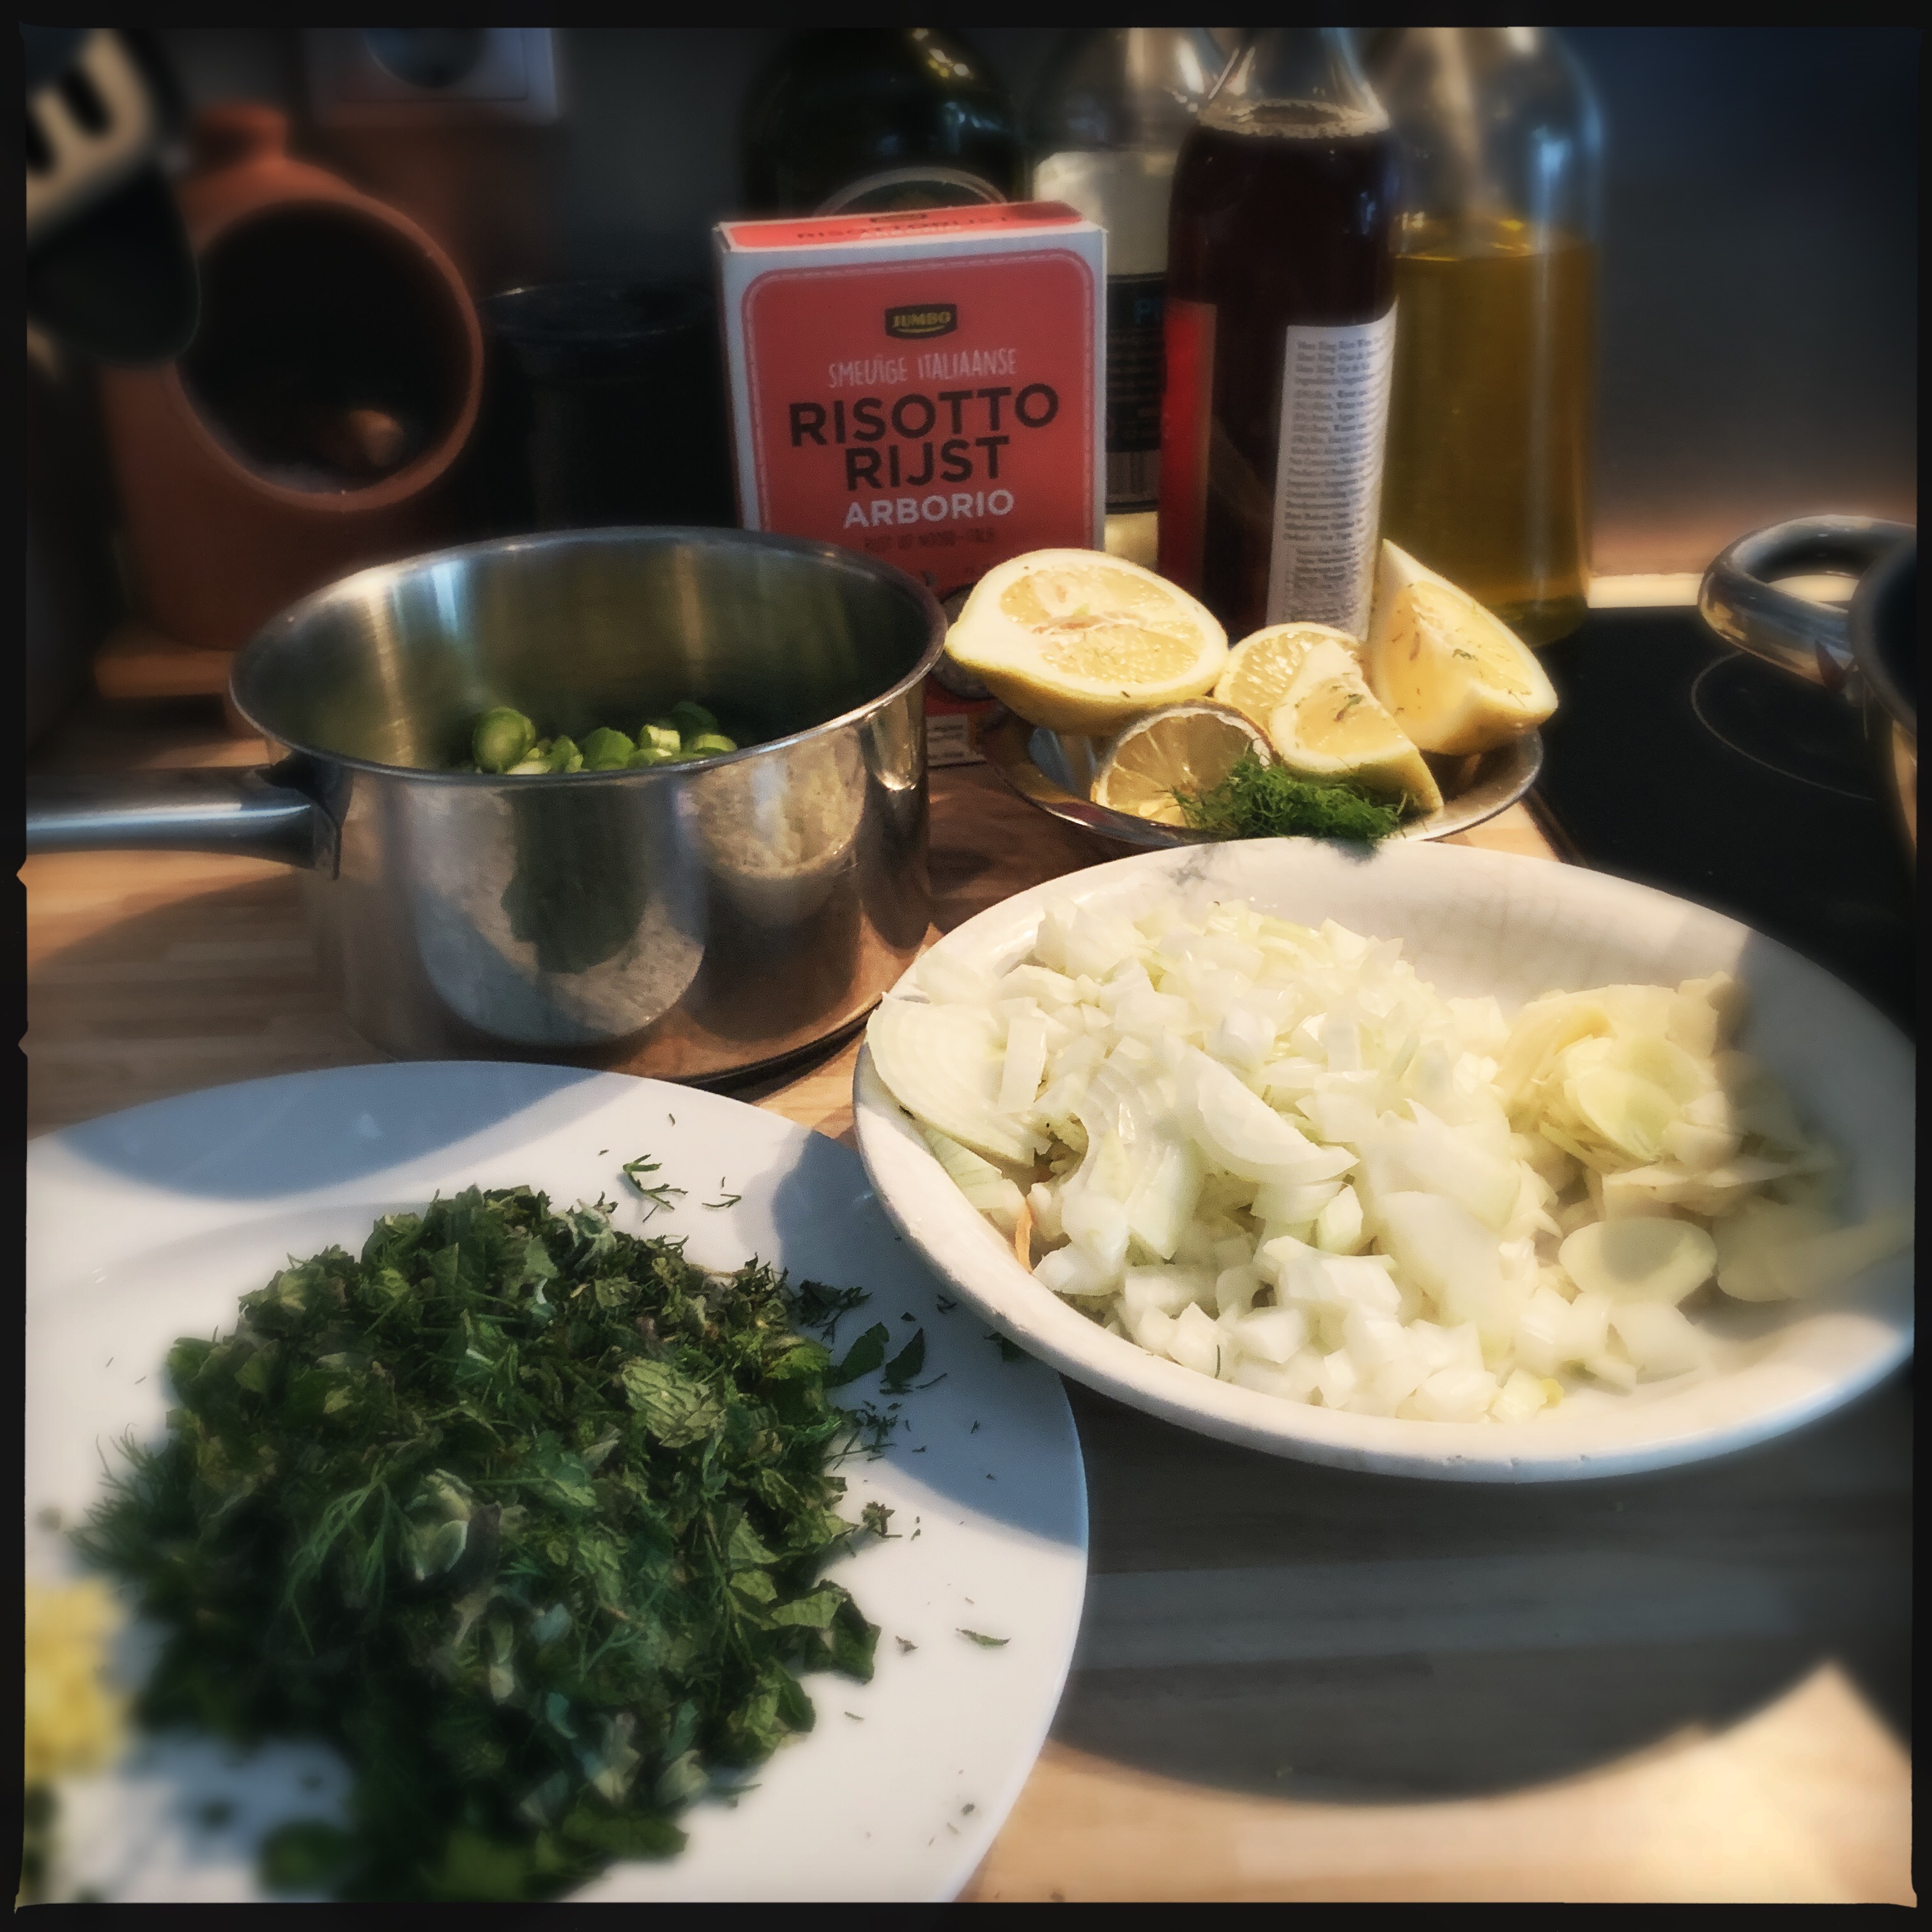
1 tbsp olive oil
2 tbsp butter
1 large onion, finely chopped
1 clove garlic, crushed
300g (1½ cups) risotto rice
250 ml (1 cup) dry white wine
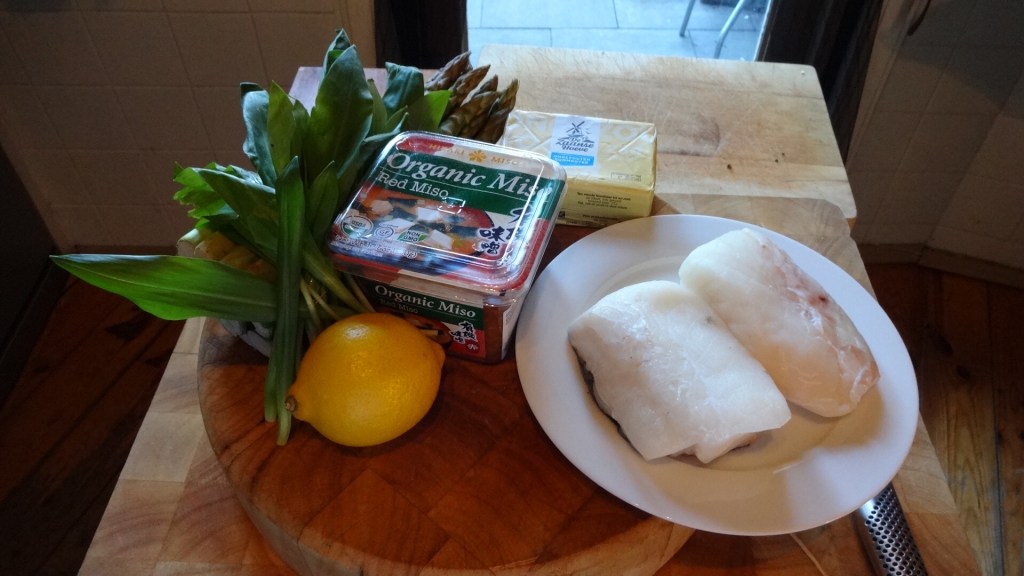
700 ml (2½ cups) hot vegetable or chicken stock, and wait for it the pea shell stock!!!
250g (2 cups) asparagus, slice the stalks, keep the tips whole
250g (2 cups) fresh (podded and keeping the Pods )or frozen peas
100g (¾ cup) Parmesan cheese
1 bunch fresh mint, finely chopped
½ lemon, zest and juice
Method
• Heat the olive oil and butter in a large frying pan, add the onion and garlic, cook gently until softened but not coloured. Add the rice and stir, cook for 1 minute.
• Pour in the wine allowing it to evaporate, stir.
• Add the hot stock a ladle at a time allowing it to be absorbed before adding more, while continuing to stir, it should take about 20-25 mins to cook, the last ladle use the pea pod stock for more flavour and colour. The rice should be soft and creamy with a loose texture, add a little more stock or water if necessary.
• While the risotto is cooking blanch the asparagus and peas in boiling water for 2 mins, drain and refresh in iced water, cover.
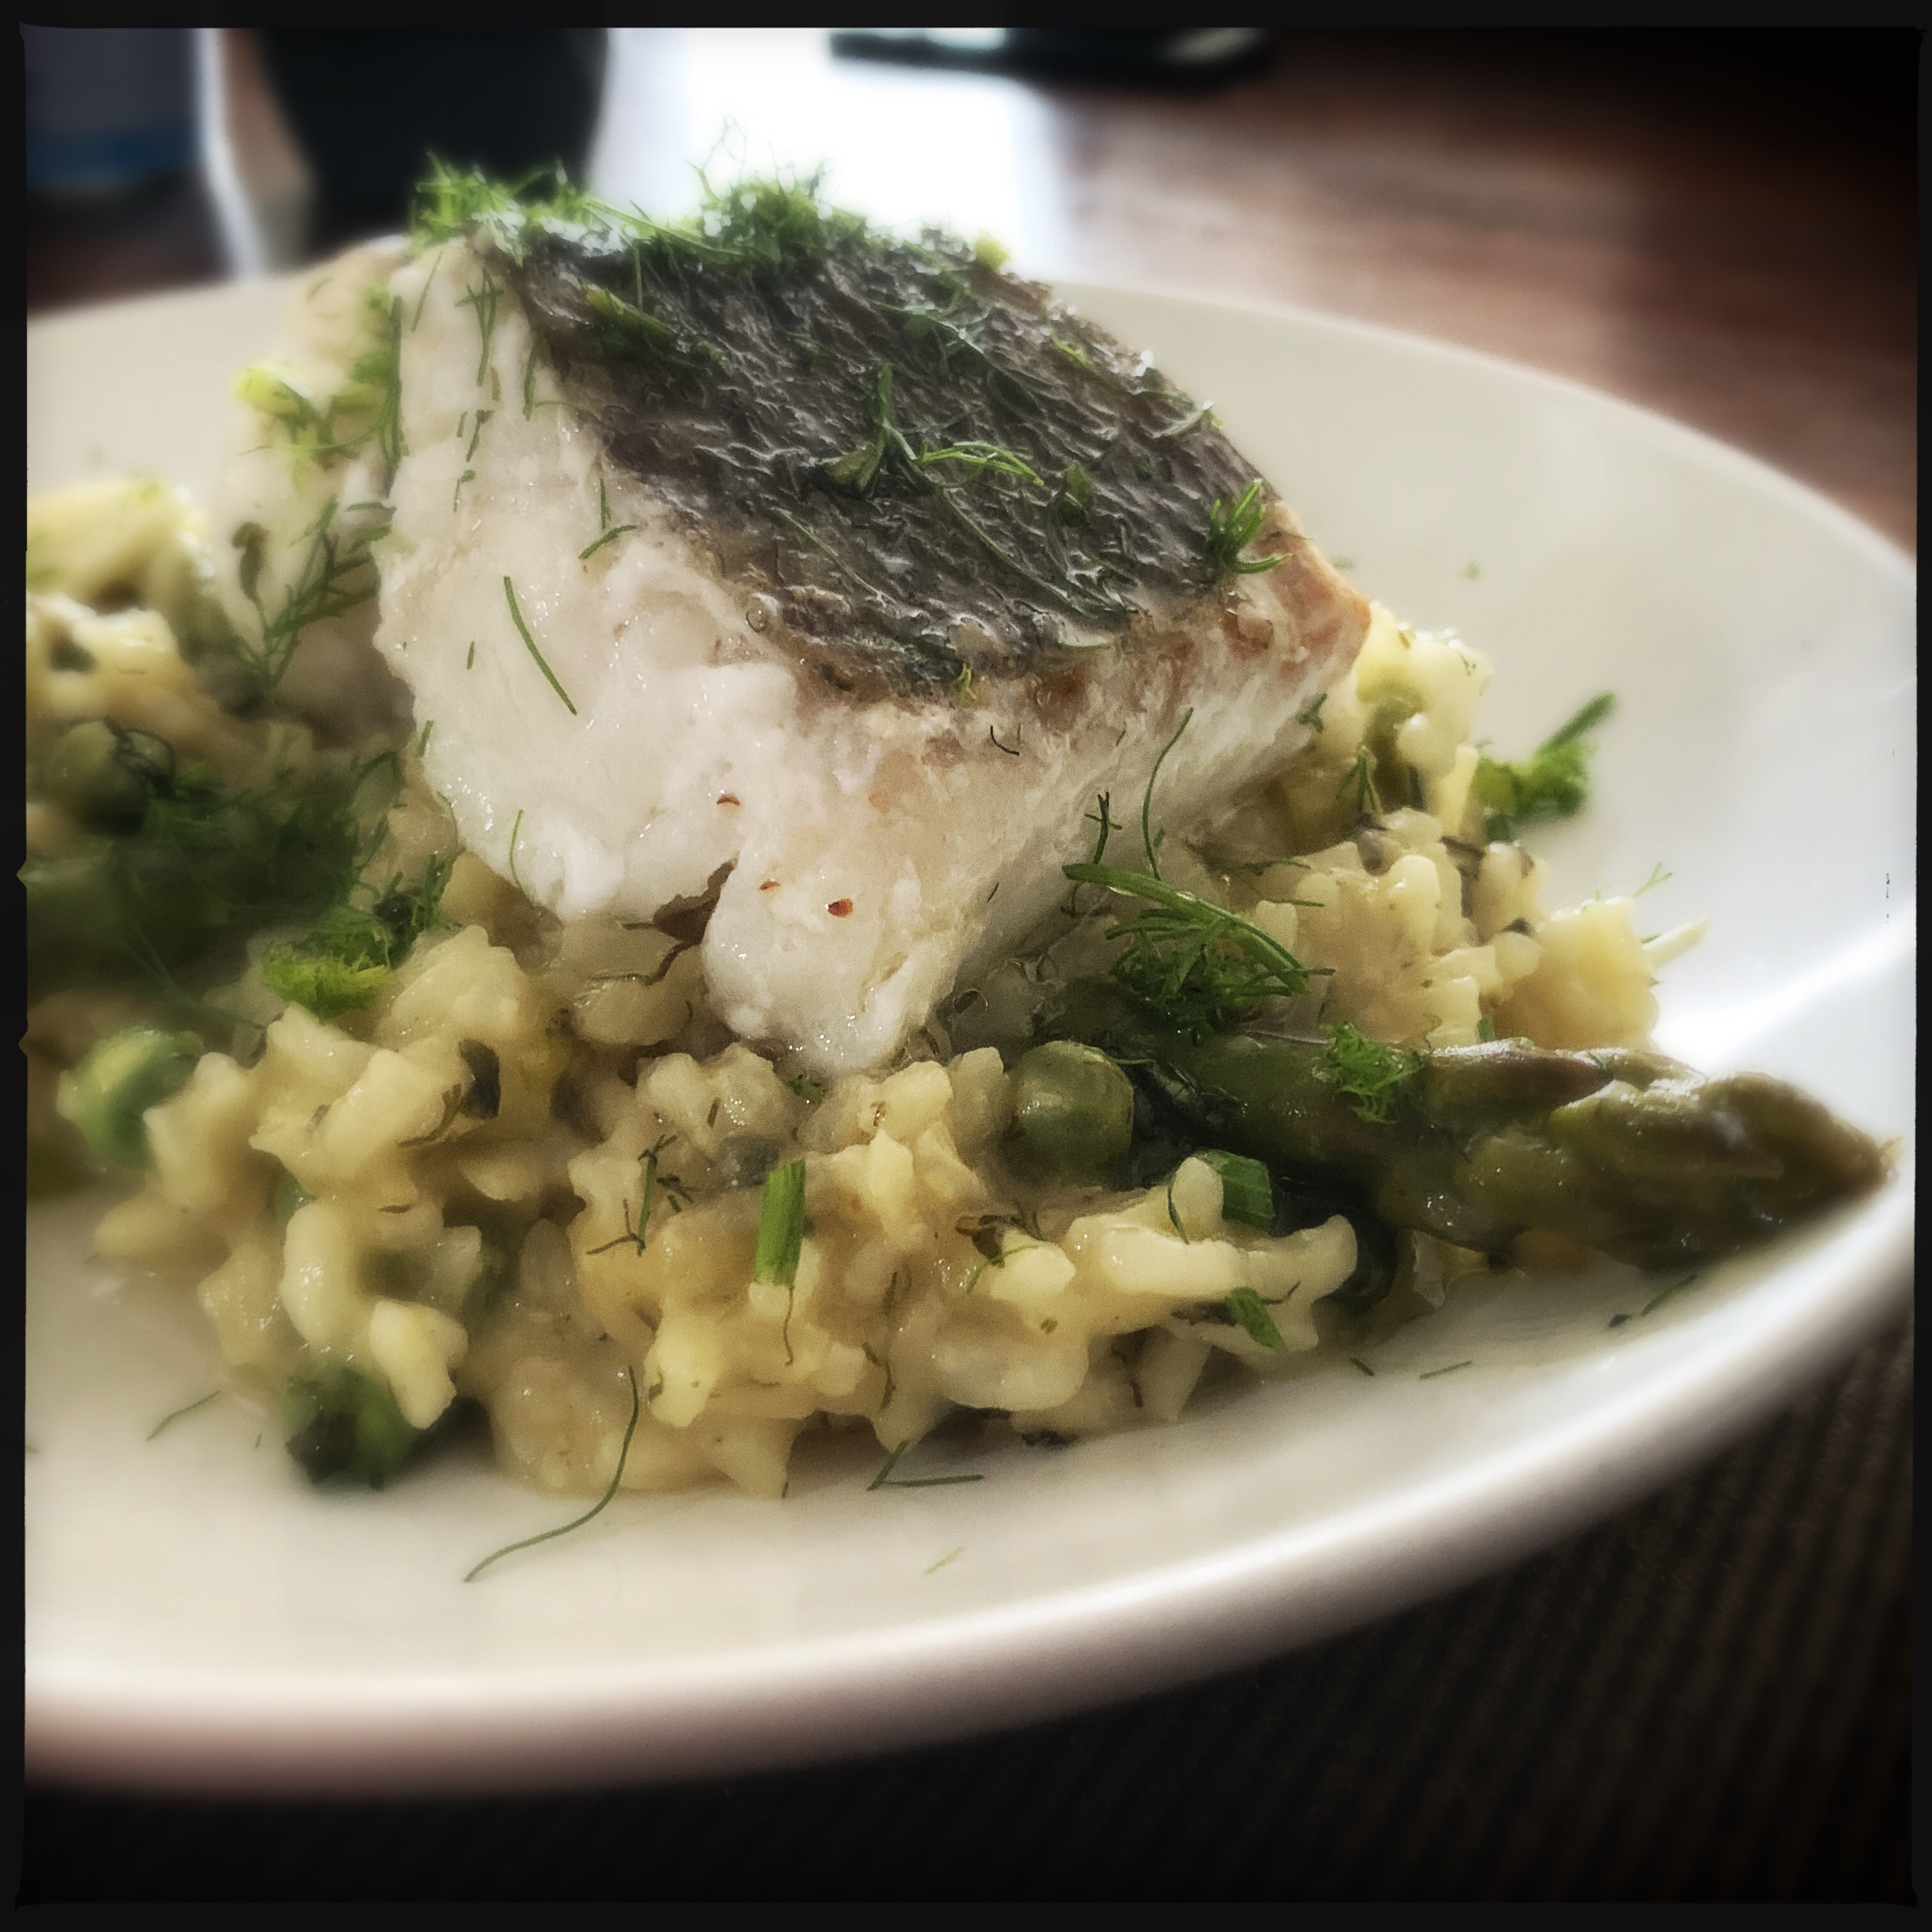
• Stir in the Parmesan , half of the chopped mint, lemon zest and juice, and the asparagus and pea mix. Make sure it’s piping hot and the right consistency, season to taste.
• Serve immediately with a sprinkle of cheese and the remaining mint.
• Accompany with a crisp green salad.
• Crispy bacon or griddled chicken pieces make a perfect addition for non vegetarians
Ok the pea shells
That means you’re left with a big pile of empty pea shells, once you’ve turned the treasured sweet peas inside into part of a pasta or spring veggie risotto.
But just because they’re empty doesn’t mean they’re worthless. Get that idea out of your head. Just like the peas inside, the pea shells contain spring’s flavors (and spring’s nutrients). With a few extra steps, you can turn the shells into a gorgeous green puree to use in sauces and pasta dishes–or even as part of a cocktail!
First step: reserve those shells instead of throwing them away.
Next, blanch the pea shells by adding them to a pot of boiling water. Cook for 30 seconds to 1 minute. Then, transfer the peas to a blender.

puree the blanched pea shells with a little bit of the blanching water… more if you want a stock .
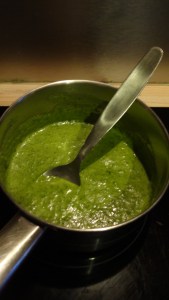
Once smooth , you want to strain the puree right into a bowl that’s set over another bowl full of ice water. Chilling the puree immediately preserves the bright green colors. Otherwise, the puree will turn army green or brown!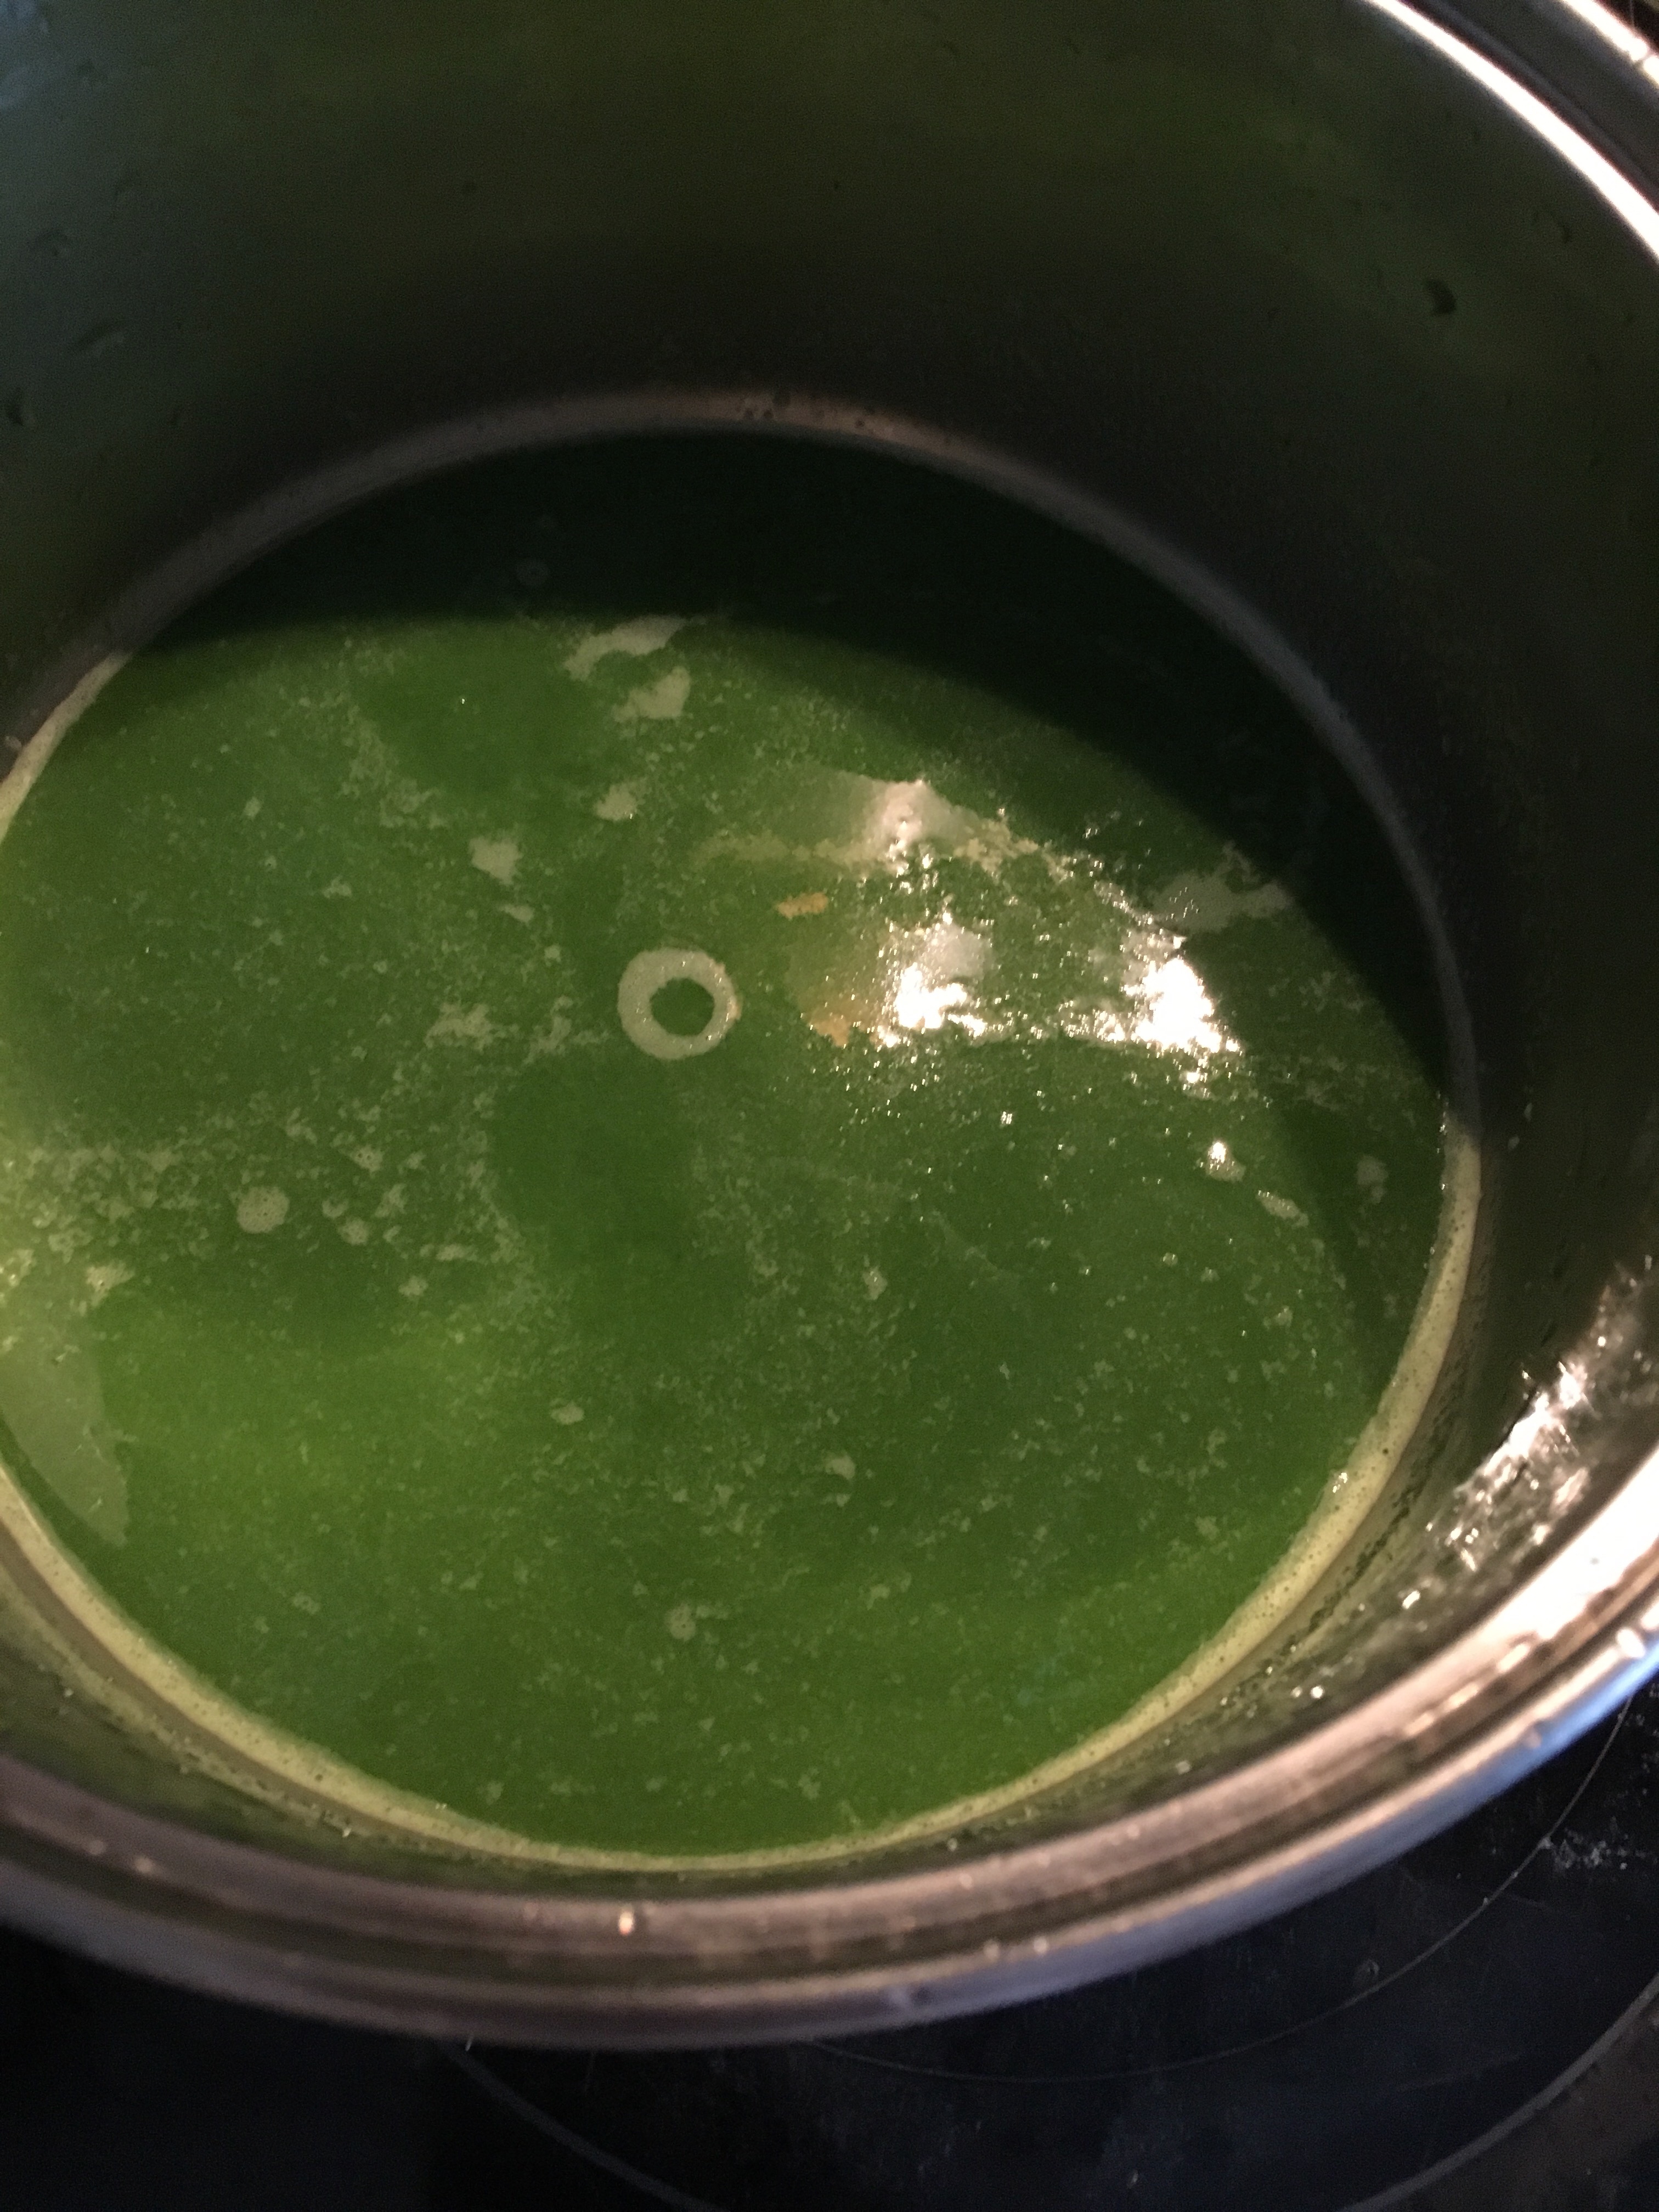
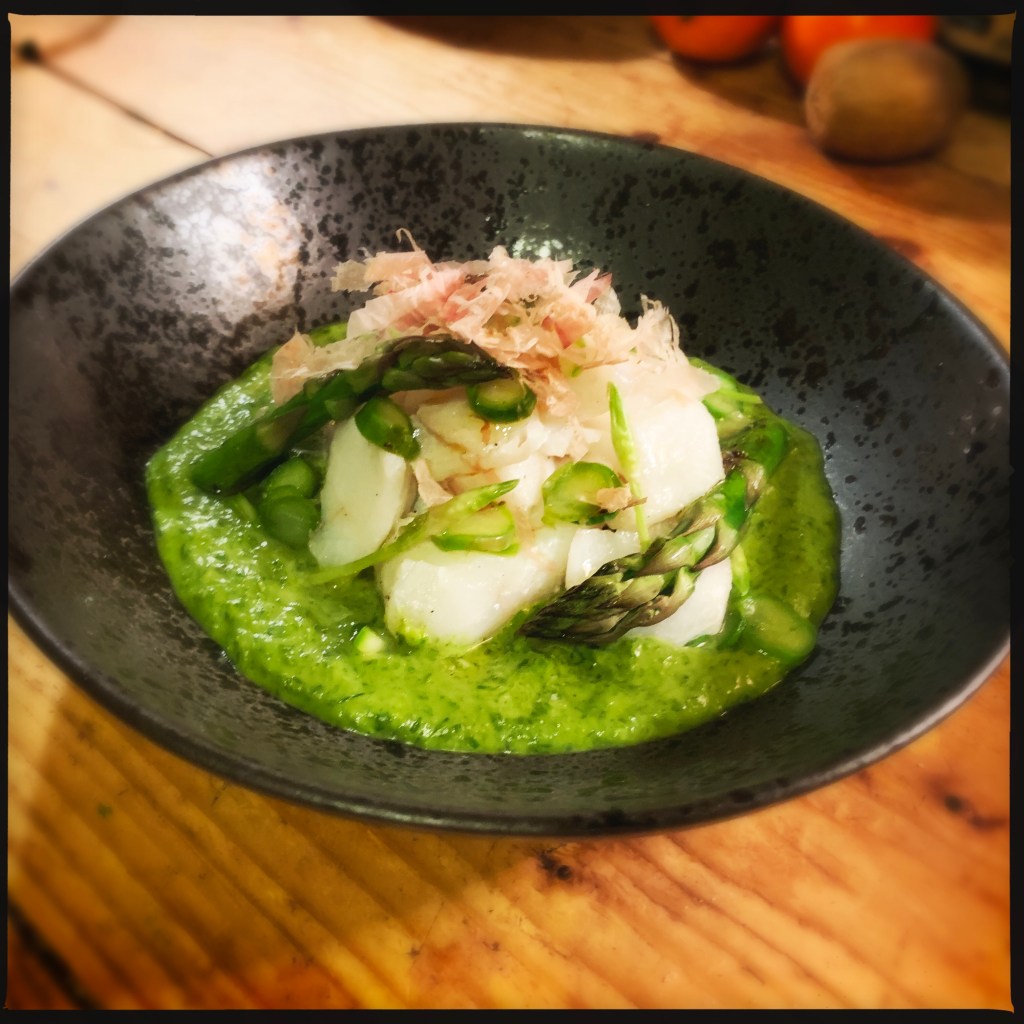
What you’ll have in the bow is your emerald green pea shell puree/stock
Now what?
Here are a few suggestions for using your pea shell stock
• Fold into pasta dishes and risottos
• Combine with ricotta cheese and spread onto bread as a crostini
• Use as a sauce
• Use as a garnish
• Special cocktails
• Mix into smoothies or juices
I hope you try this , if you need help just contact me.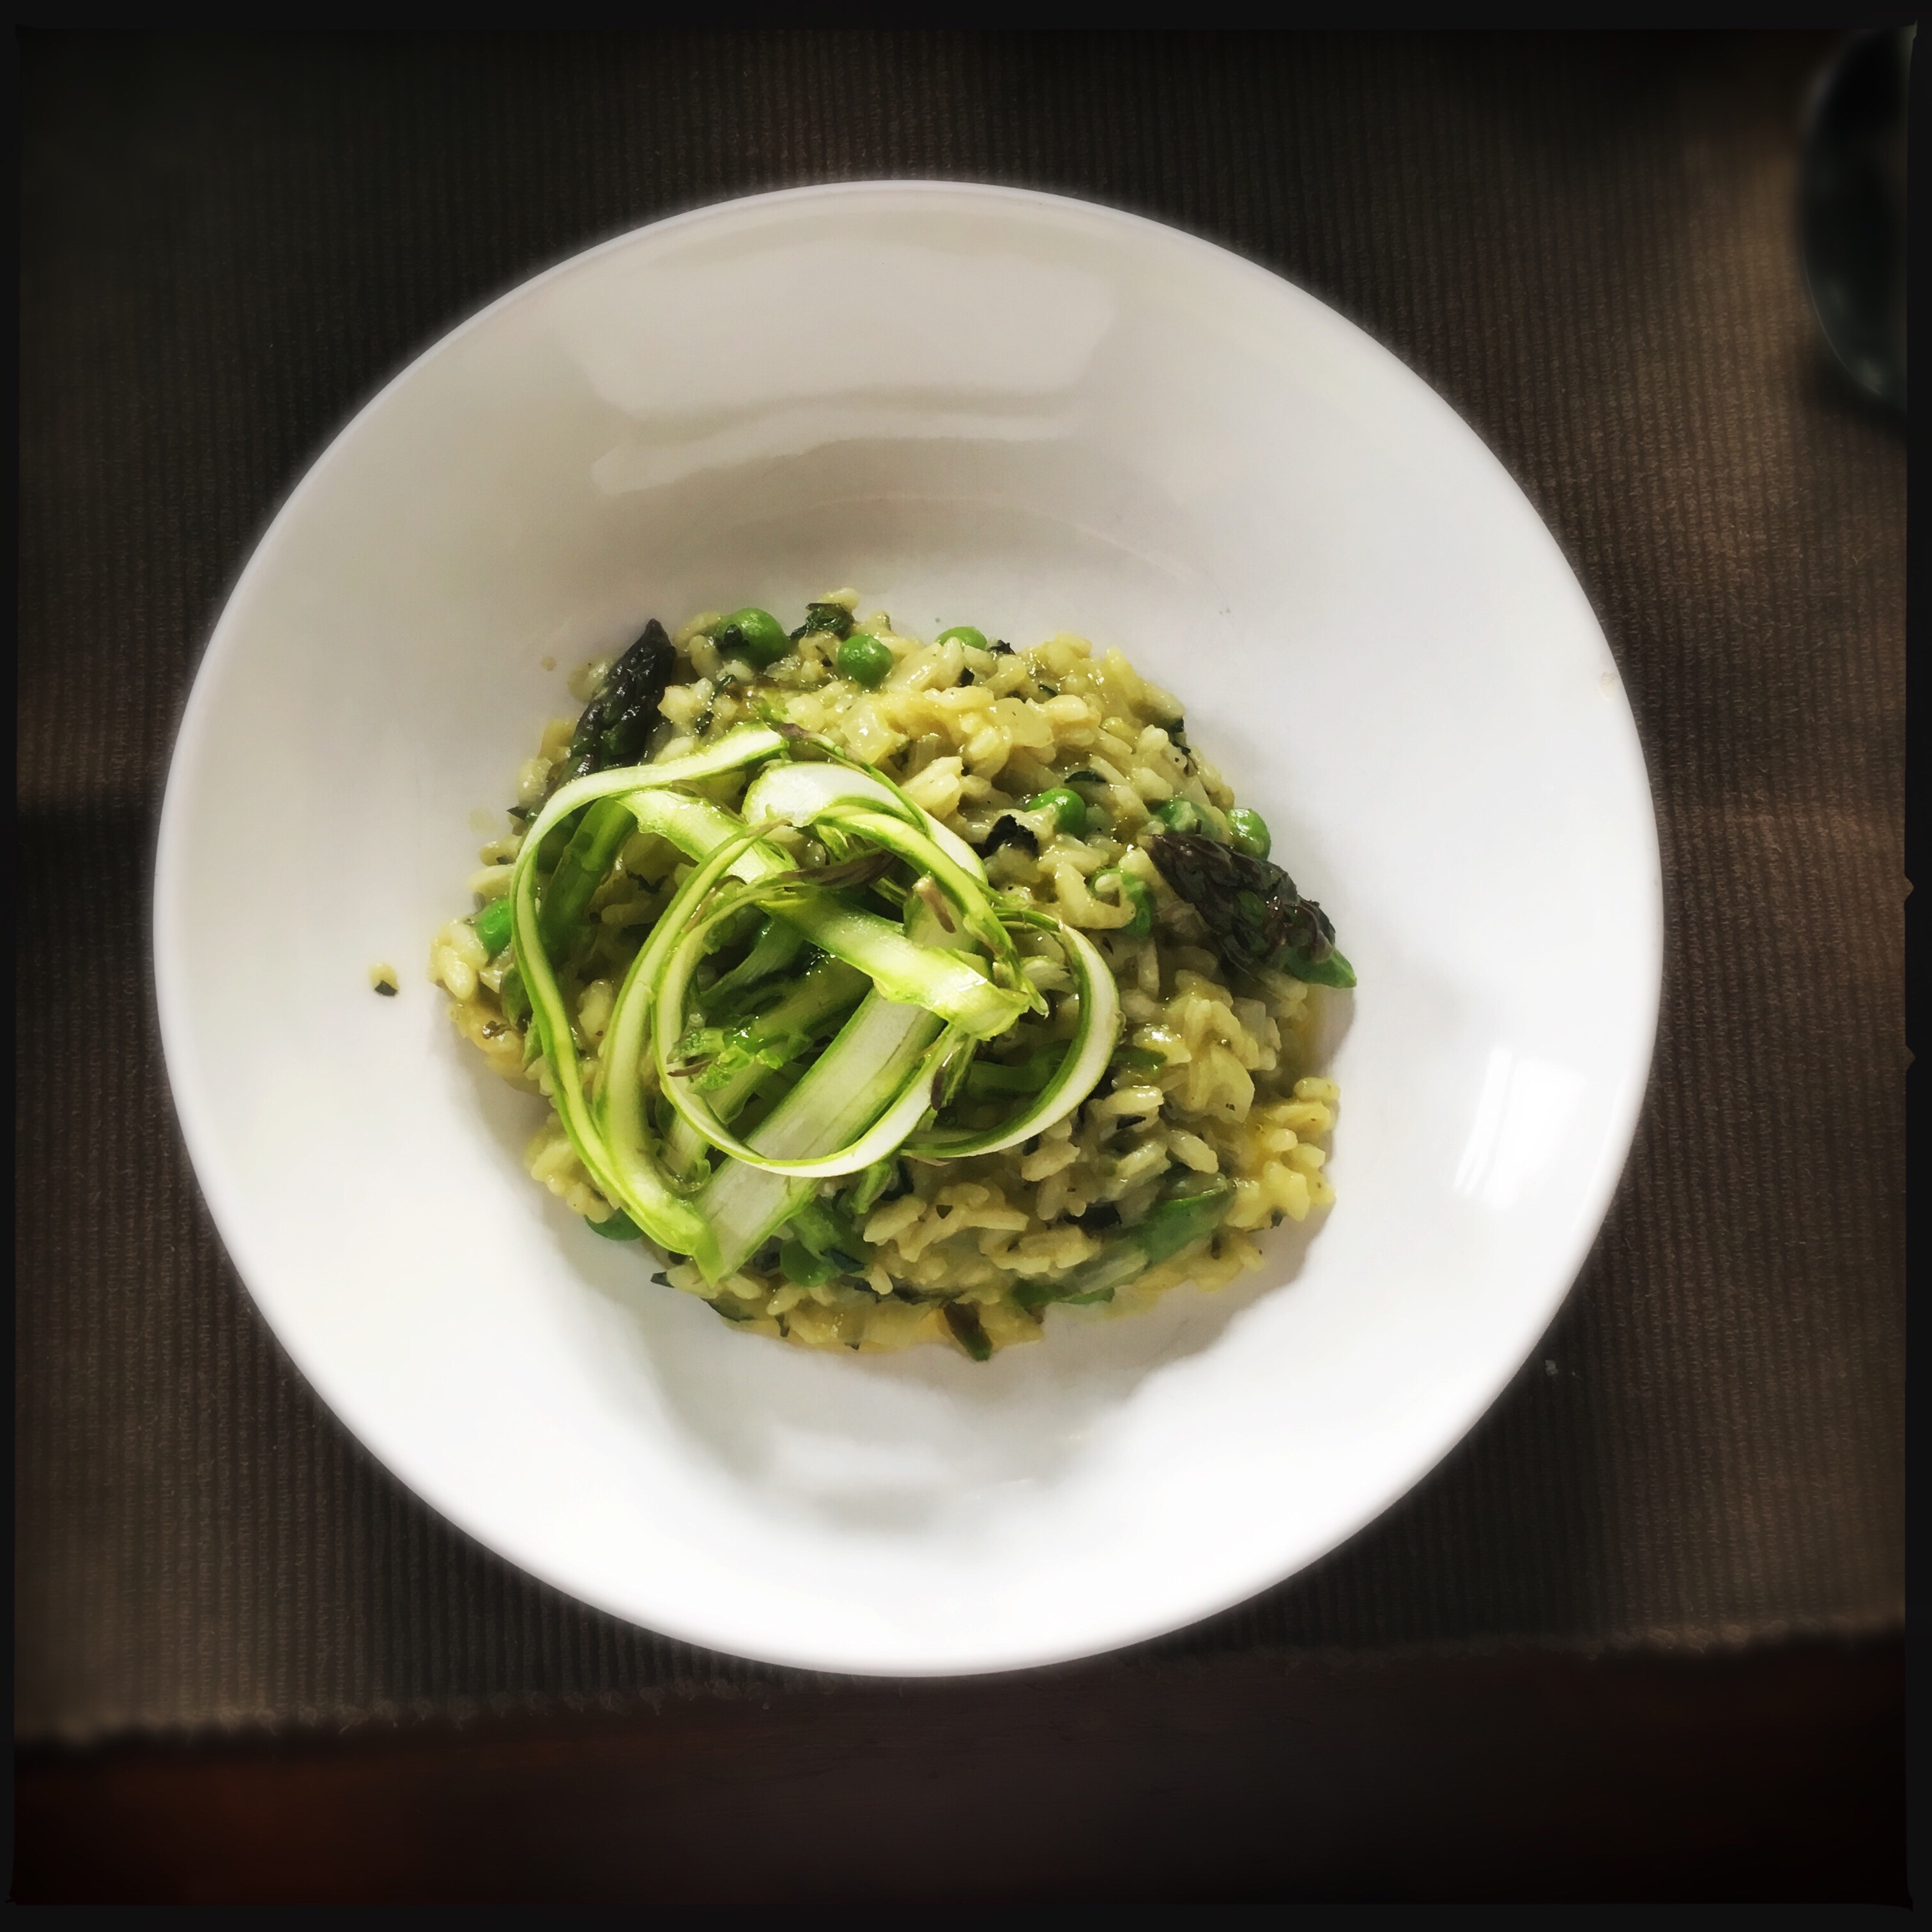


 p
p


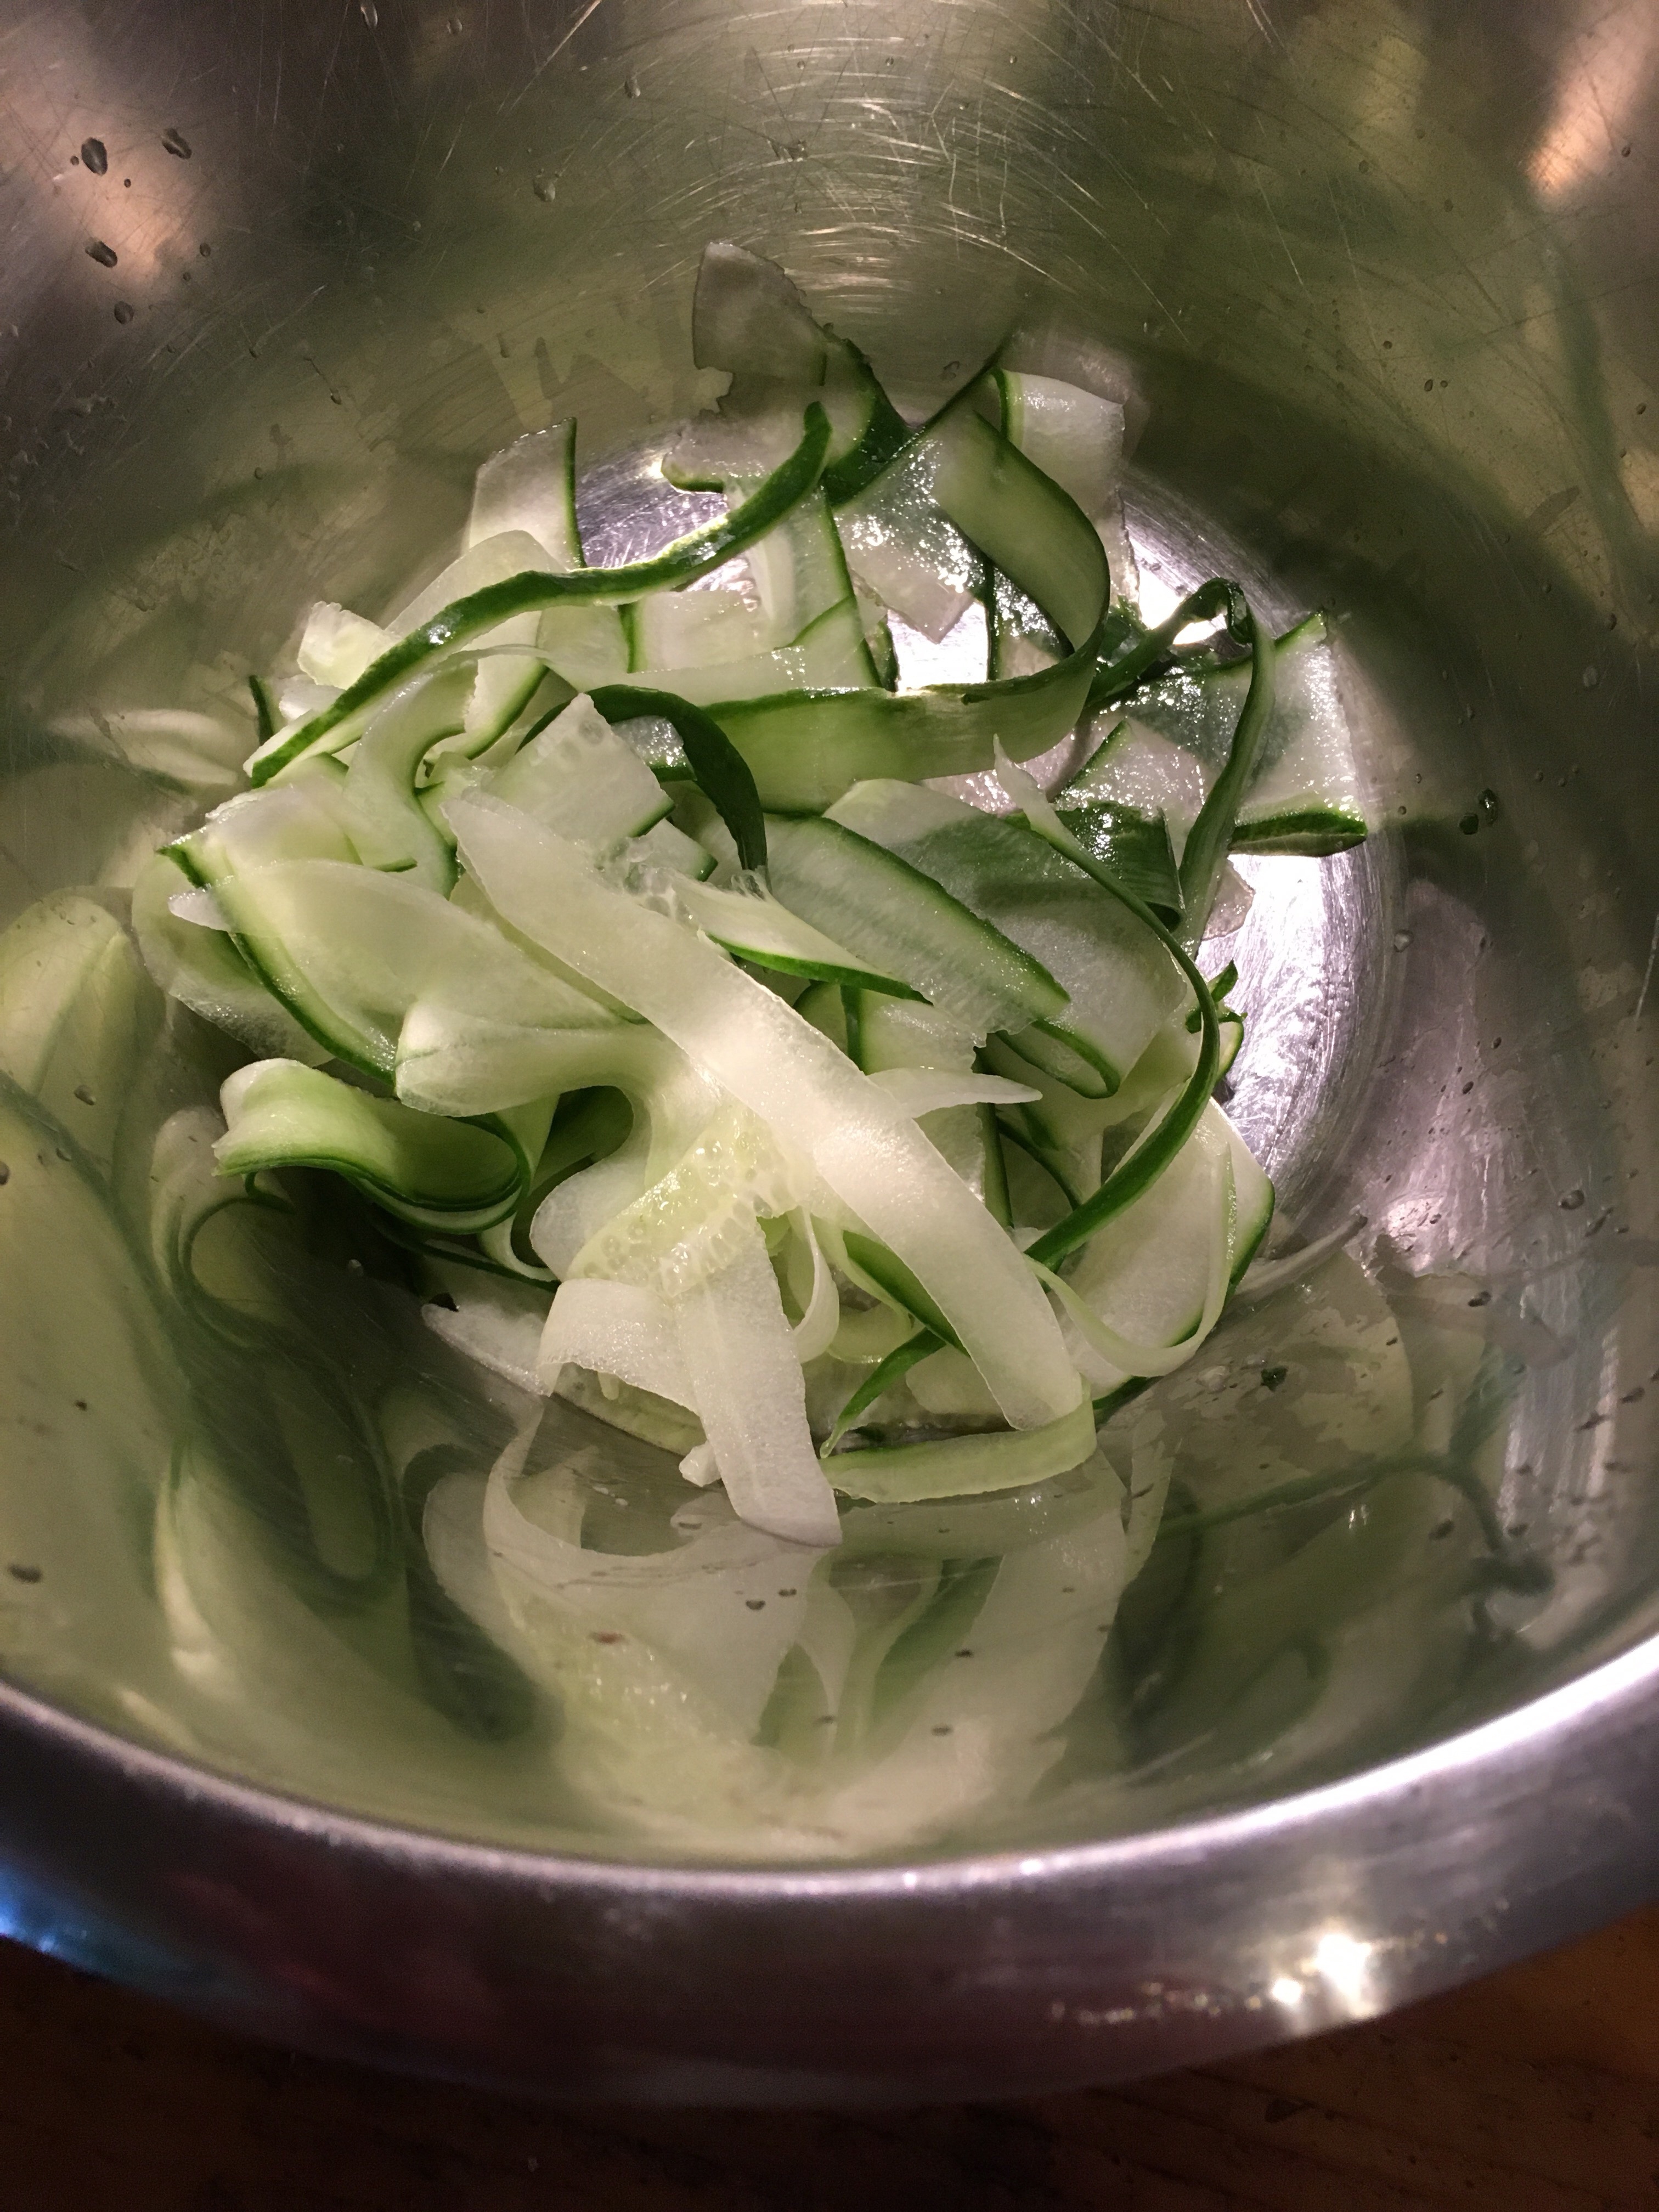
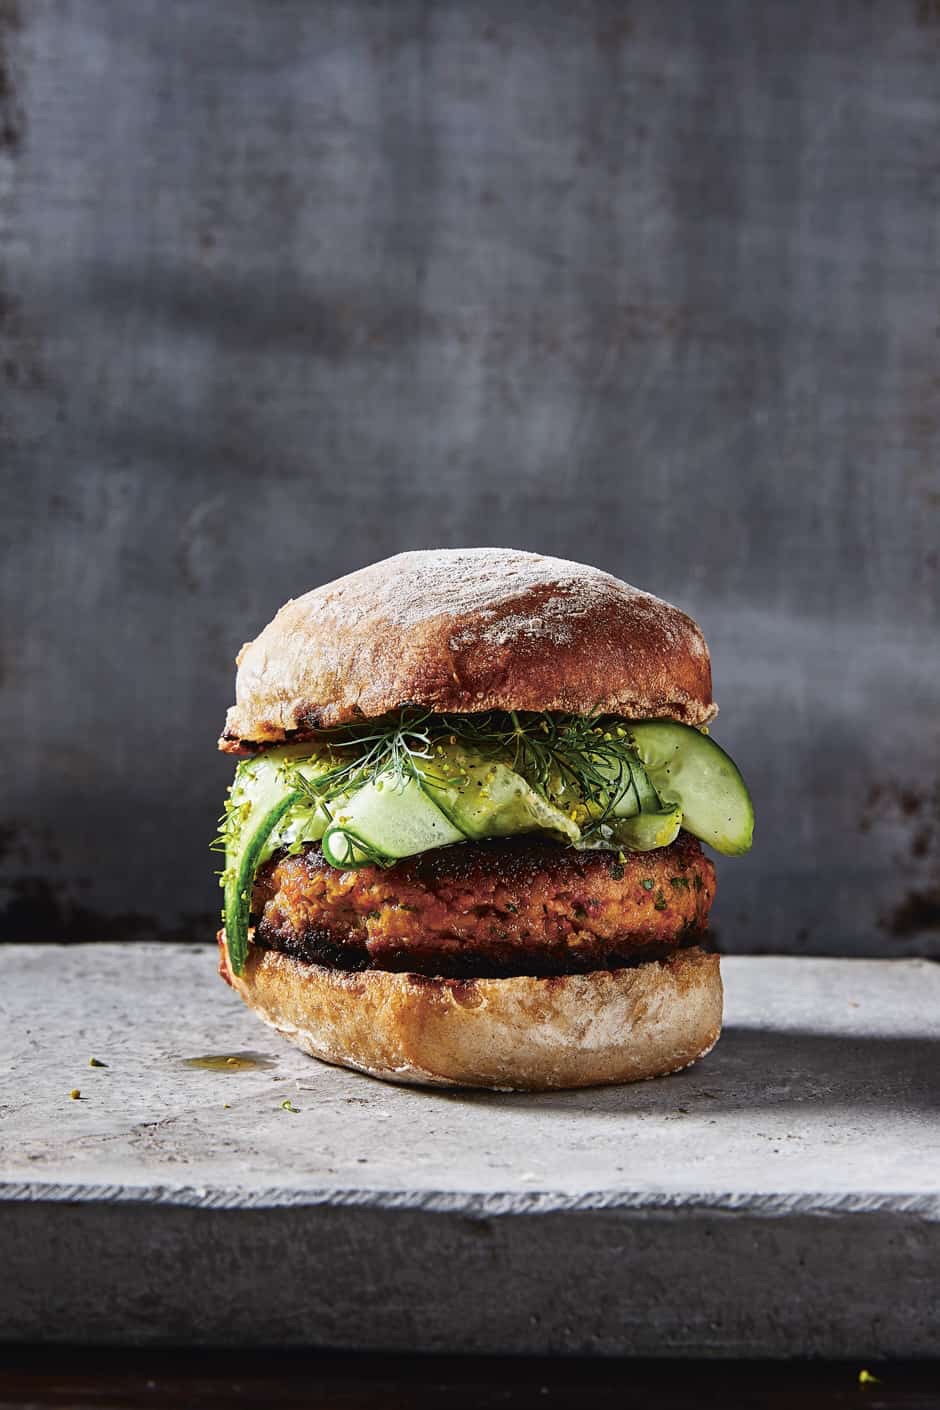
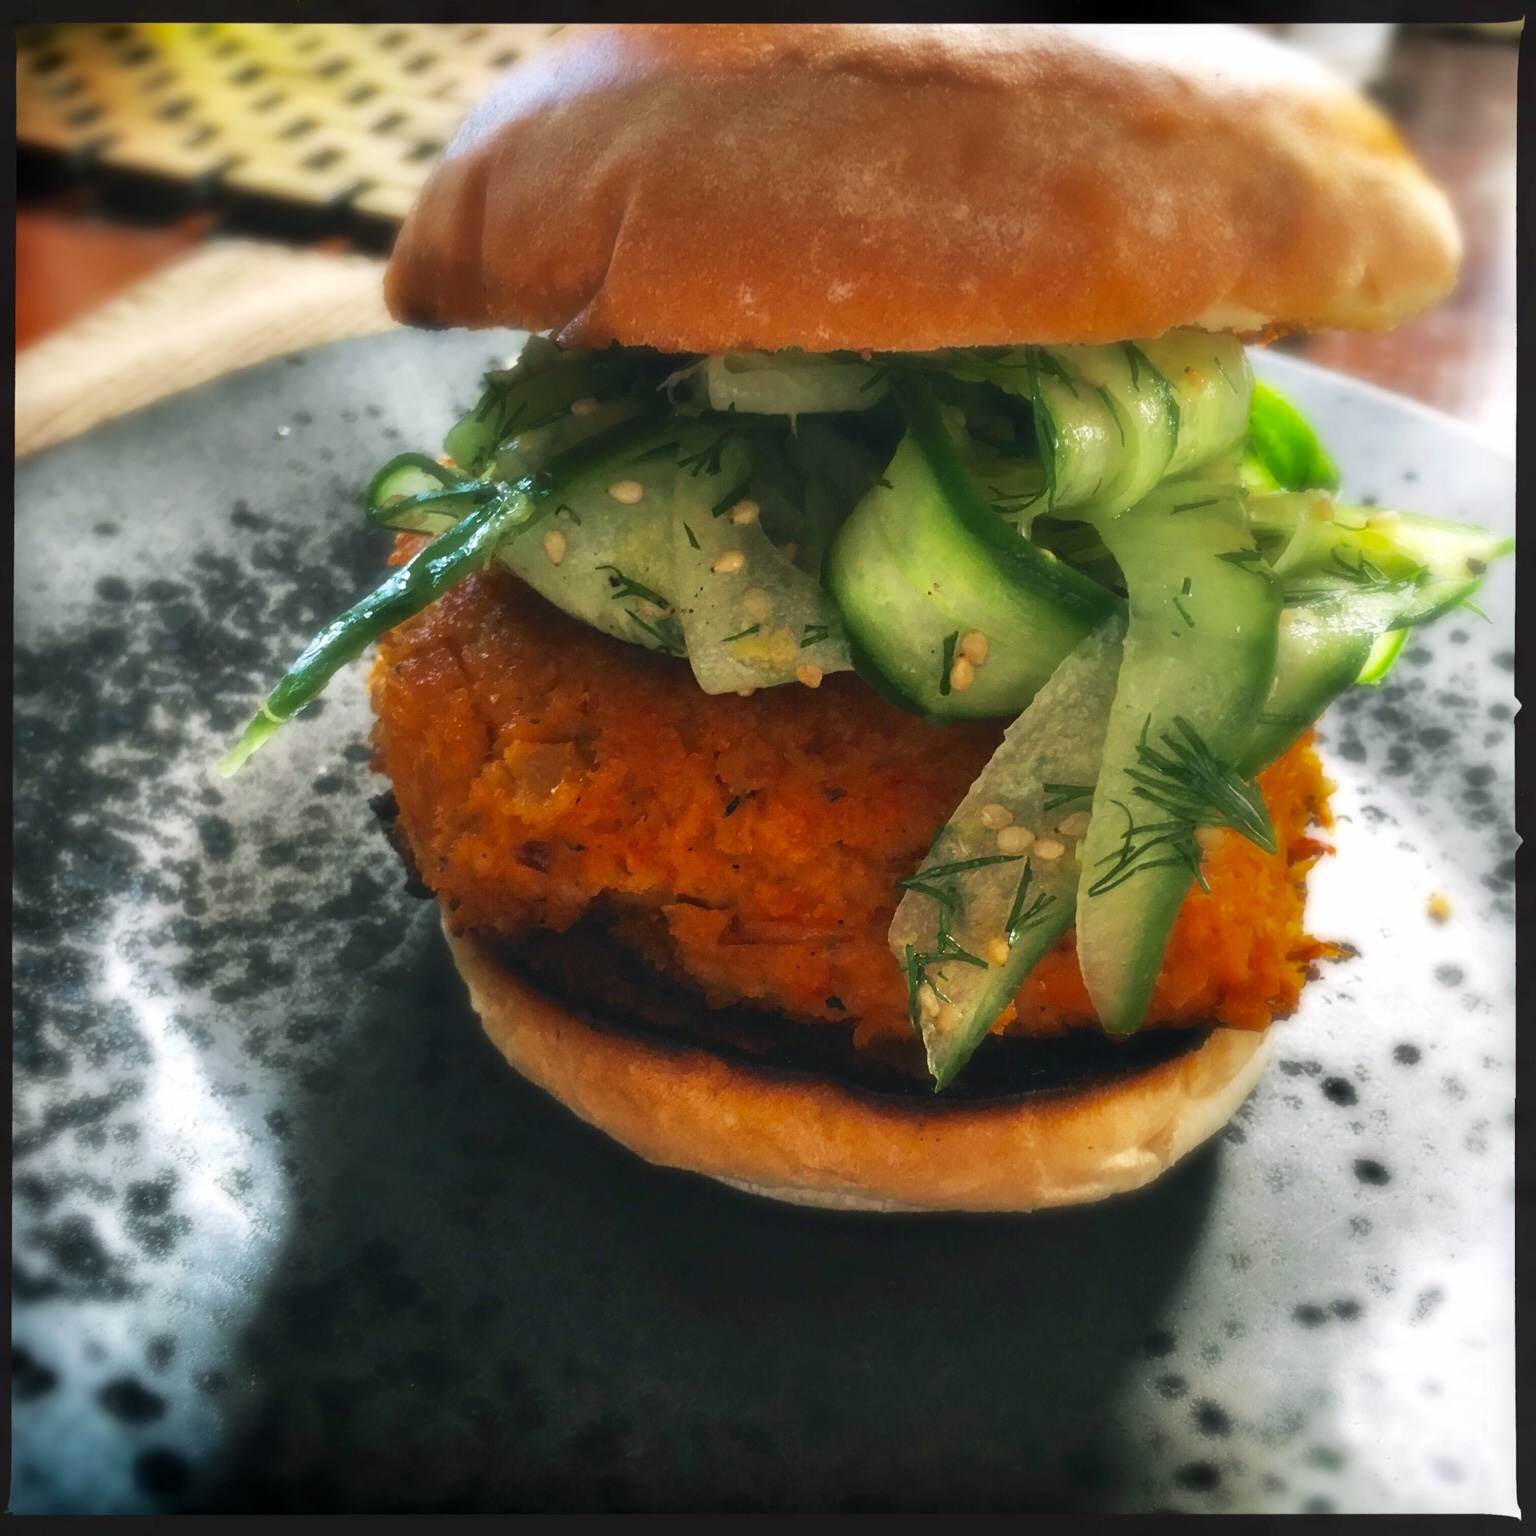 There’s more to veggie burgers than beans and lentils. This meat-free option comes from chef Martin Nordins fantastic book green burgers.
 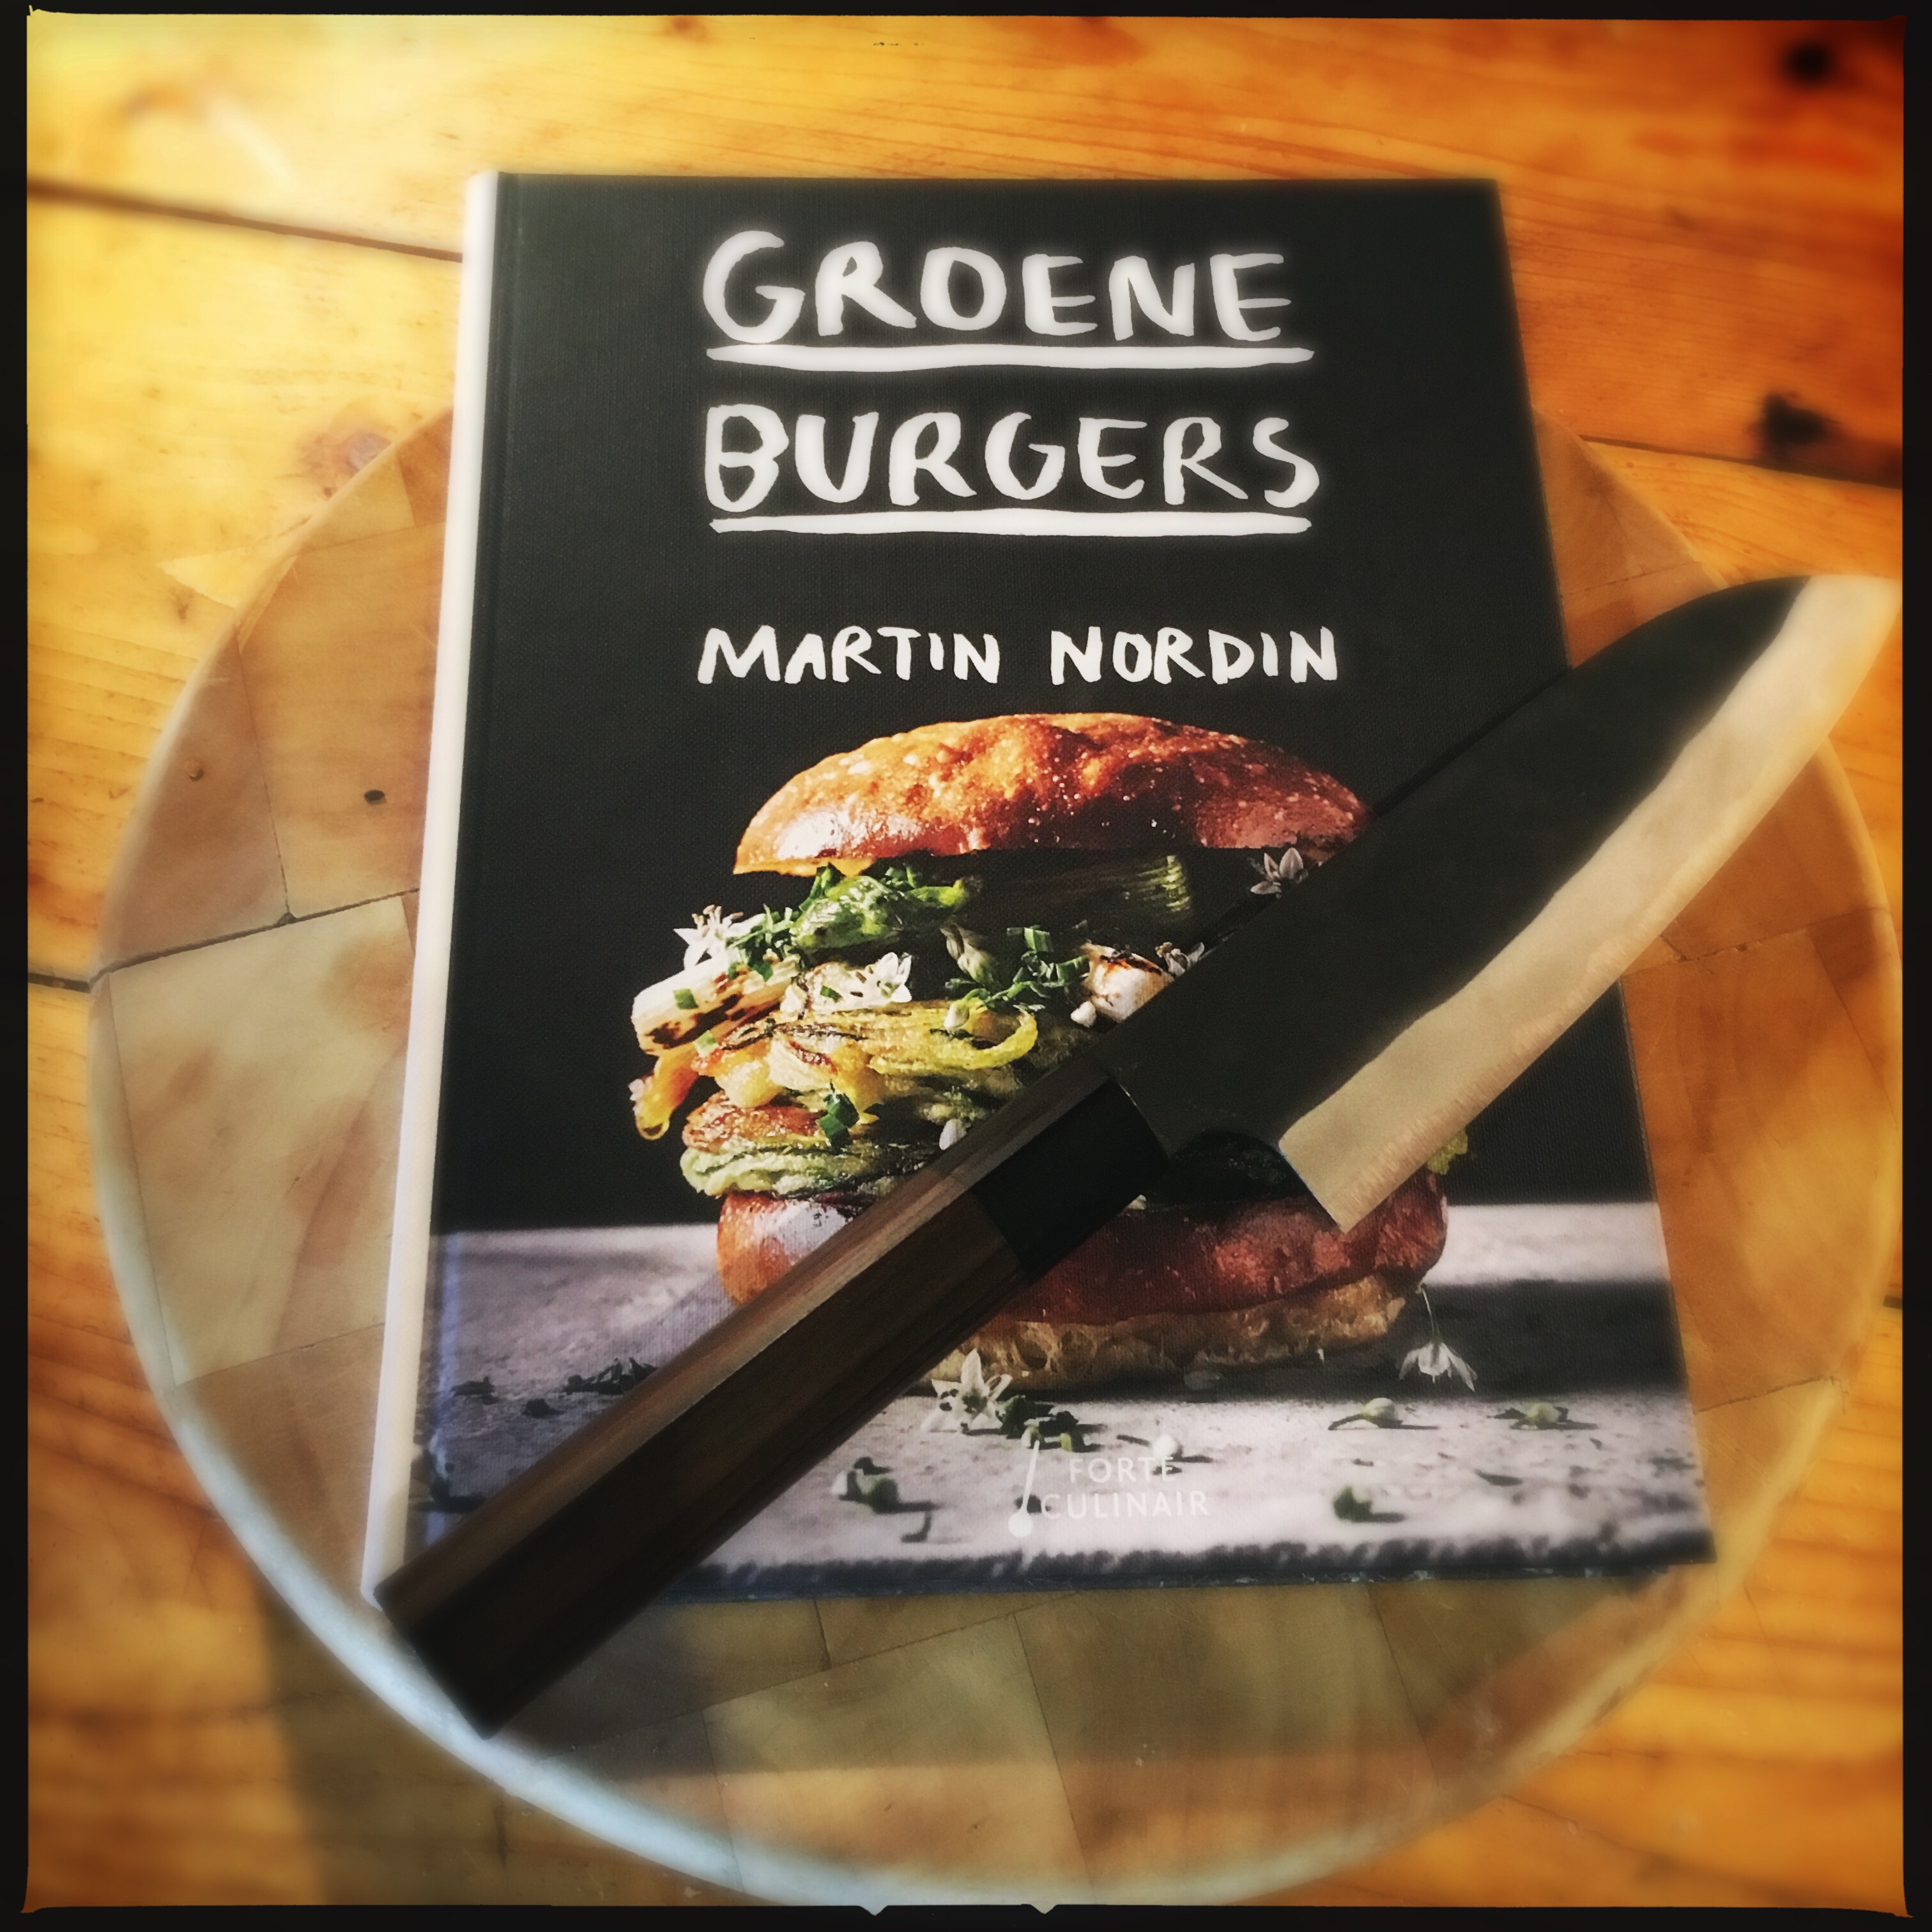 With his permission I’m able to share this recipe with you , but I have added lemon juice to the cucumber salad as a slight touch of sourness is my preference.
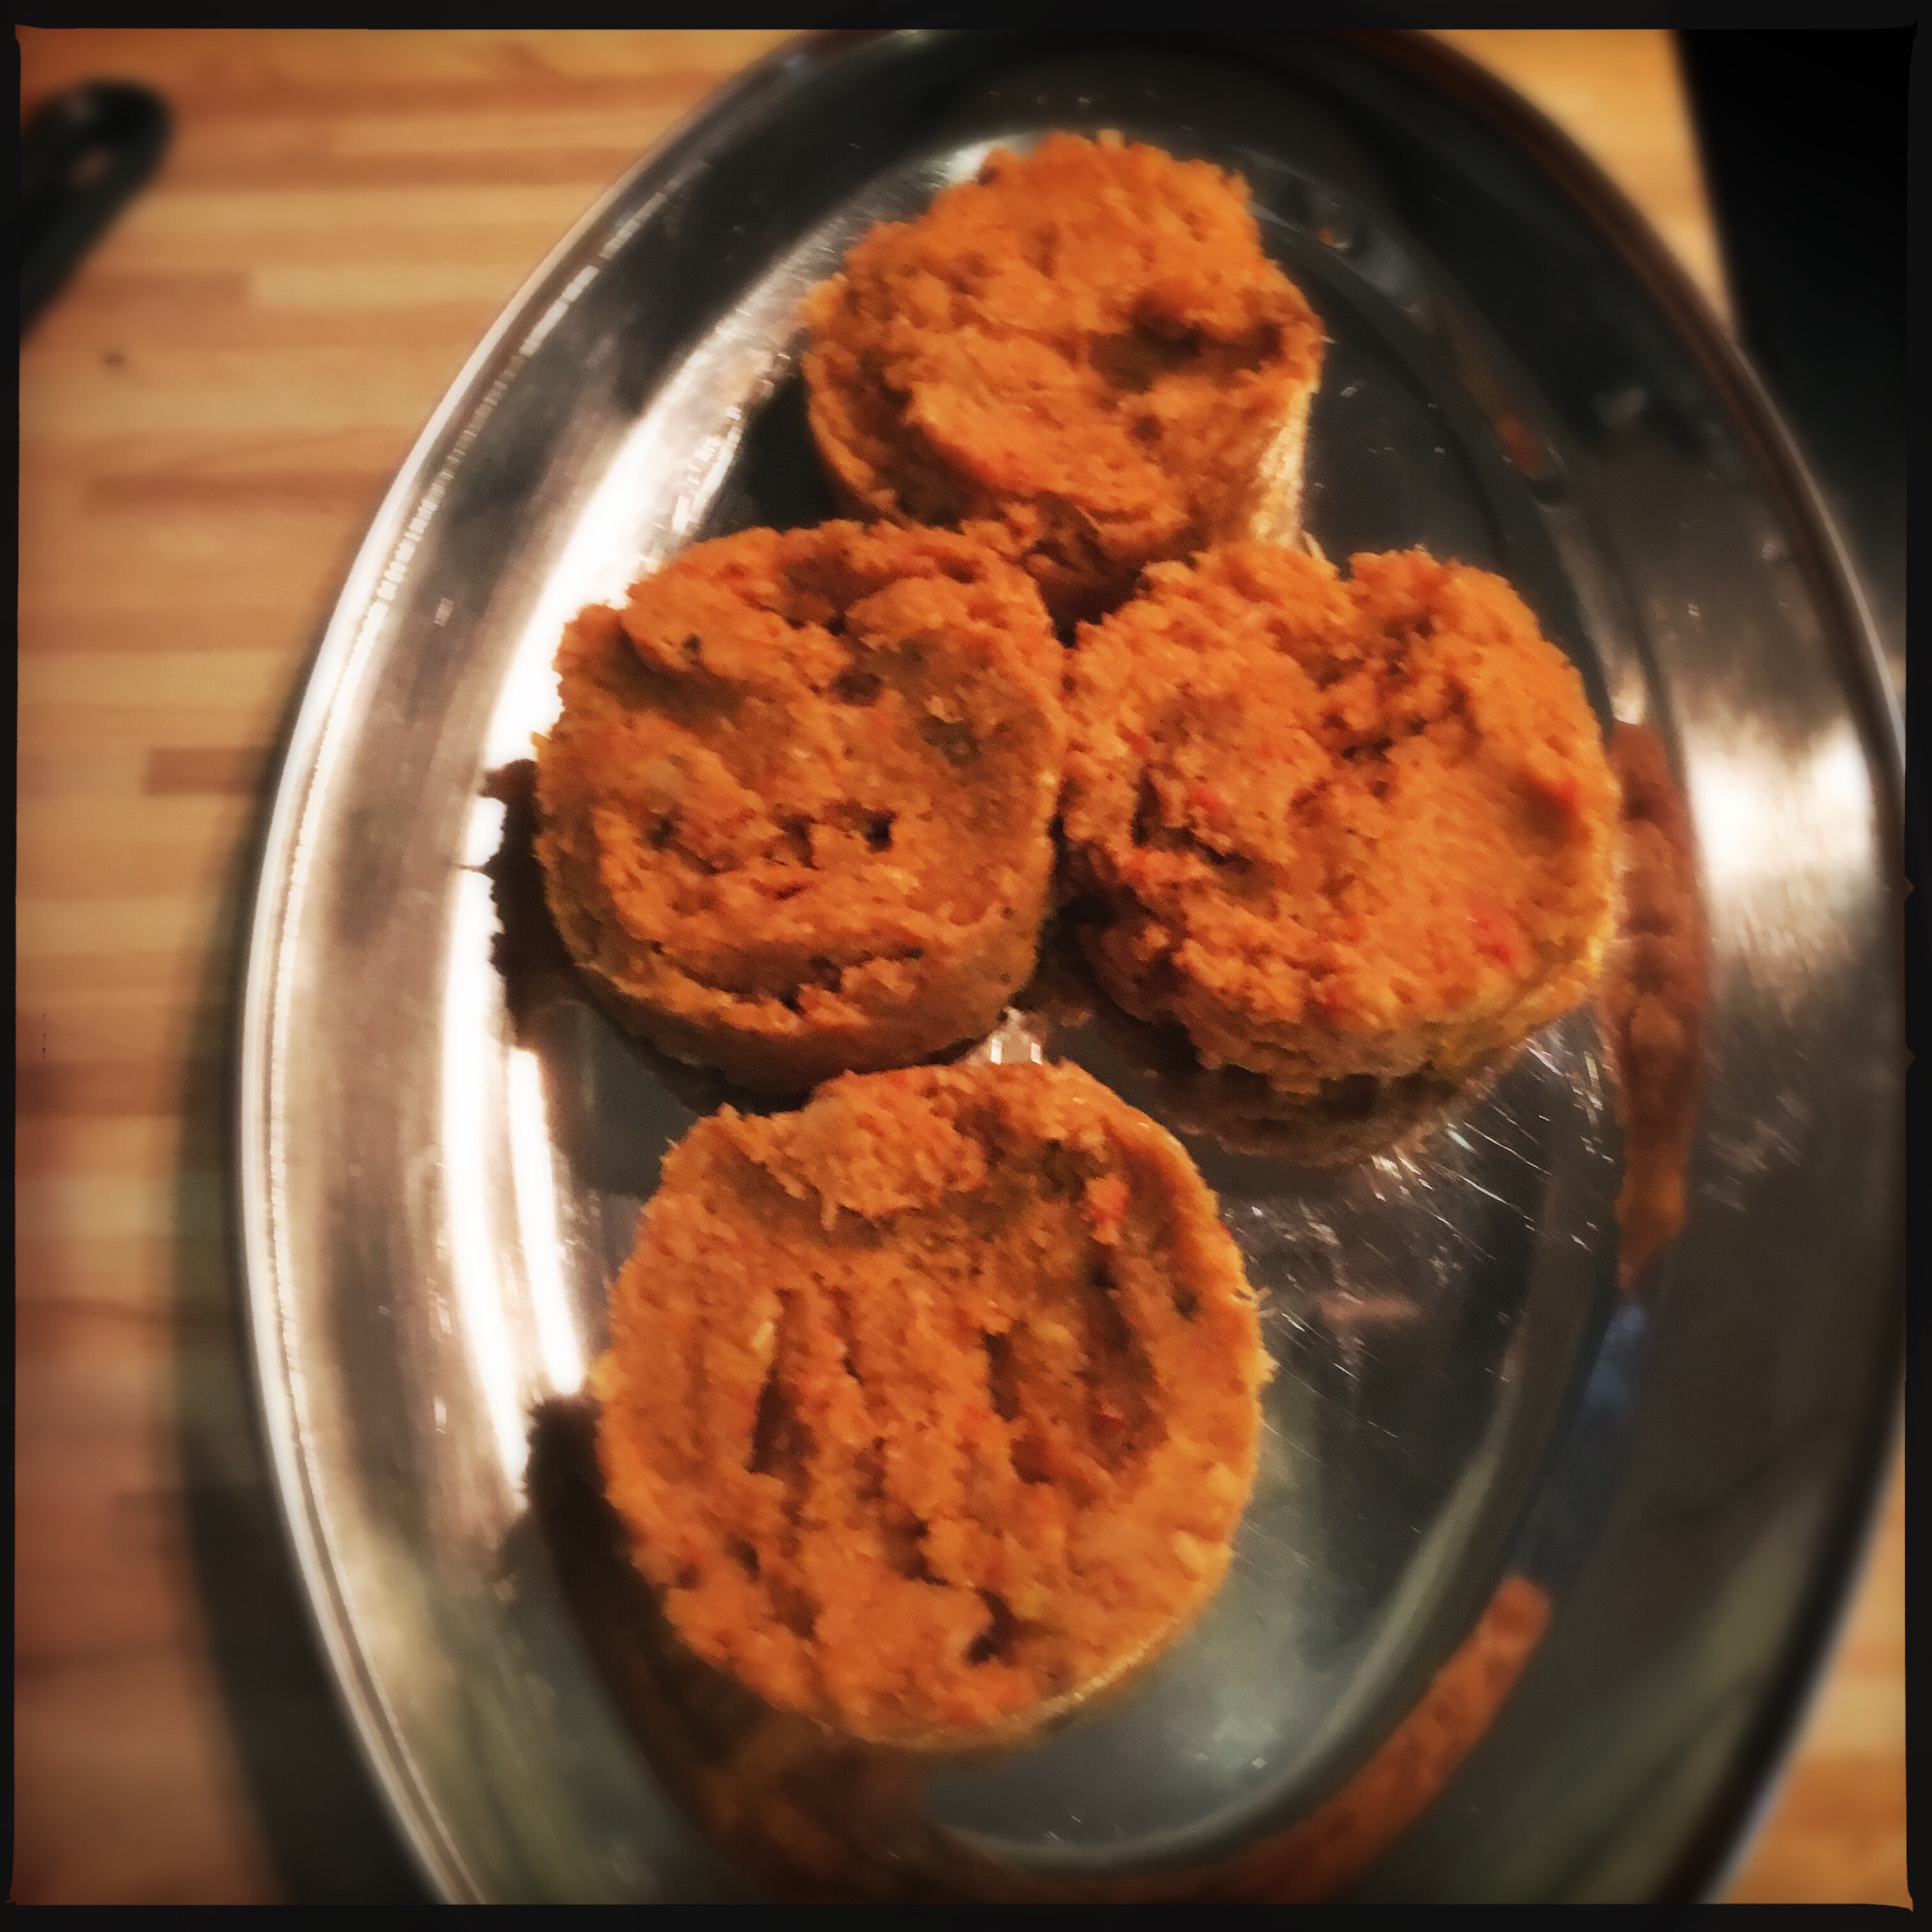

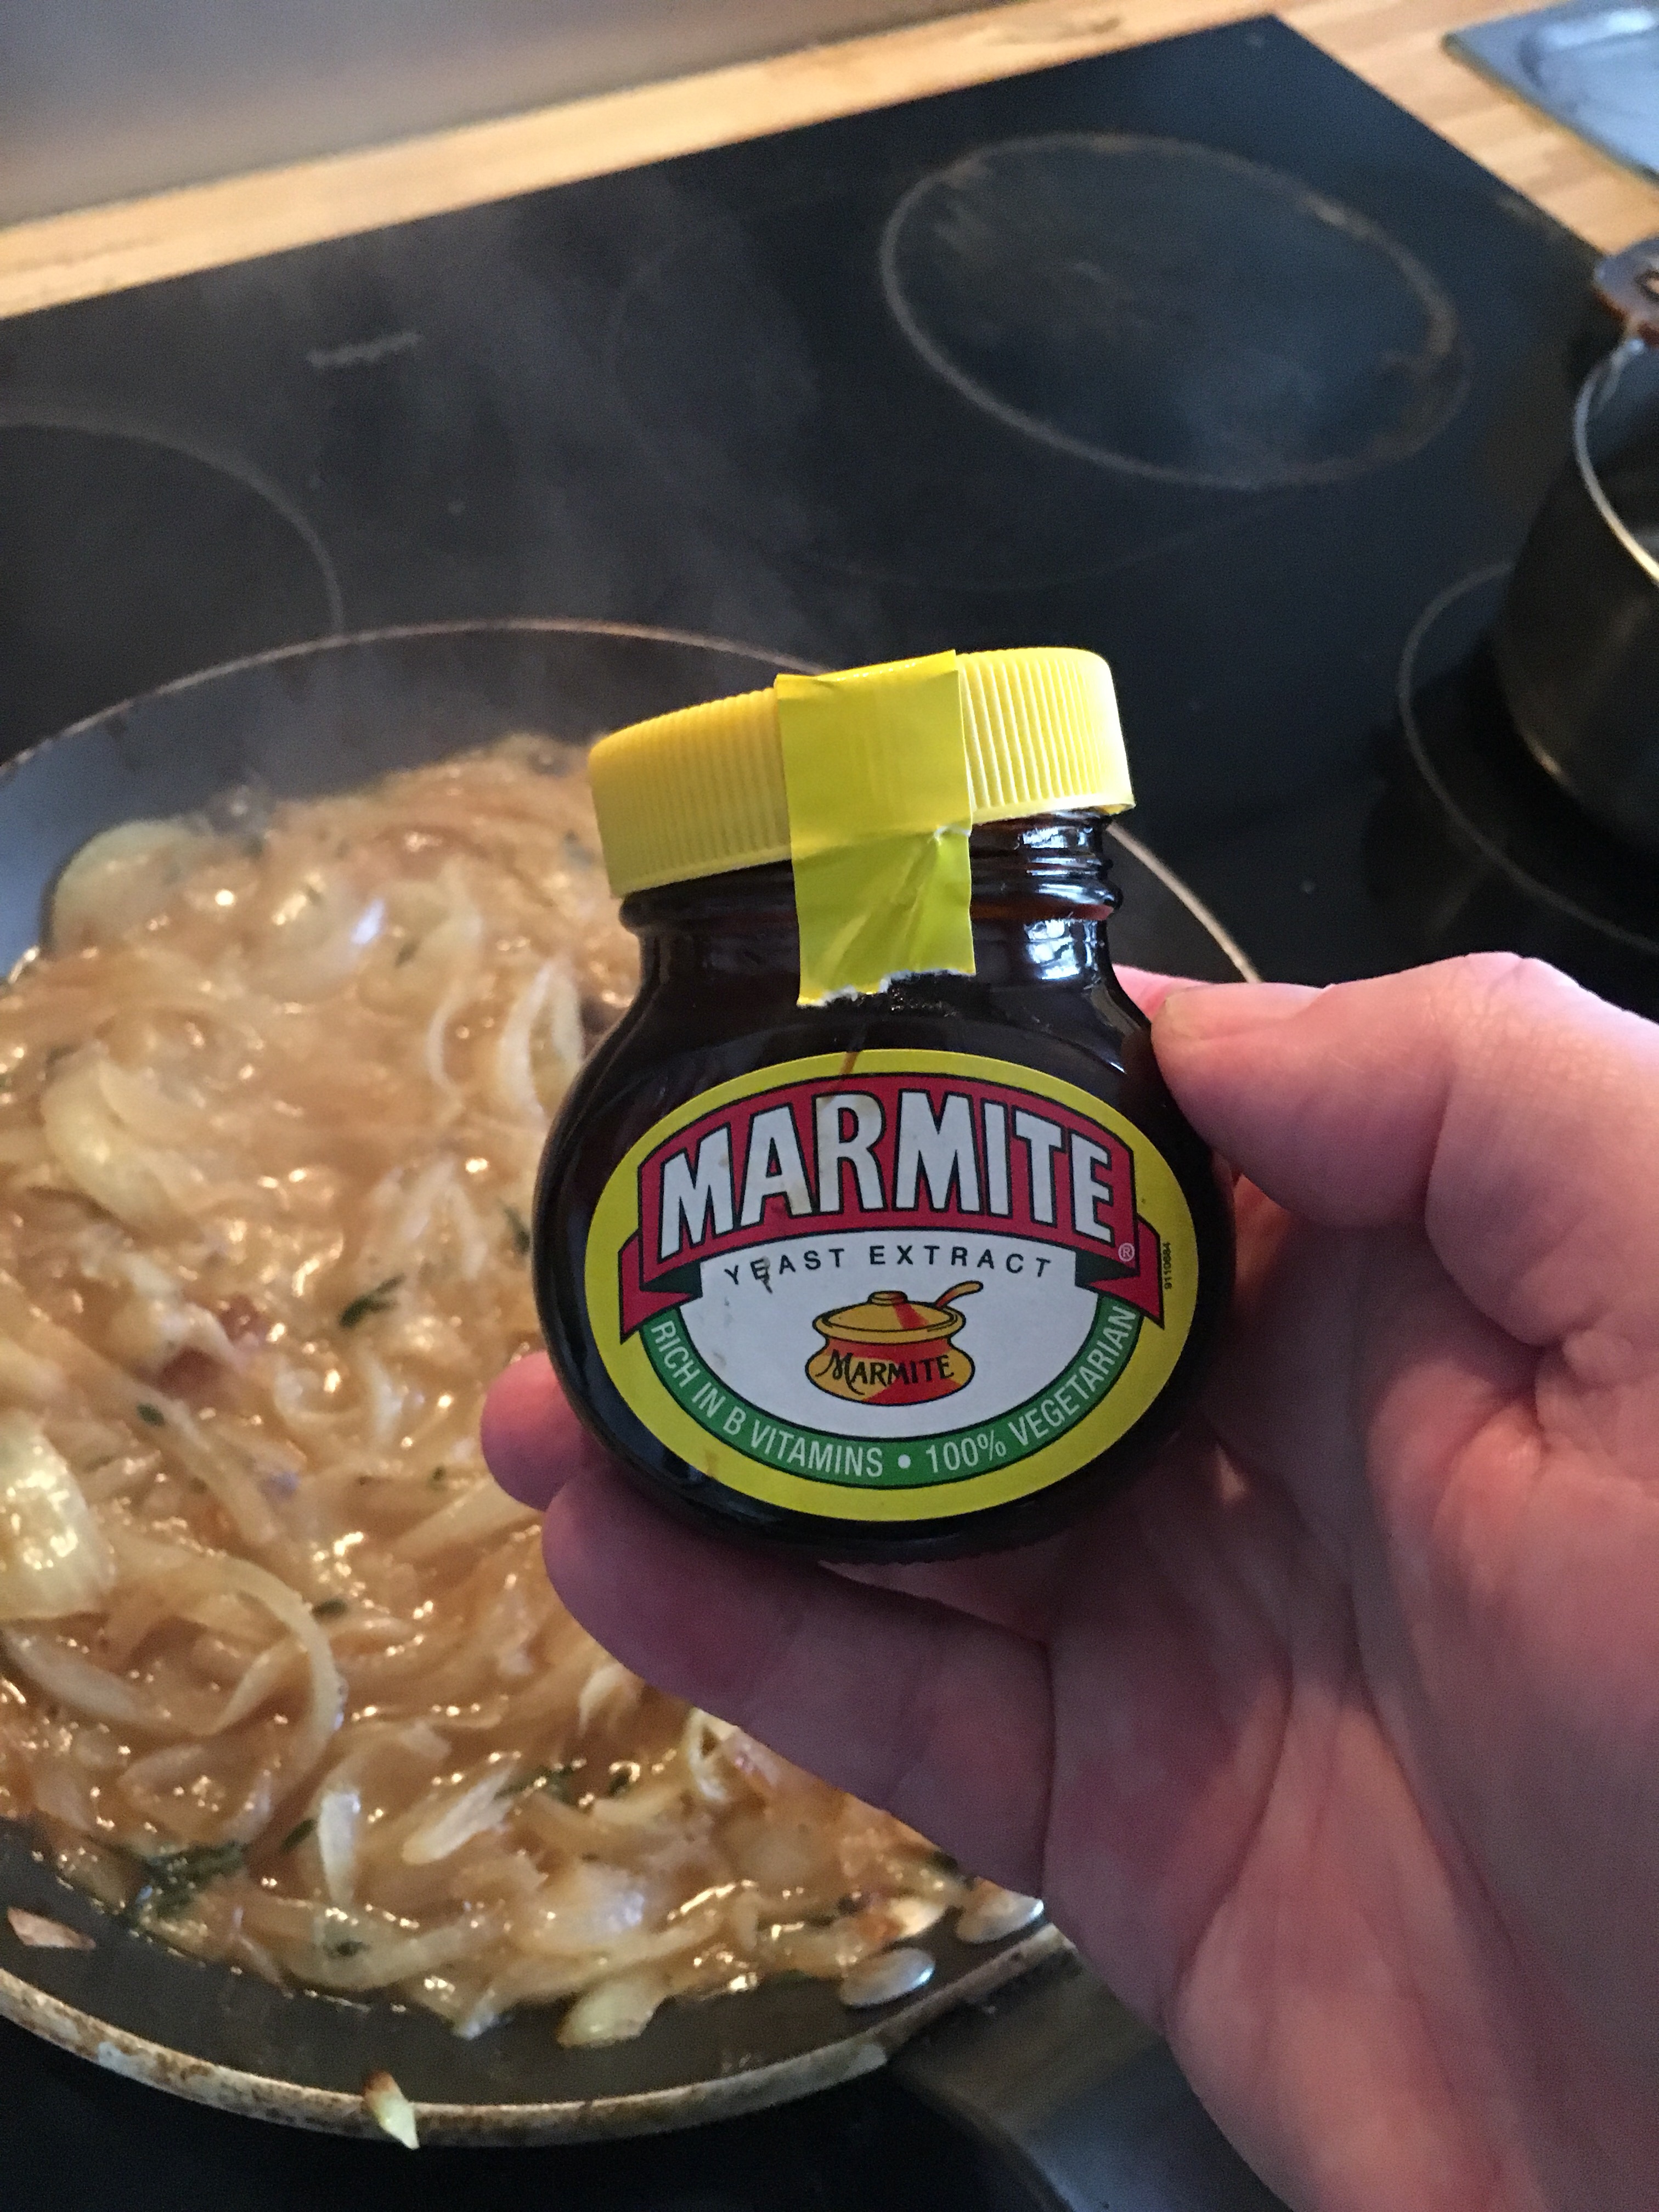
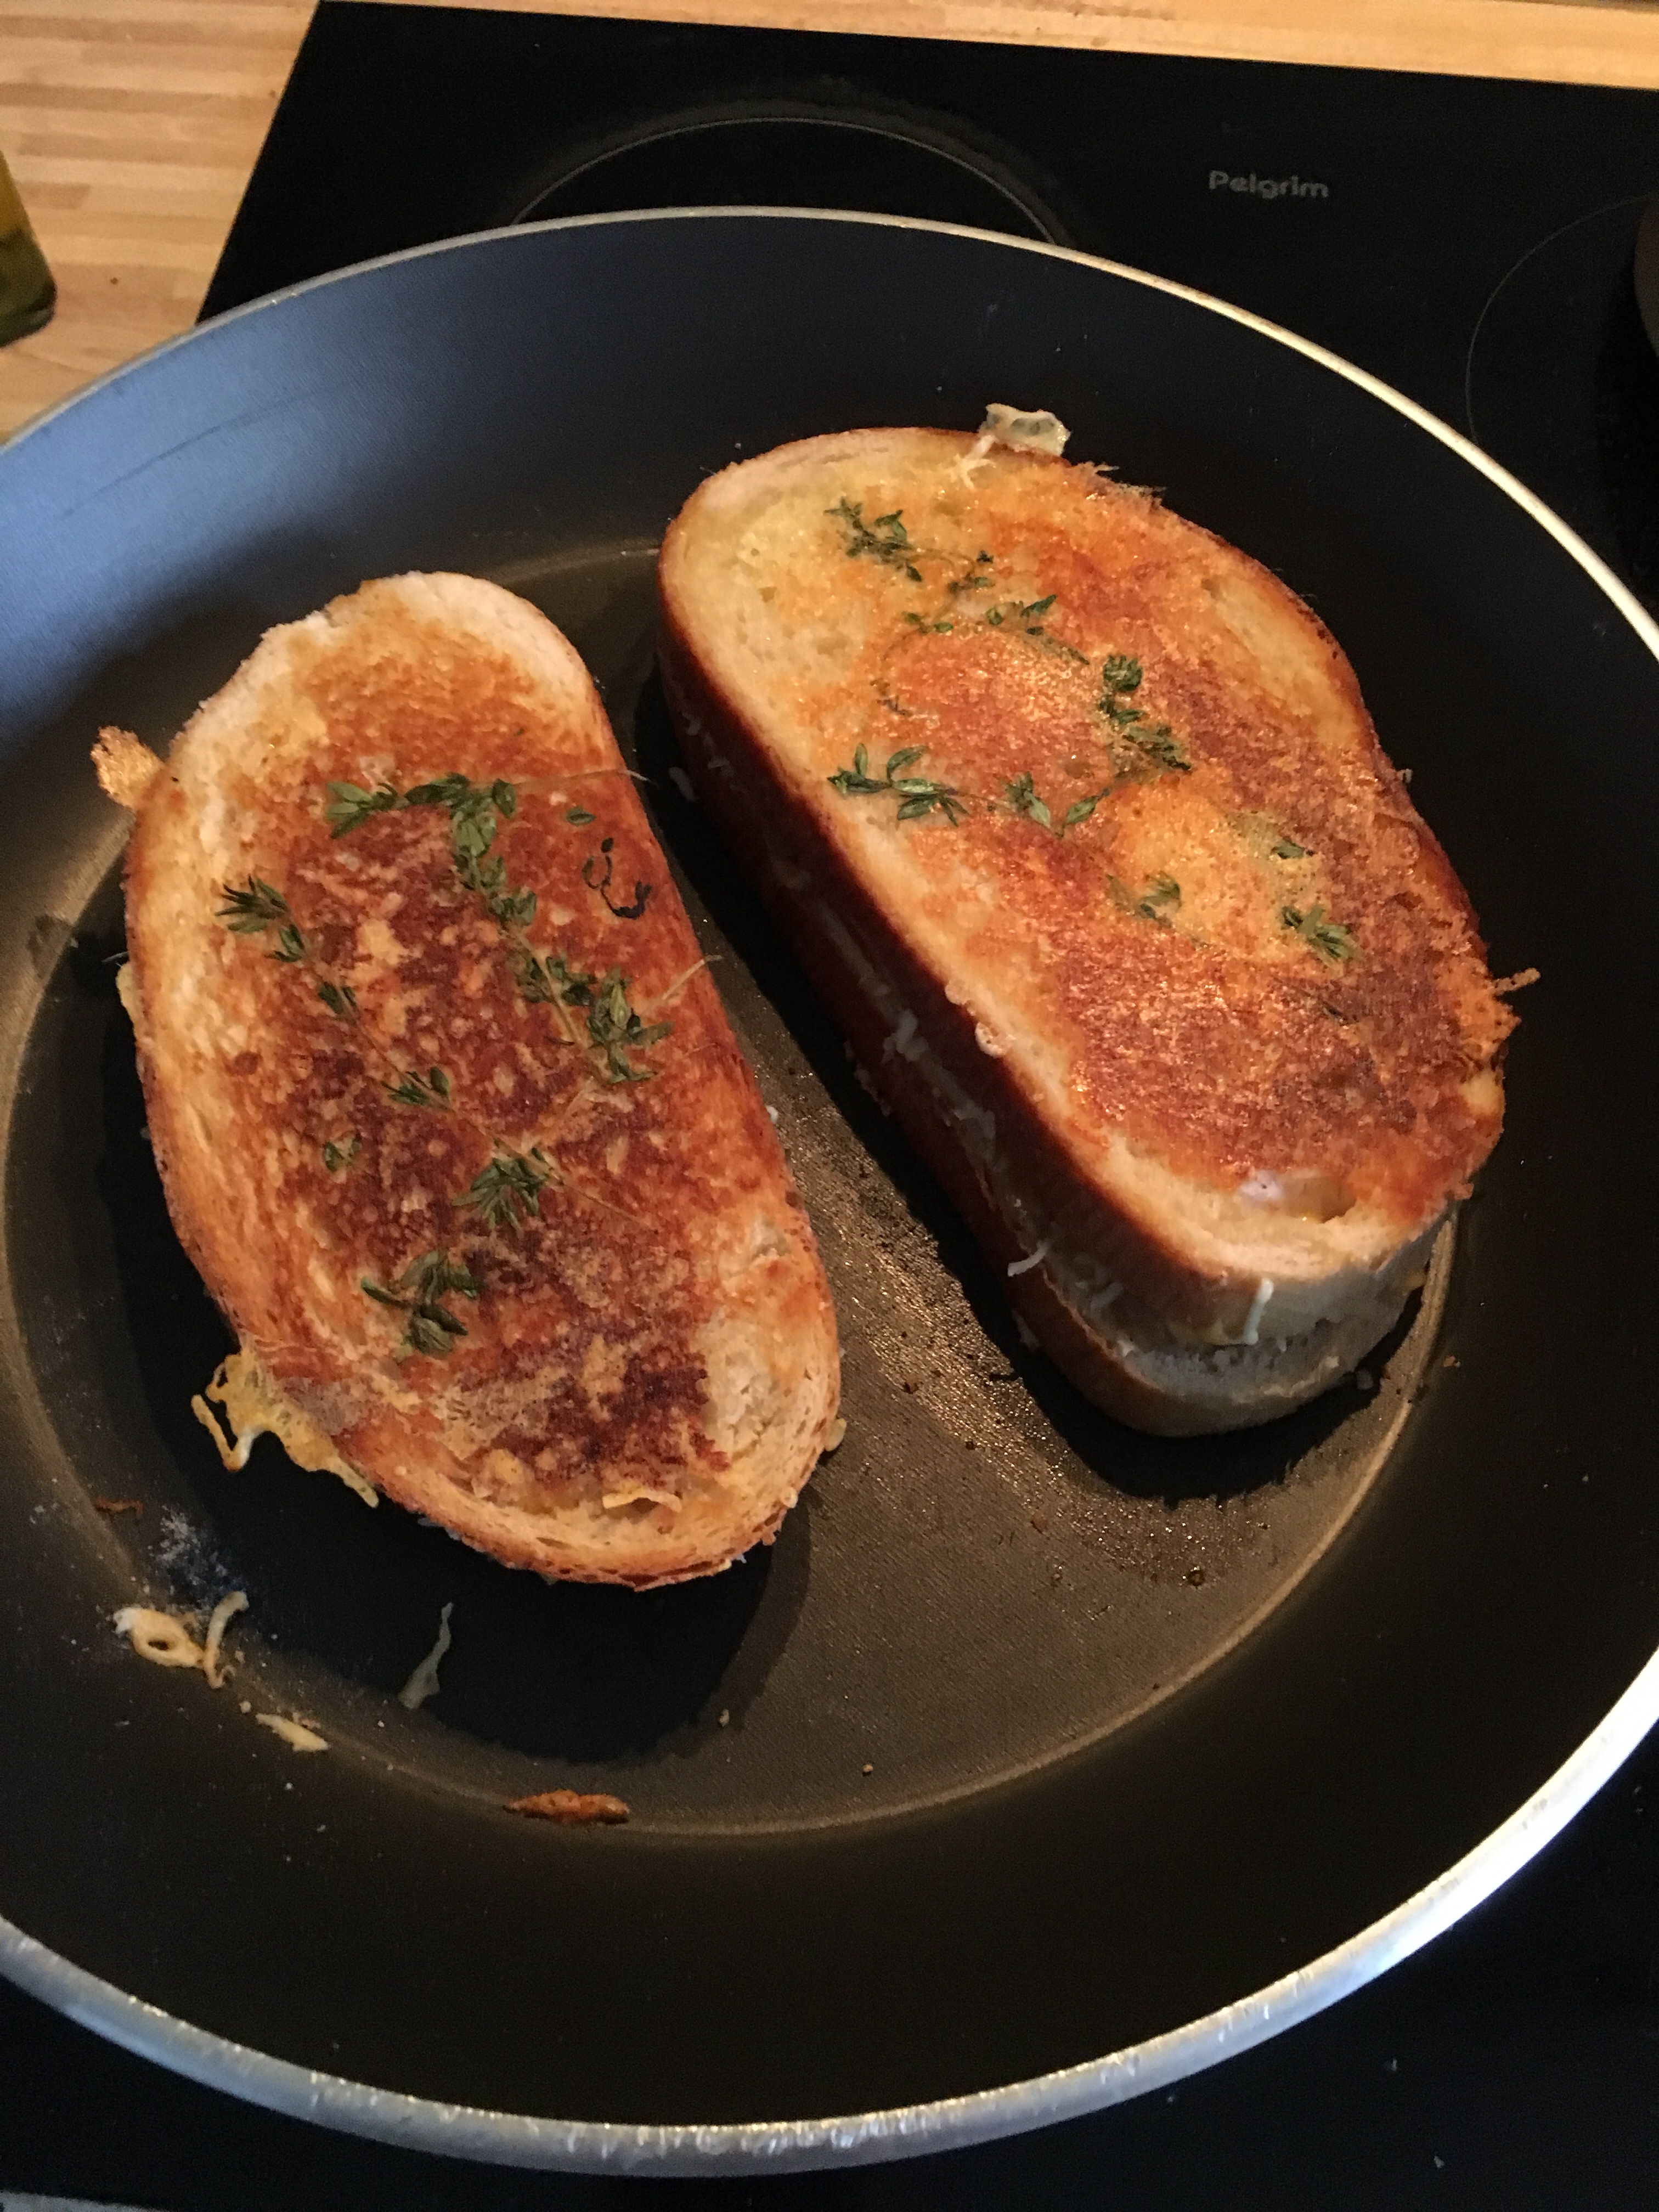
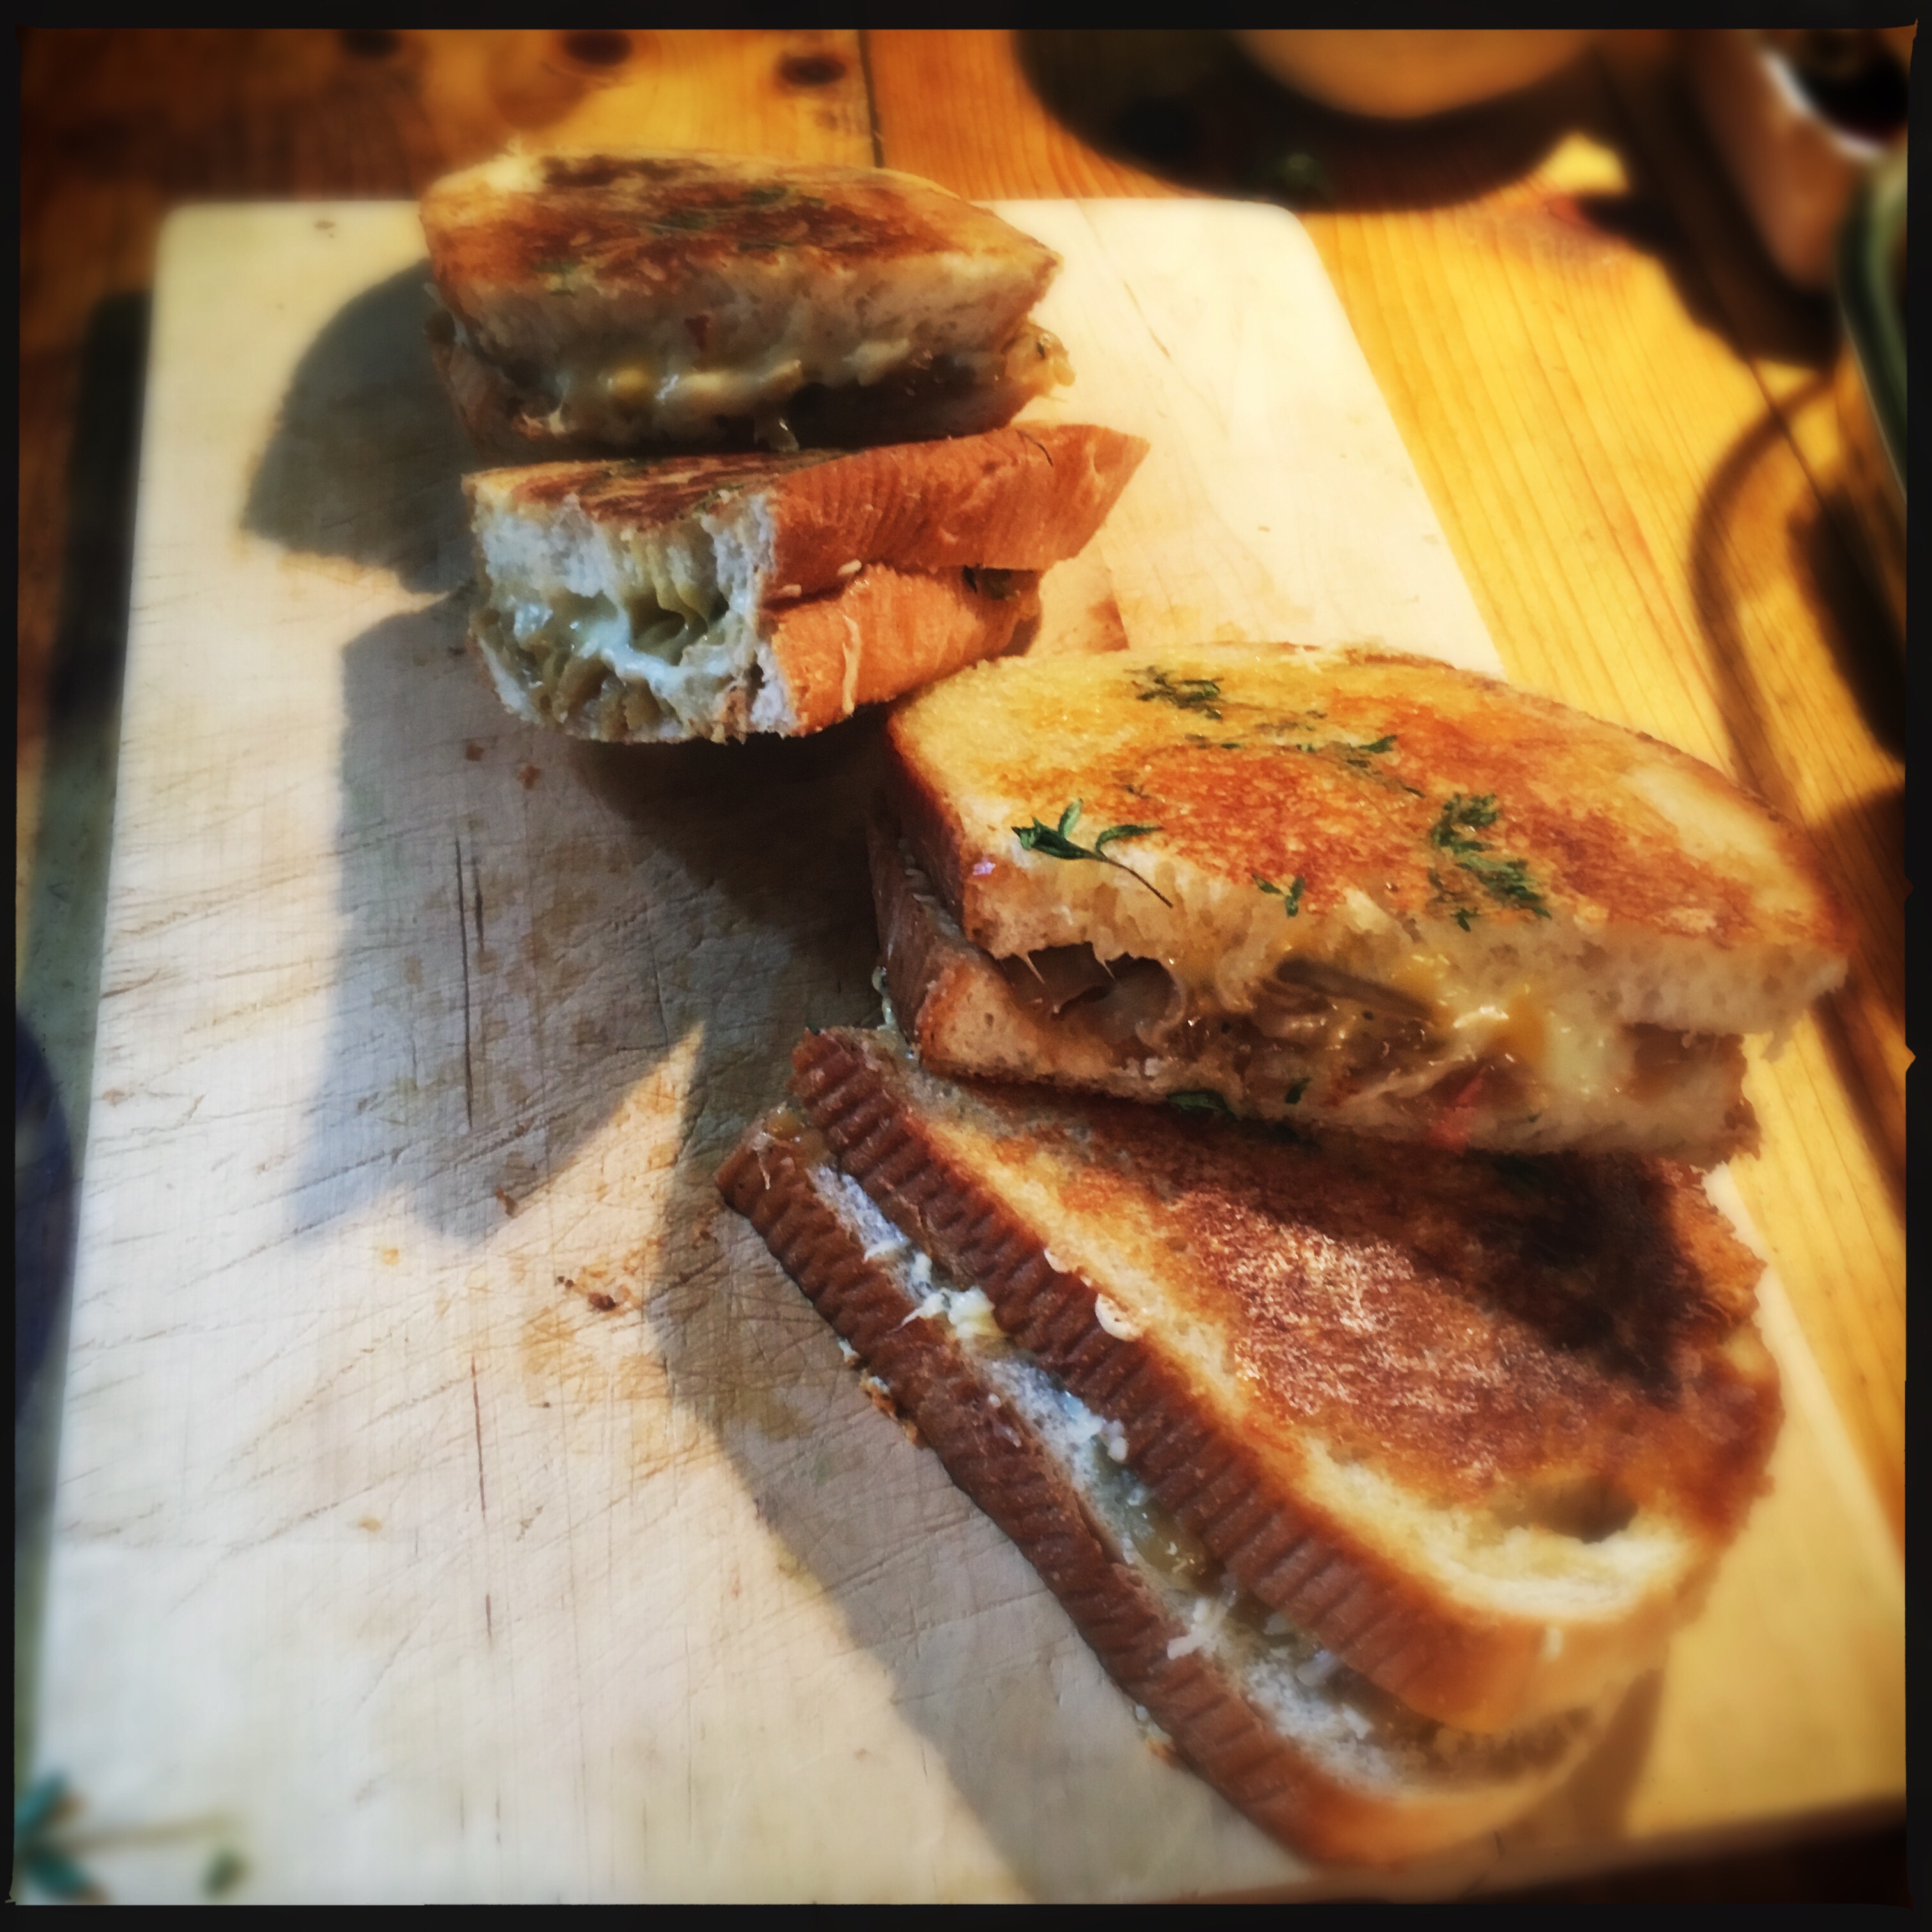
 French Onion Soup Cheese Toastie – a French classic in a cosy toastie!
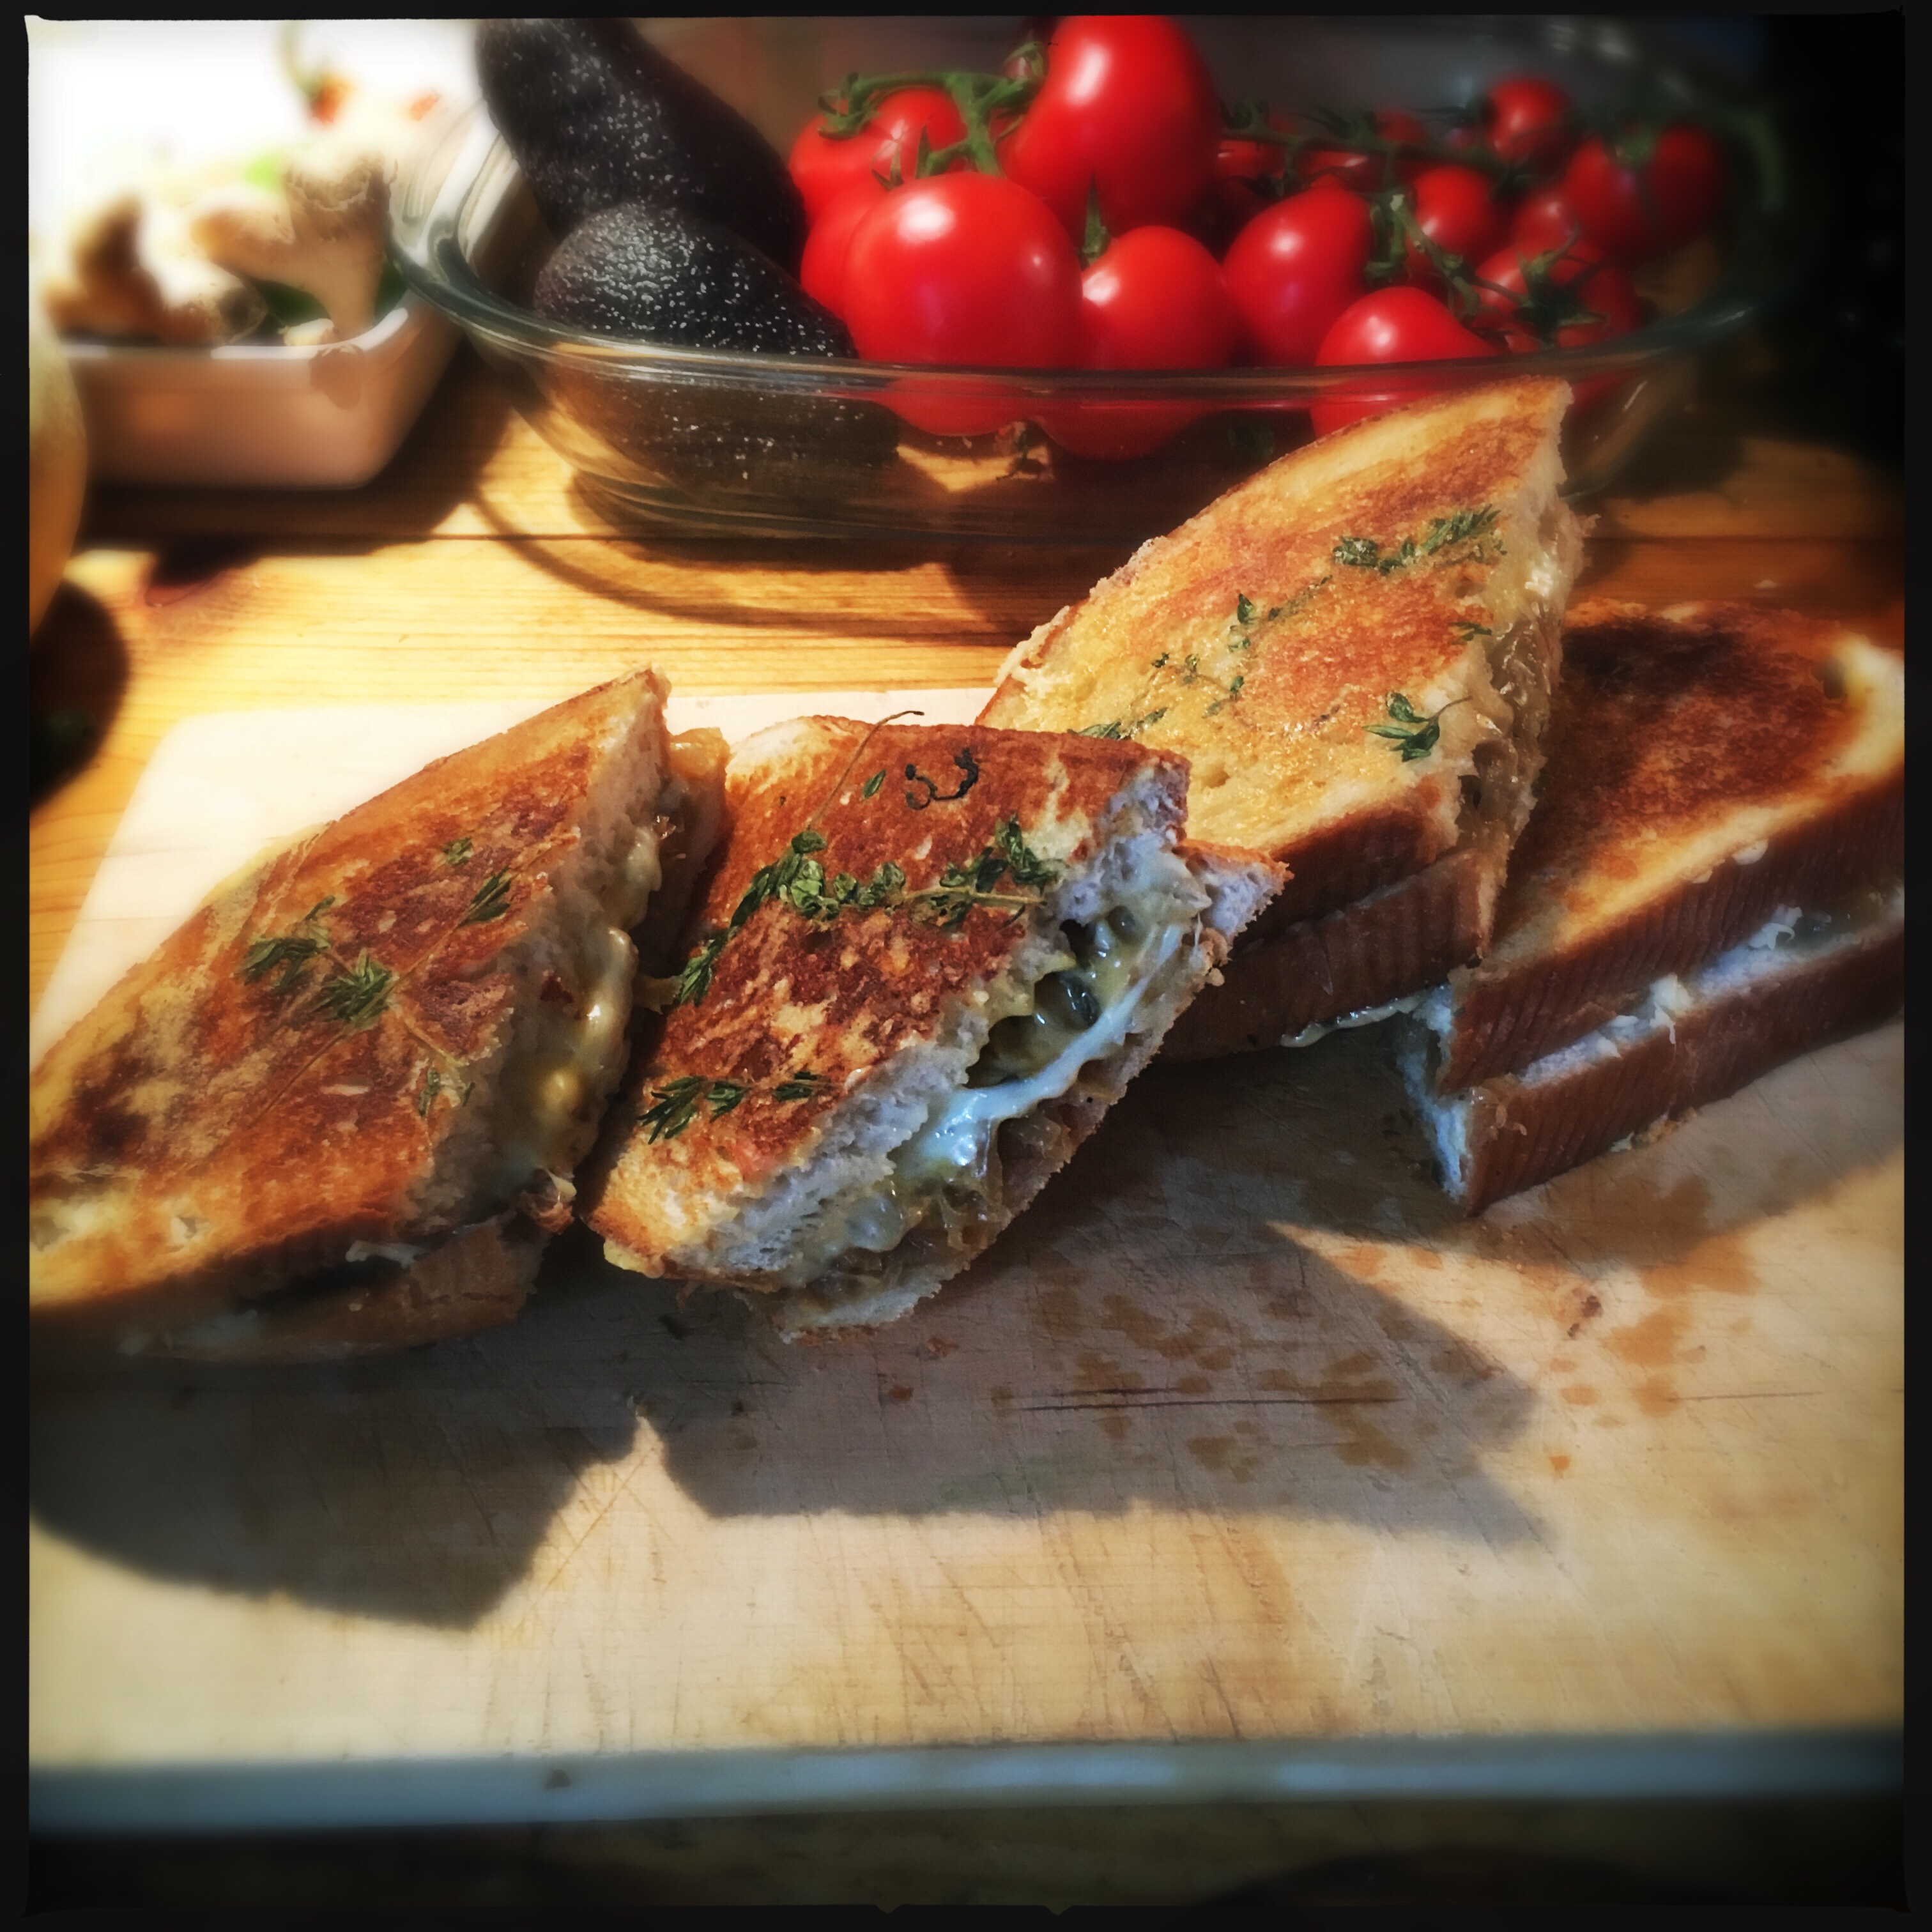


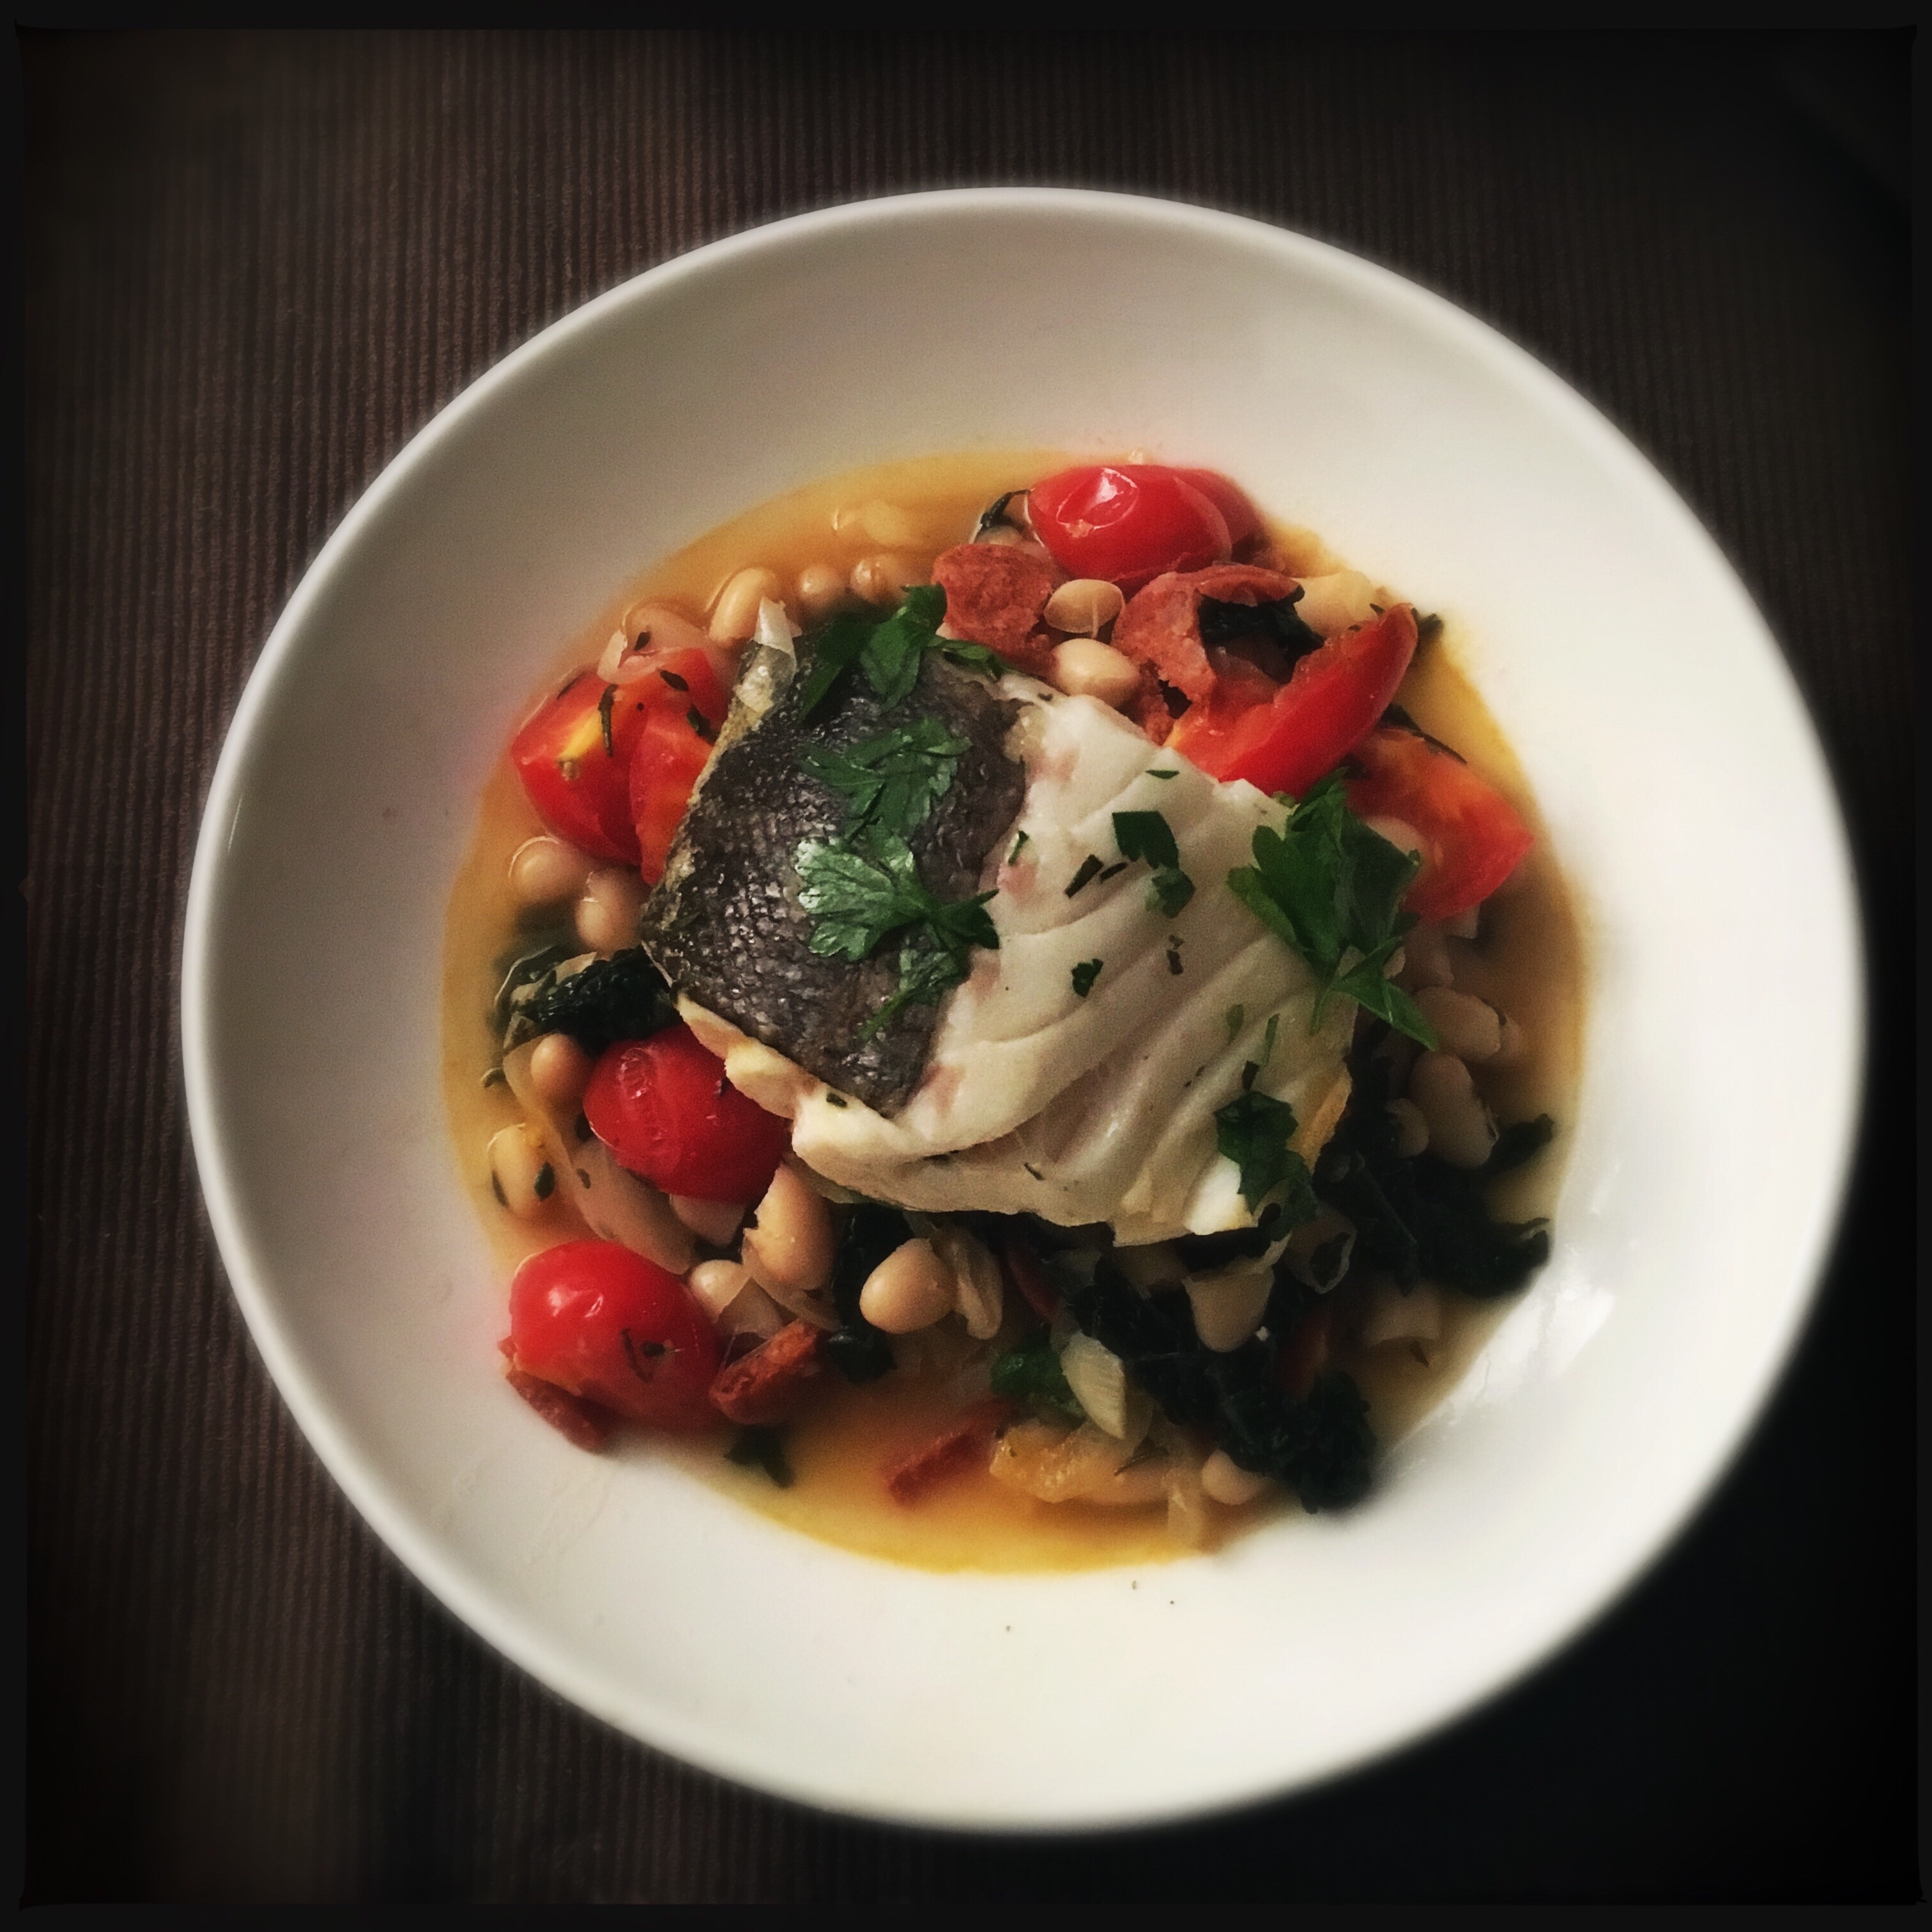 It’s that time of year agin , from January until late March Skrei! I just love this fish,
 Driven by instinct, great multitudes of cod return from the depths of the Barents Sea to their original spawning grounds all the way off the coast of northern Norway.
 What makes Skrei so unique?


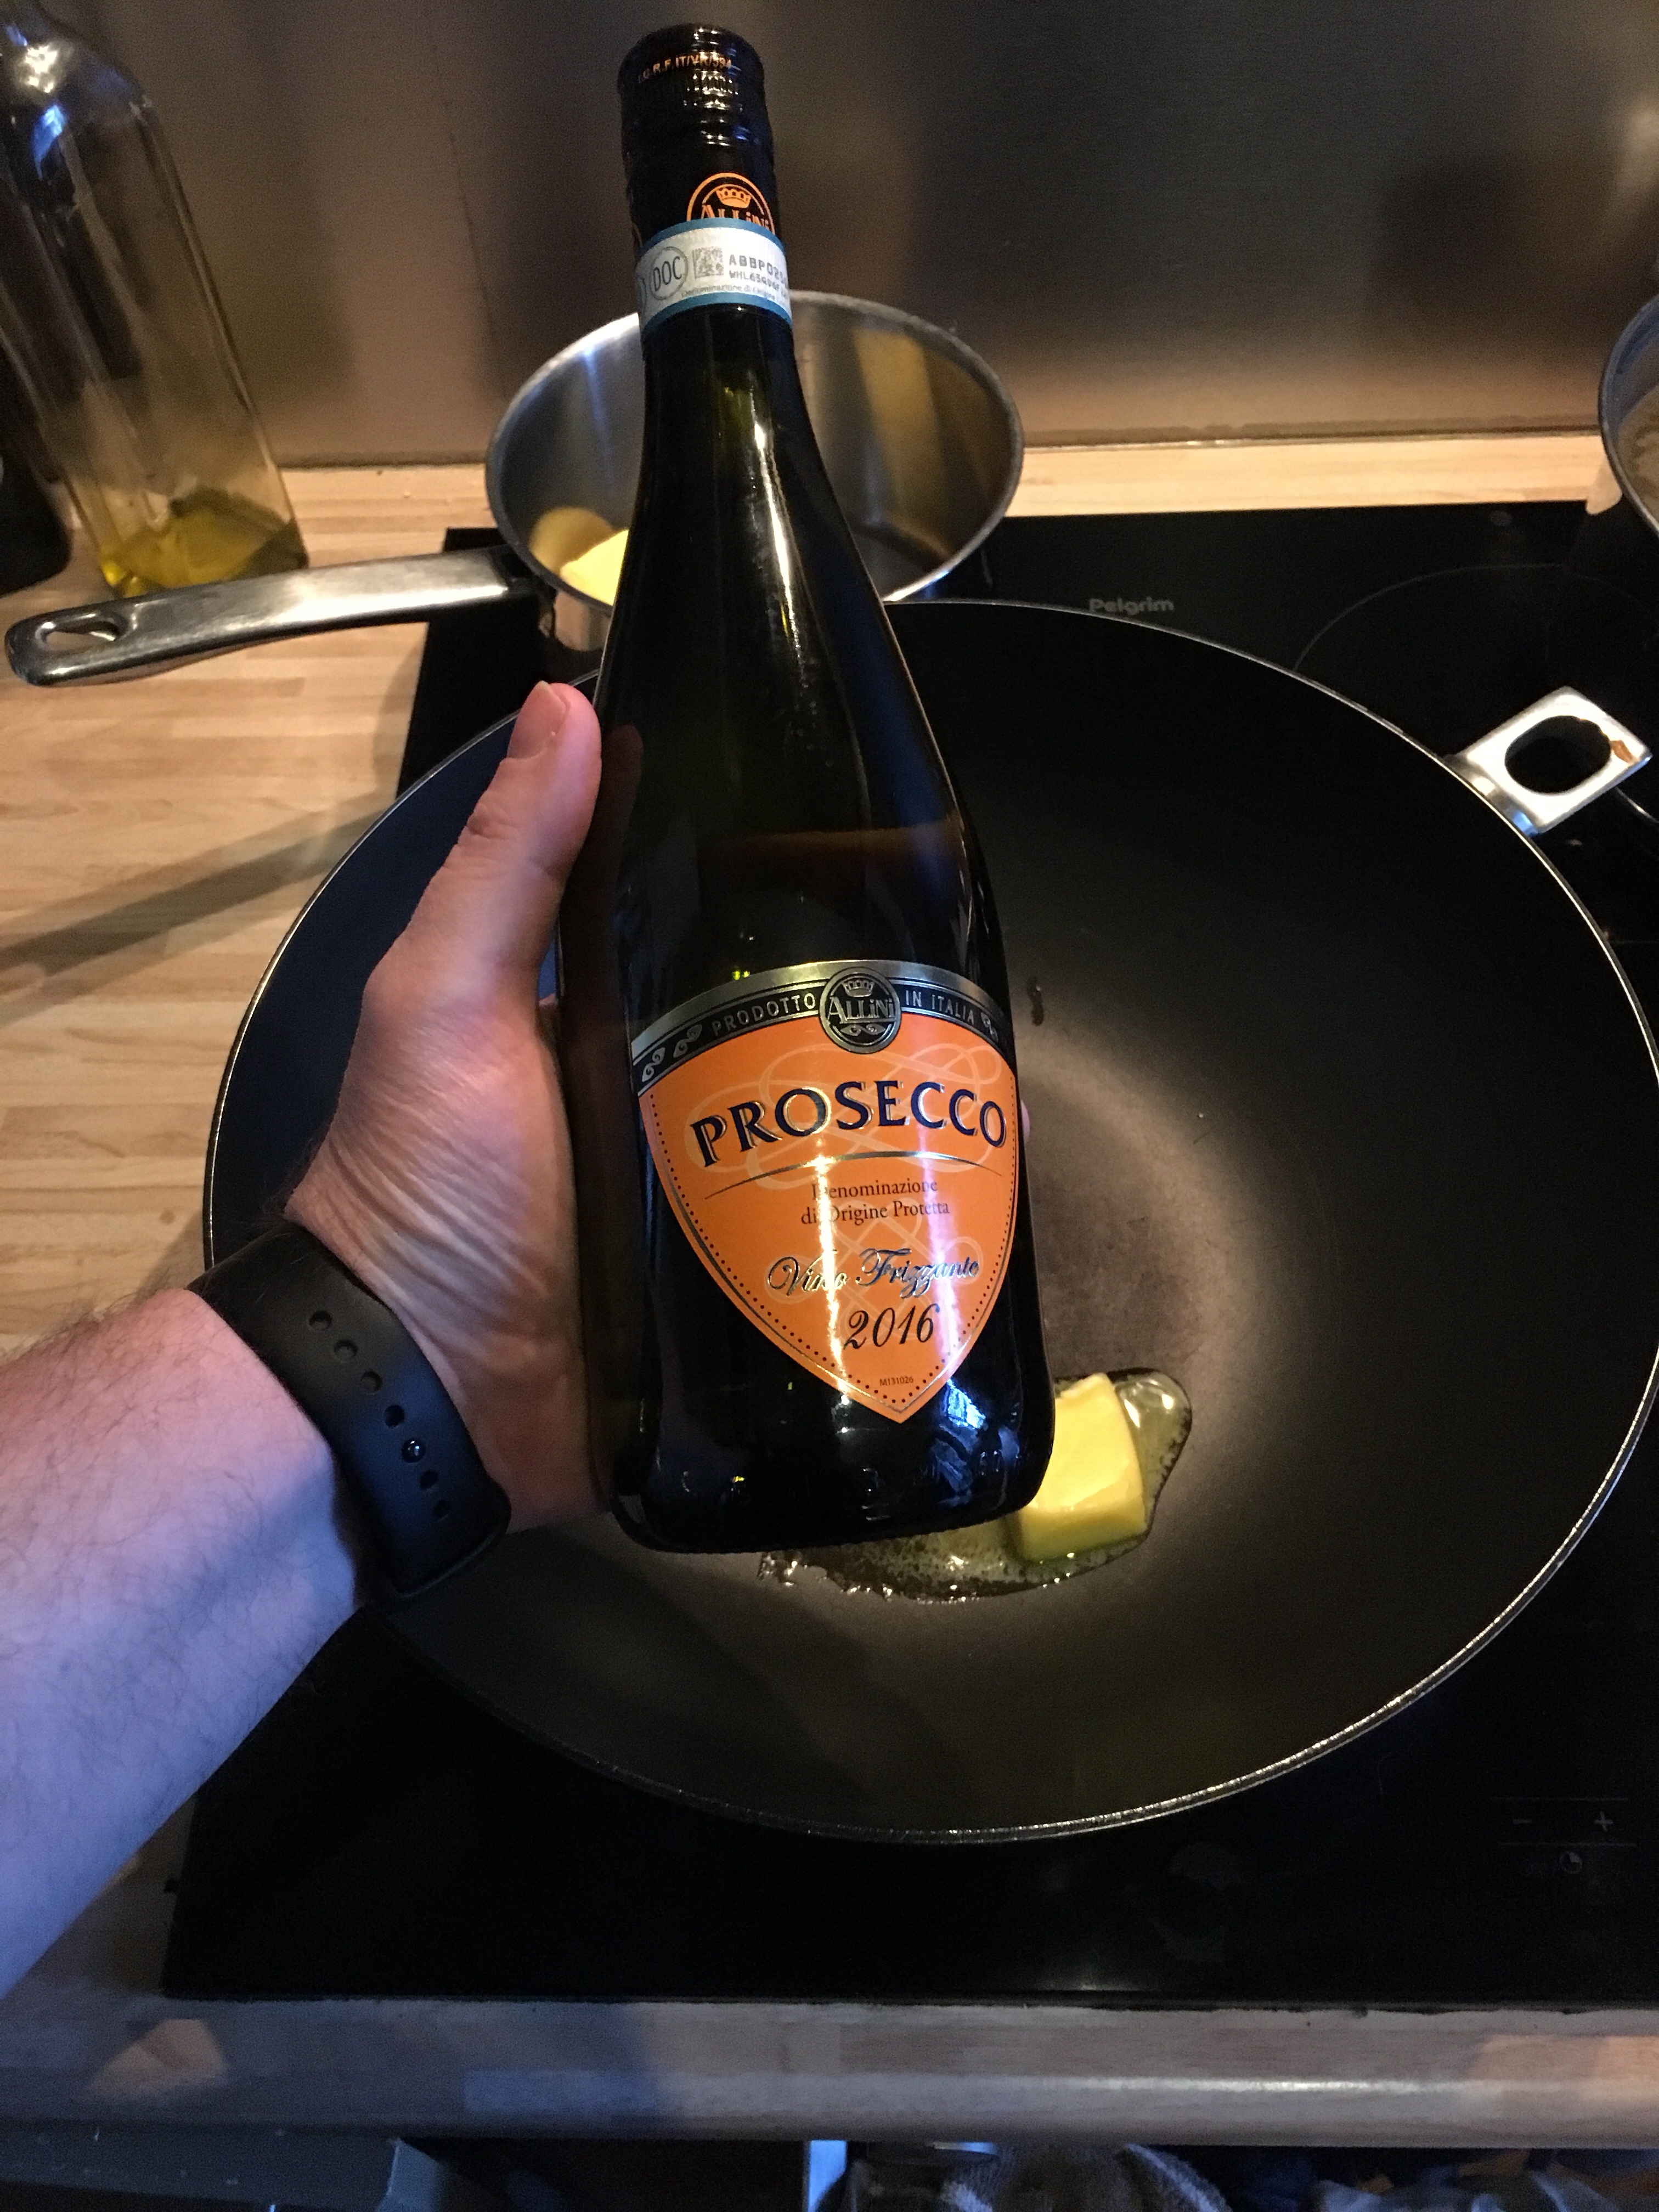
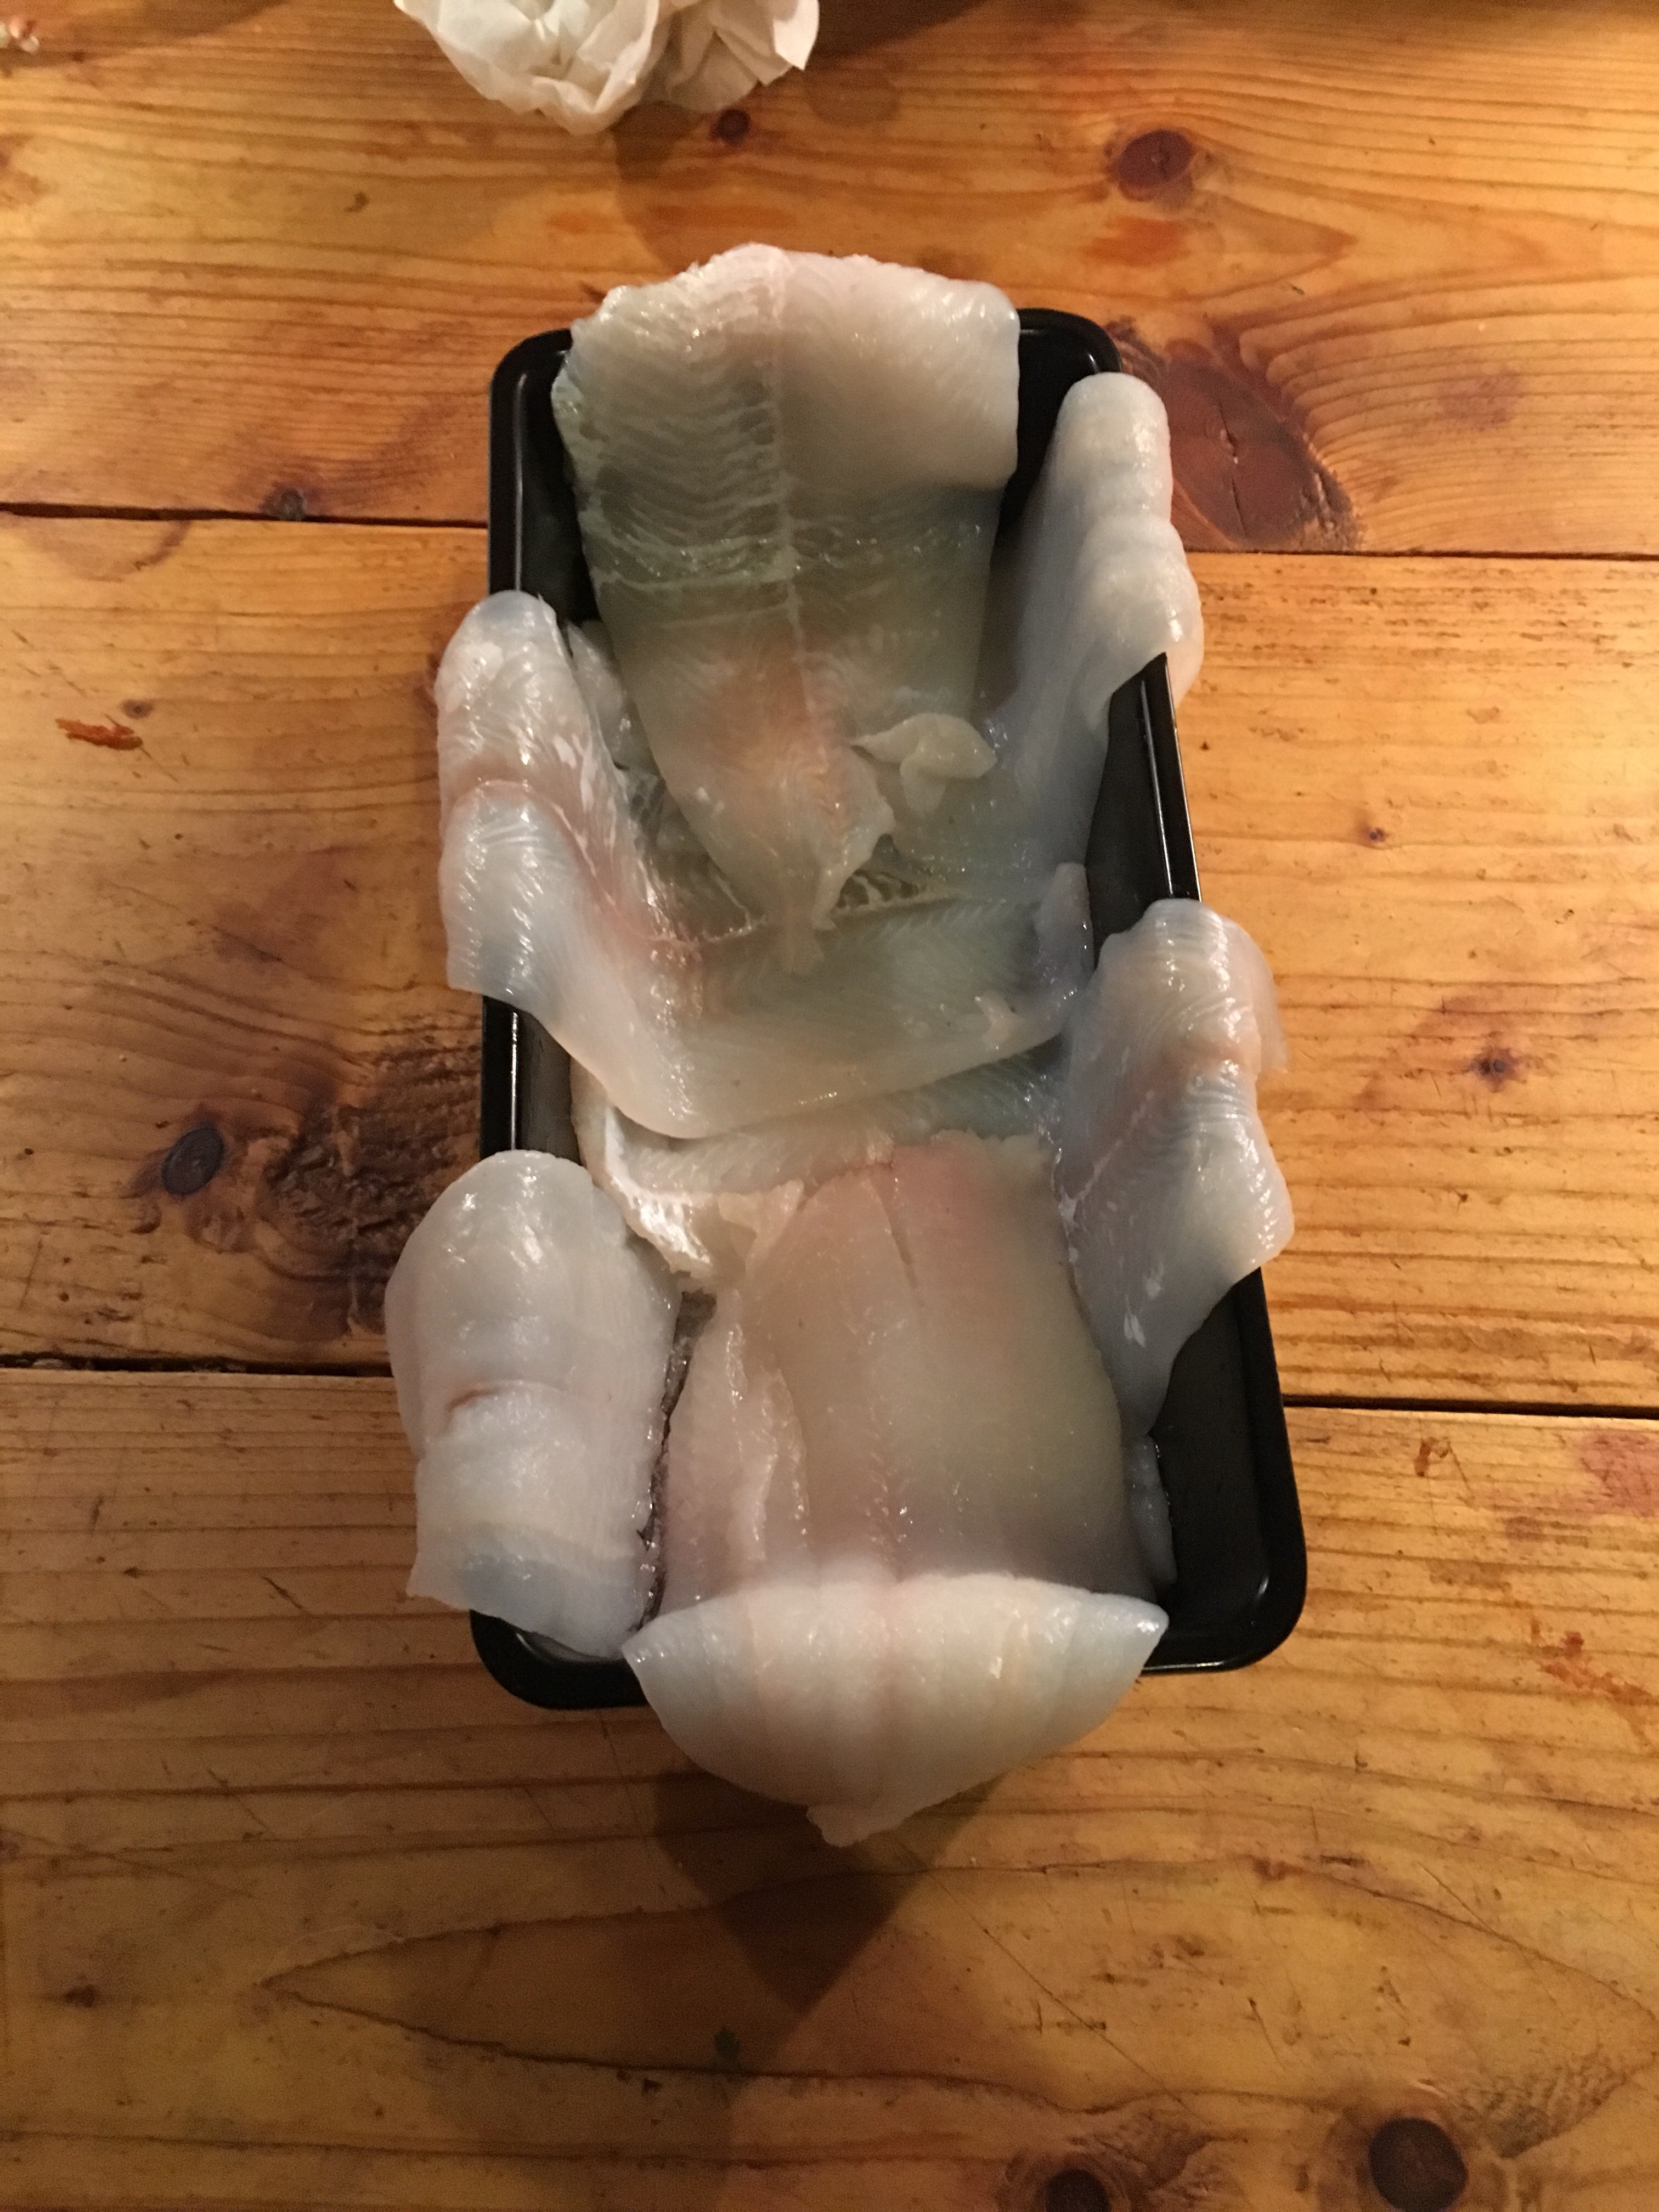
 Baked lemon sole and risotto terrine with a cream prosecco sauce,
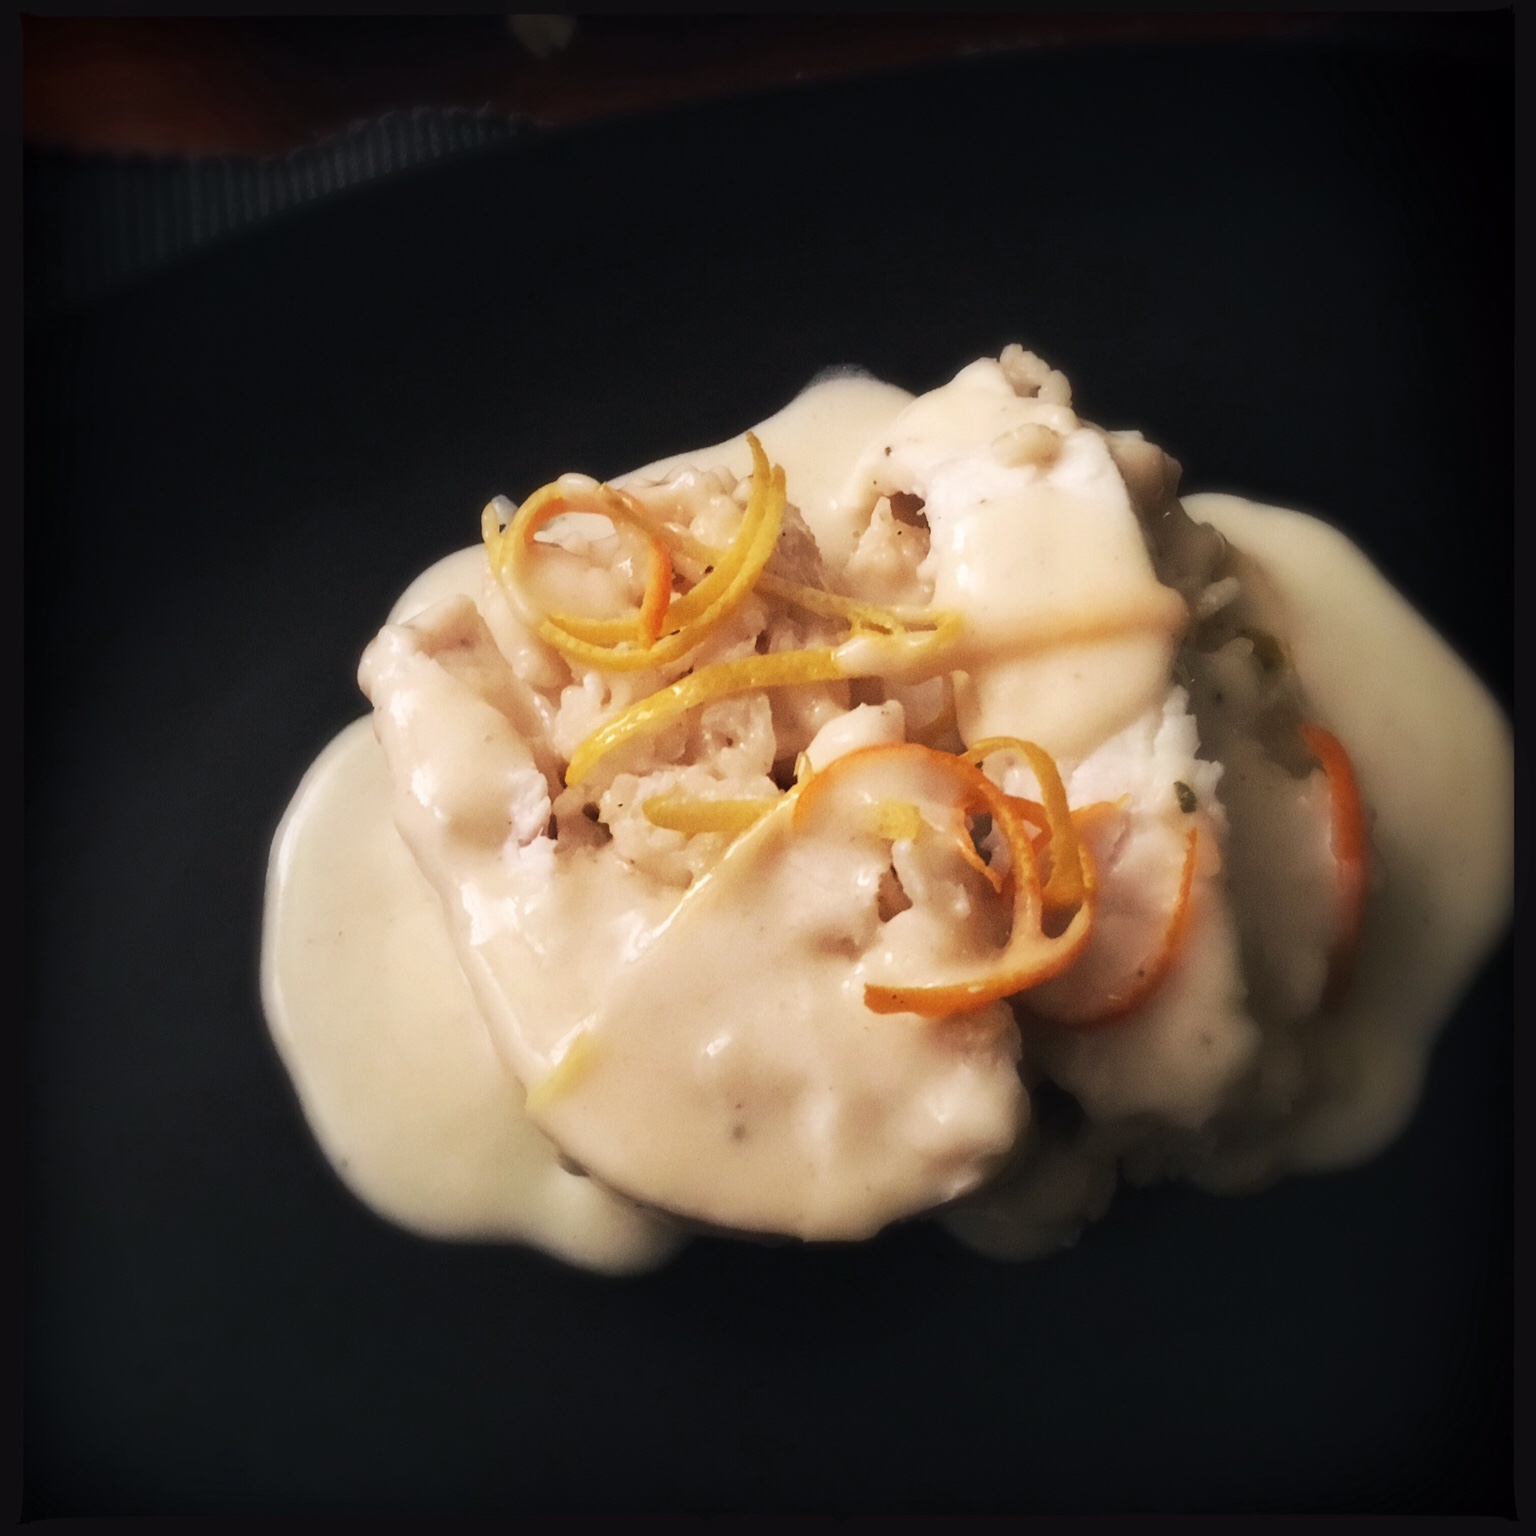 When you want an impressive crowd-pleaser, turn to this creamy risotto, encased in sole fillets and baked with a boozy sauce, just perfect for dinner parties.